Blog #50 *Special Feature* Process Over Product

Blog #50 *Special Feature* Process Over Product
Wow! Fifty blog entries to date. Thank you to all of my readers for sticking with me through the thick and the thin. For this week’s milestone blog entry, I want to share my experience with color film developing at home. One of my 2017 photography goals that I set for myself was to learn to develop colour film at home. I’ve been developing black and white 35mm and medium format film at home for some time now like for a couple of years and I wanted to try to challenge myself further since color is supposedly more difficult. I really enjoy the process of developing film. The product is better in my opinion as I do love the look and feel of film as compared to digital, but it’s really the process that keeps me hooked on film.
There are basically three types of film processes: black and white, color negative [C-41], and slide film or color reversal process [E-6]. I wanted to knock another one off of my photography bucket list. So I drove over to Camera Film Photo’s shop and picked up a box of DIGIBASE C-41 Process. The box contains three aluminium packs that resemble juice boxes that we would drink as kids. Each is 500ml. There is a developer, bleach, and fix. The chemicals are re-useable and can be used to develop about 14 rolls of film. The kit costs $256 HK or about $18.29 HK per roll [$2.35 US].

 The process is pretty straight forward and an easy adjustment [small step] for anyone already familiar with the black and white film developing process. For black and white, there is developer, stop bath, fix, and rinse. The for color negatives the process is develop, bleach, then fix. It is recommended that stabiliser follow the fix stage but I simply rinsed the film with water then hung it up to dry in my shower like I usually do with black and white film. The film responded well to this finishing and drying process.
The difference between B&W and color film processing is the chemistry, as mentioned above, and the temperature. A more careful control of temperature needs to be adhered to. A large tray used to bring the bottles of chemistry up to temperature and a thermometer [or two] is a must. The good news here is that 20 or 25 degrees celsius are basically your options, both of which can be considered around room temperature.
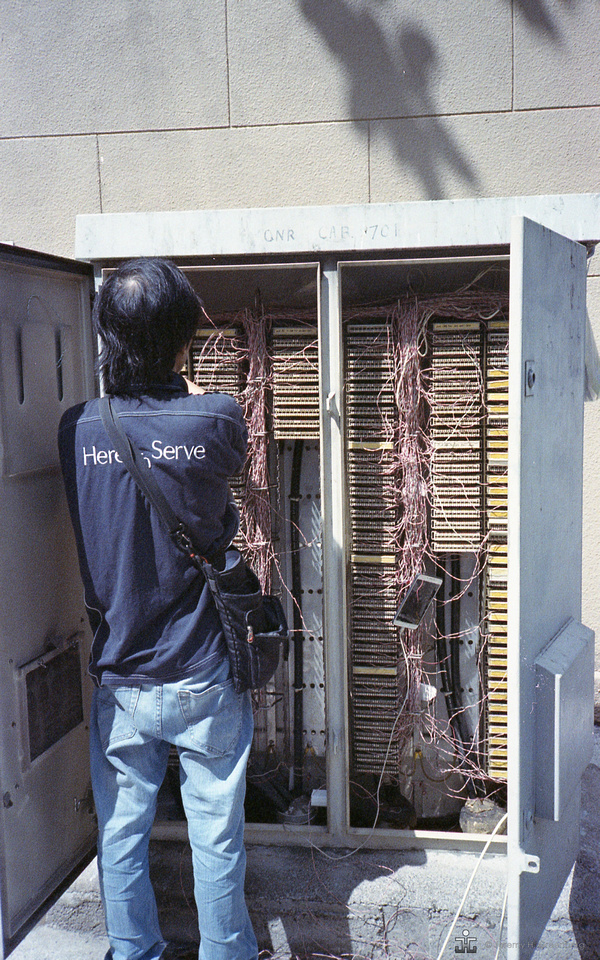
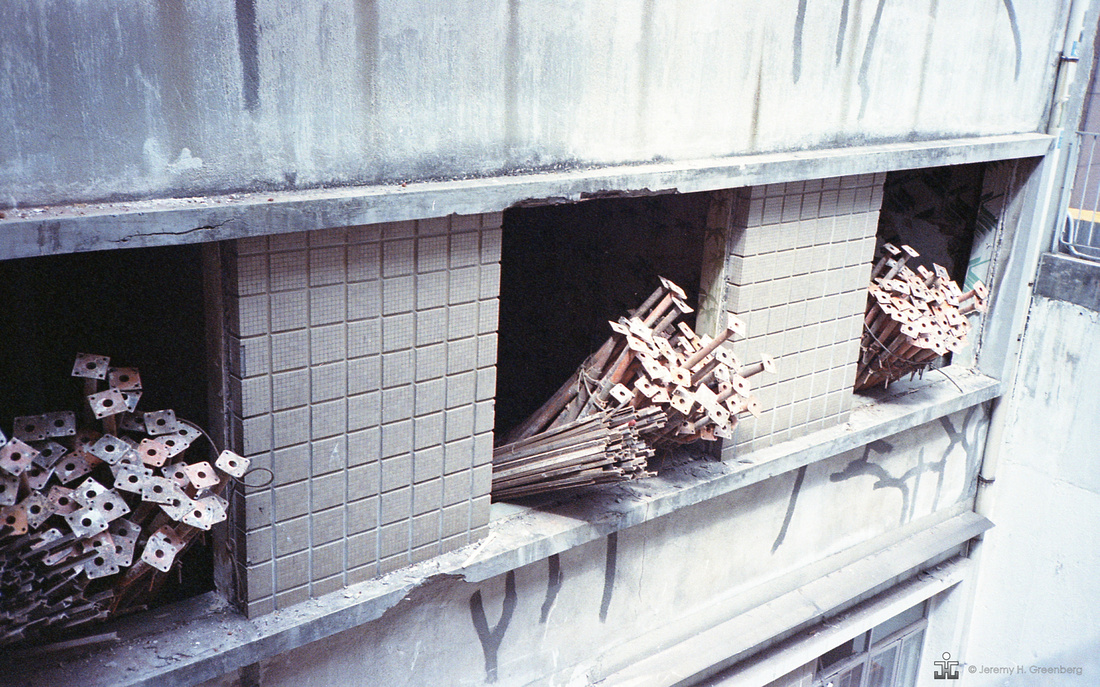
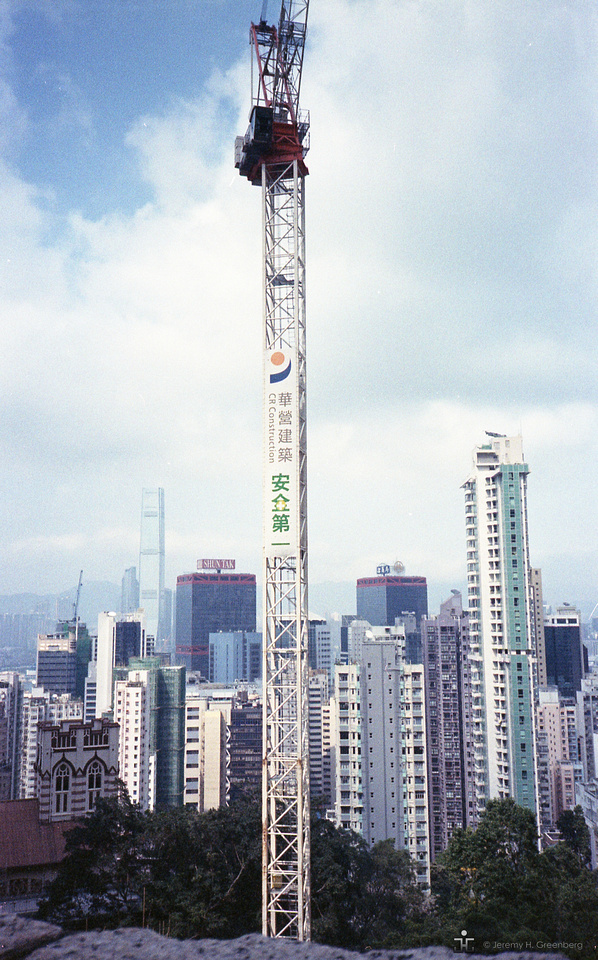
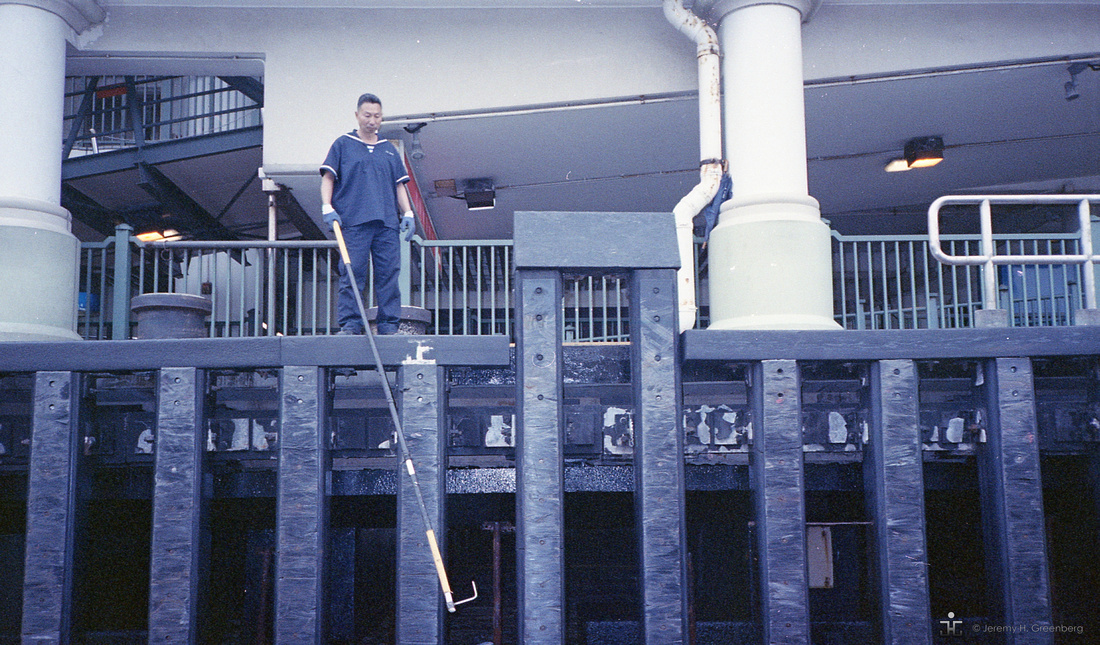
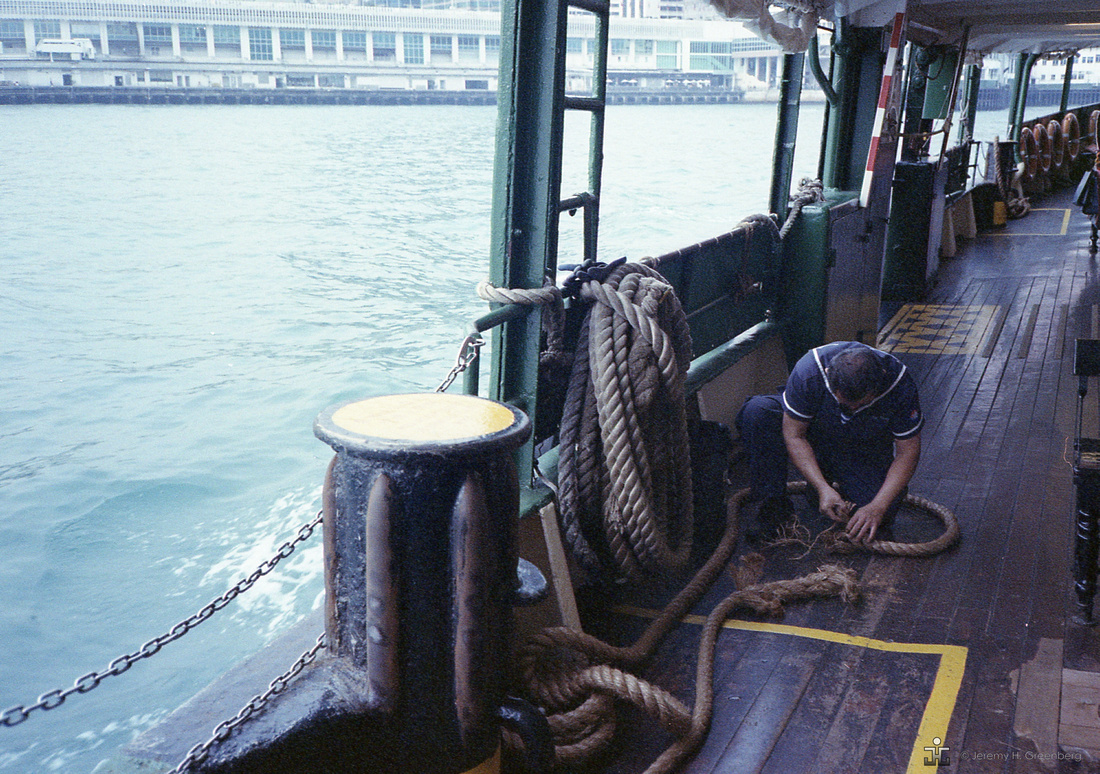
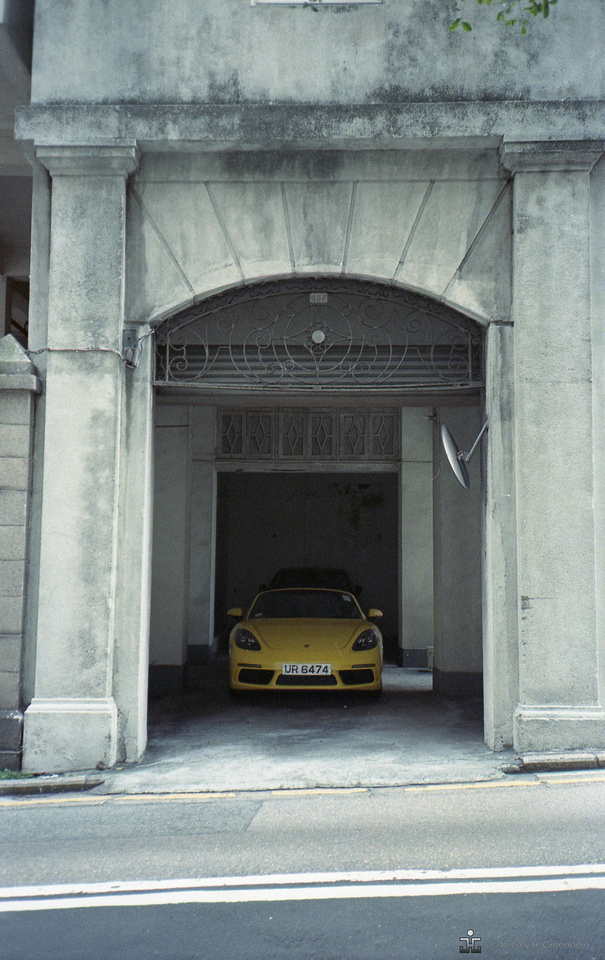
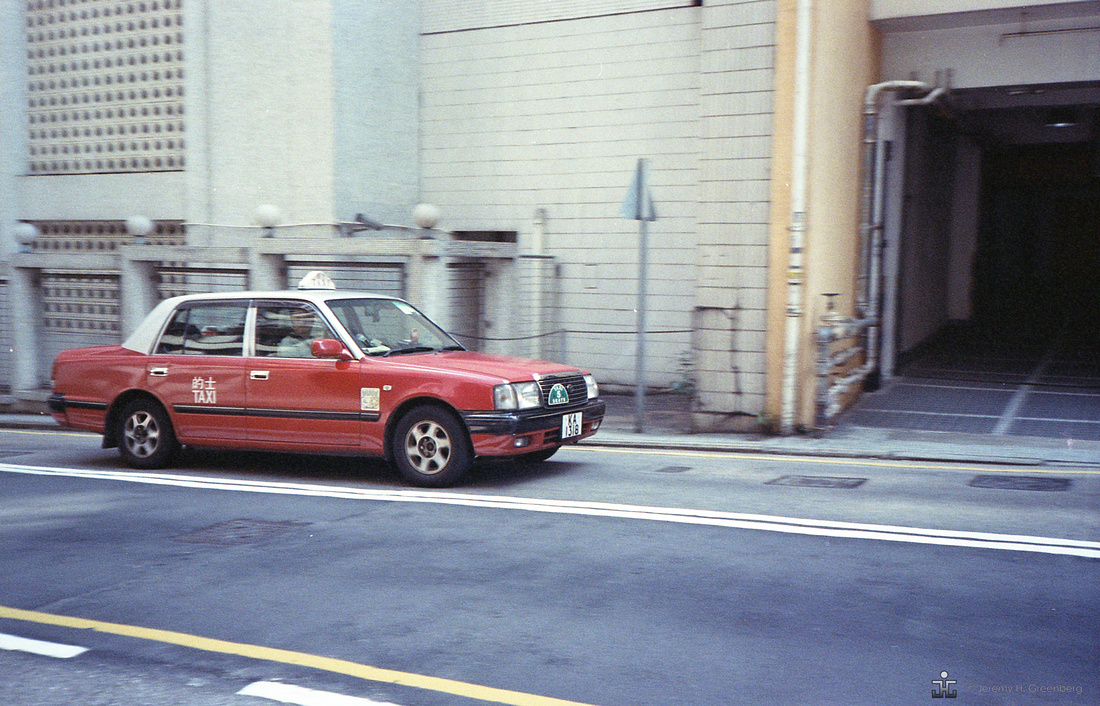
The results are decent and I’m generally happy with my first attempt. I think that a more precise treatment of the temperature in the development stage would yield even better results. I used Kodak Portra 400 35mm film and a Nikon L35 AF point and shoot for this experiment. The reels and tank and changing bag can be used from your black and white kit, if you already have one.
If you would like to get into DIY photography and are interested in playing with film, I suggest starting with black and white which is more forgiving and easier to start with, arguably.
I’m looking forward to shooting more colour and to perfecting the color C-41 process in the coming months.
You can too!
The light is always right.
jhg