Blog #51 Shooting People, Especially Children

Blog #51 Shooting People, Especially Children.
In this week’s post, I will describe the practice of shooting people, especially children. The title is supposed to be a catchy to get your attention. Did it work? At any rate, basically there are three types of settings that I will describe here: candid, environmental portraits, and or the studio portrait. I will also share some of my experiences in shooting children. I have four of my own children, two boys and two girls so I get a lot of practice making images of my own ankle biters. Also, as I have mentioned in previous blog posts, I work in an international school. I shoot children quite often in many different activities throughout their school experiences. Photographing children has unique challenges.
People are everywhere unless you live at the South Pole, in which case I suppose one is shooting a lot of, penguins? One of the most (if not the most) common subject of the printed image is people. We have all seen thousands of images of people although some work better than others for various reasons. This is quite a broad topic indeed. However, I will focus on just three types of images of people.

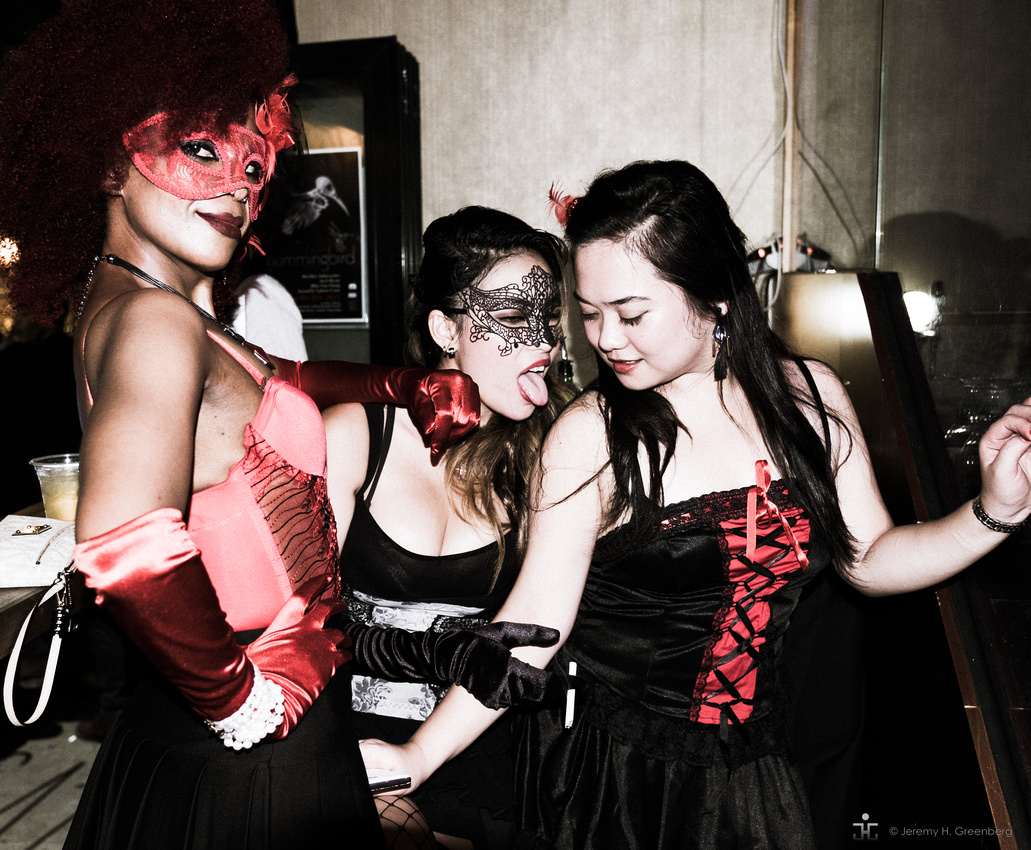
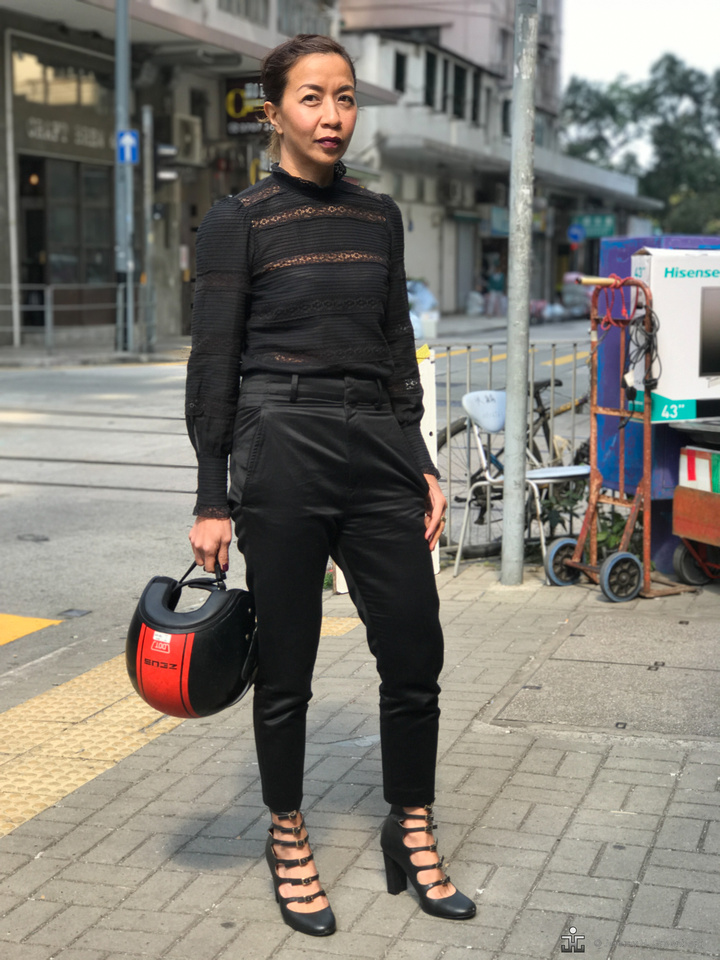
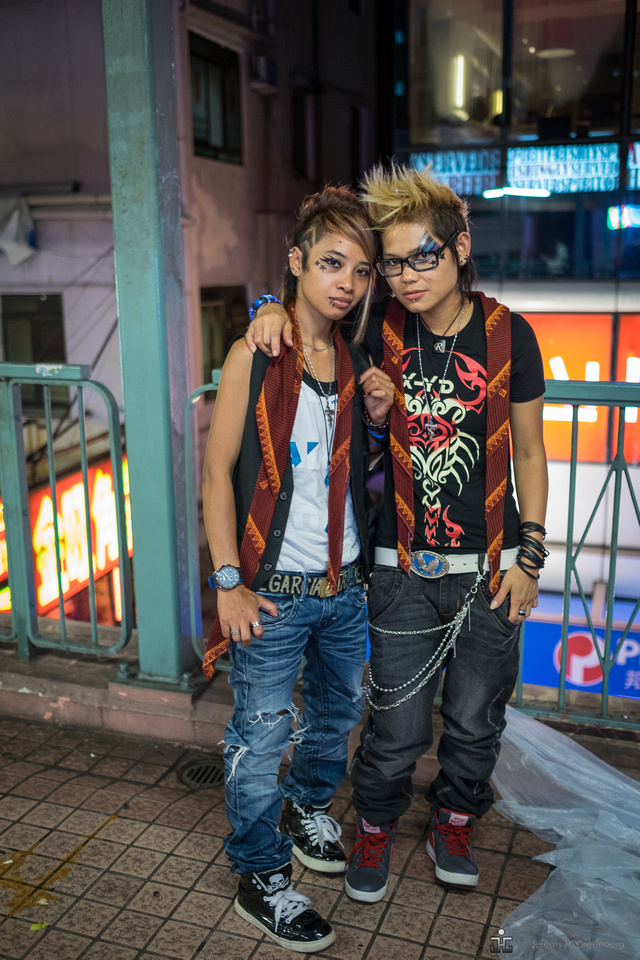
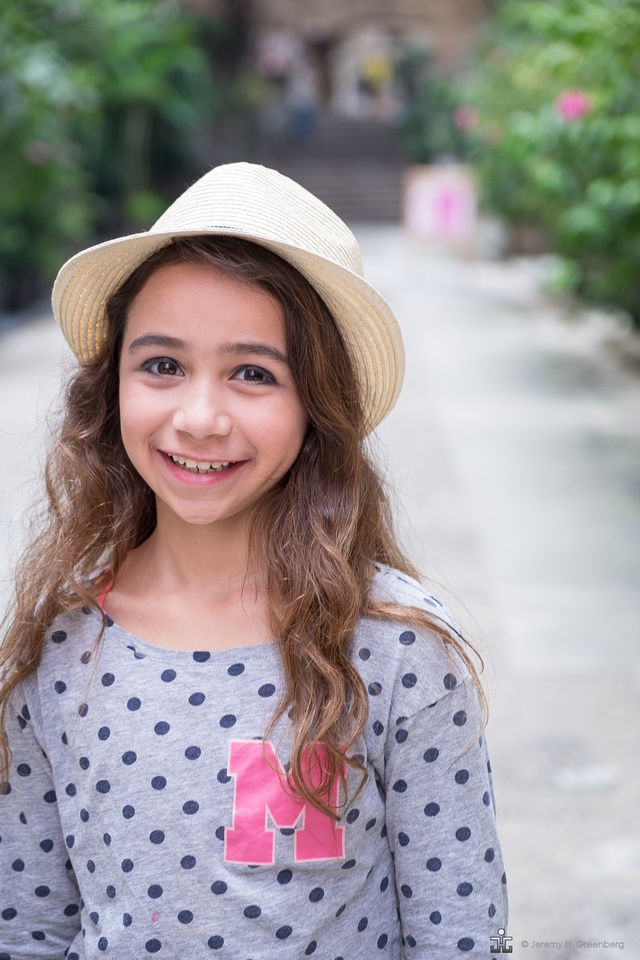
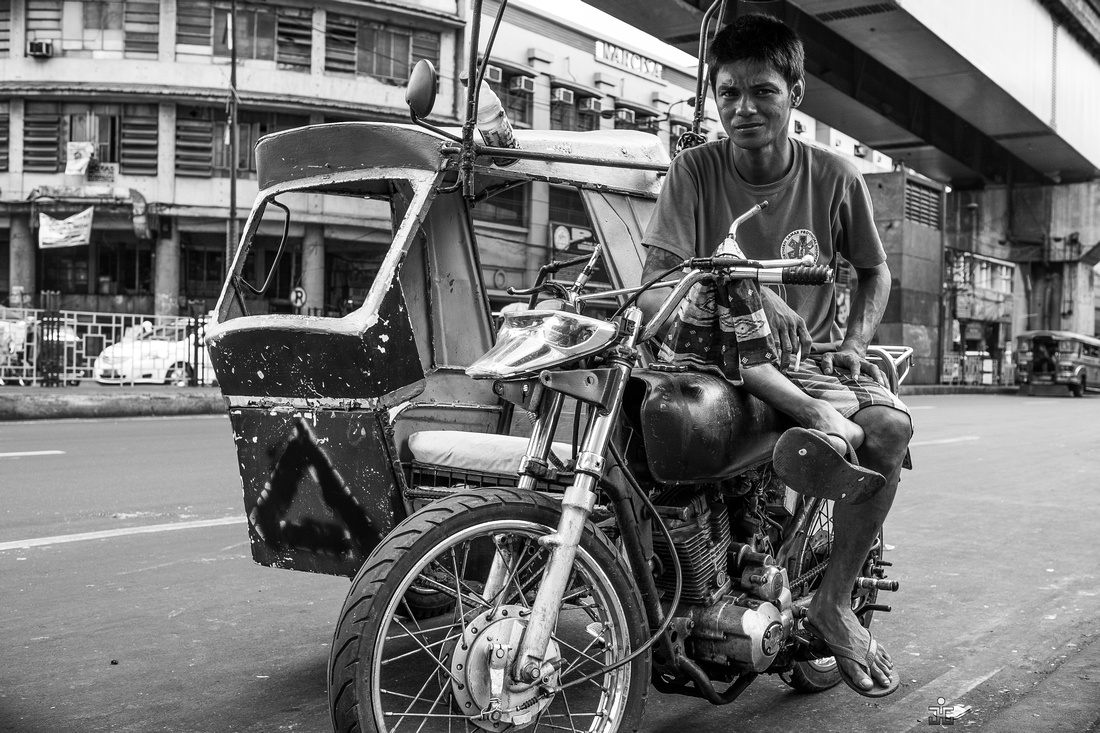
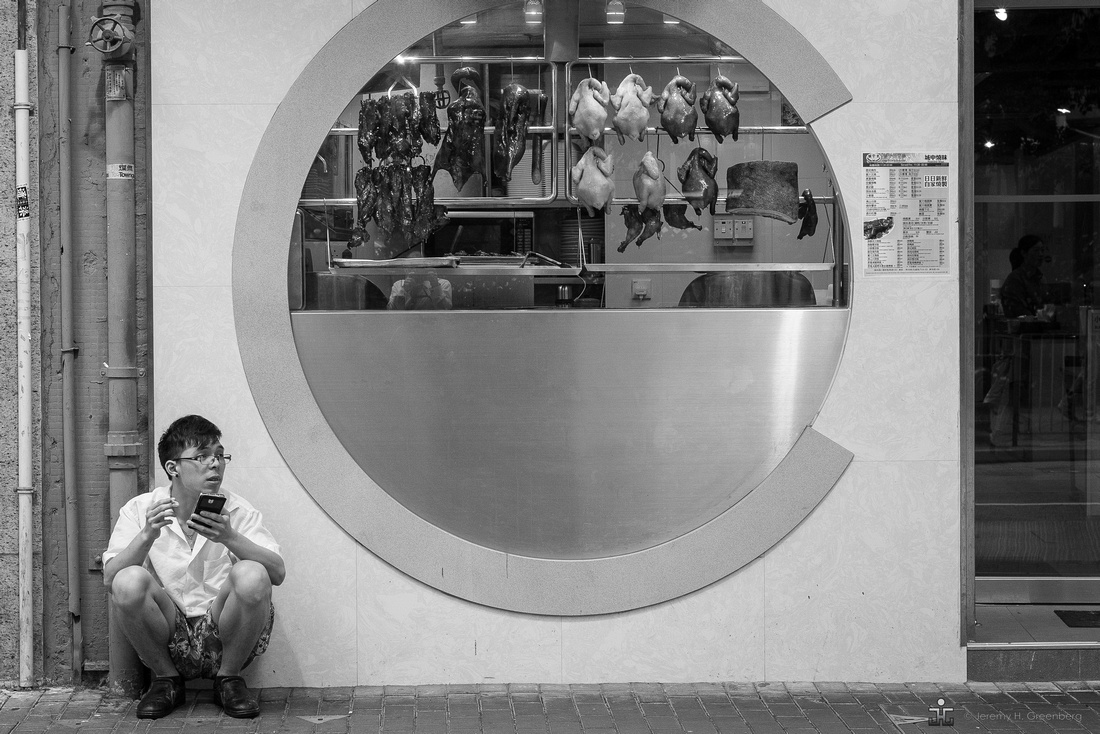
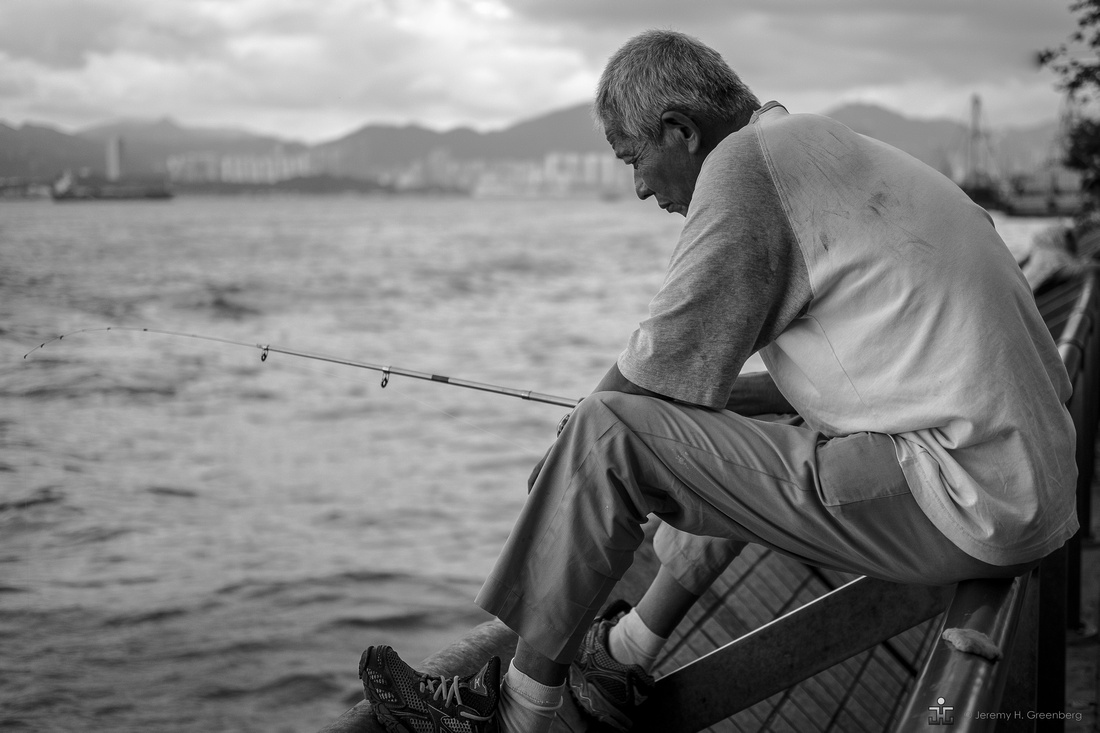
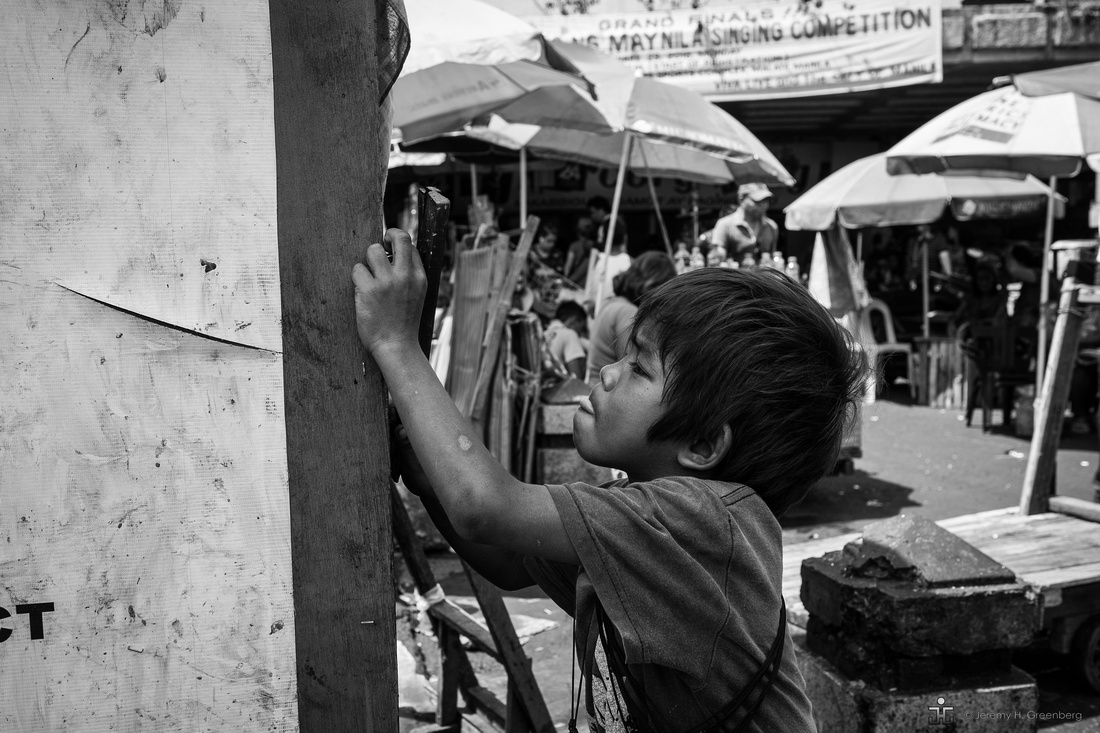
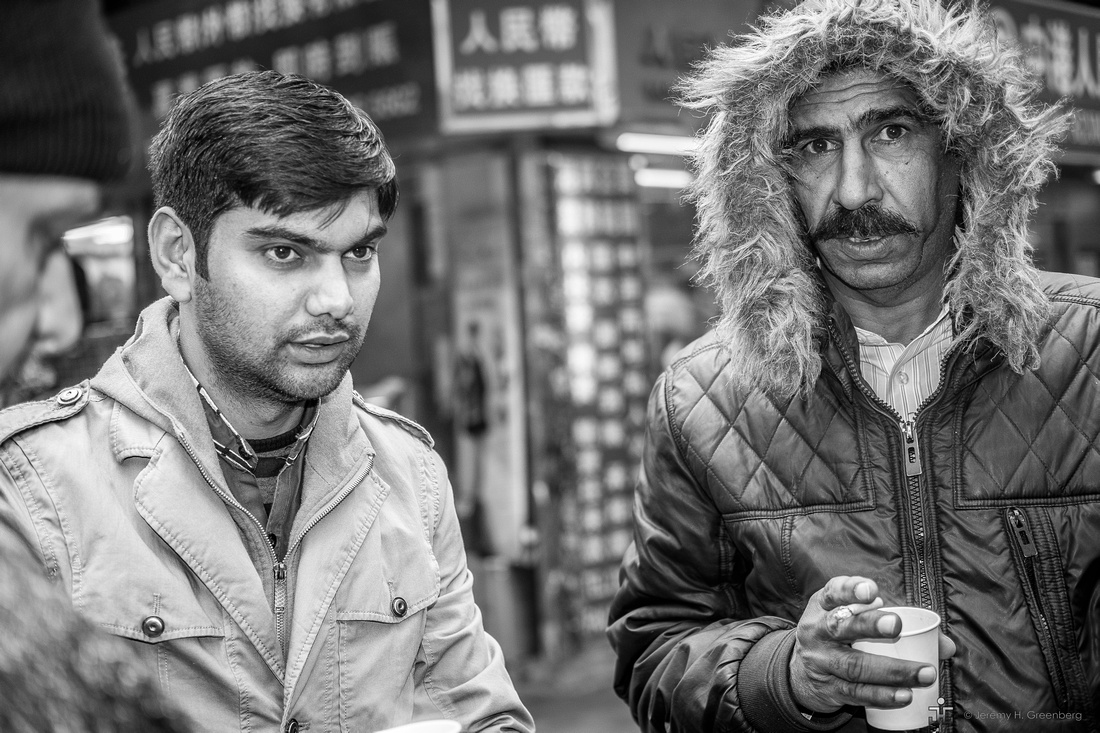
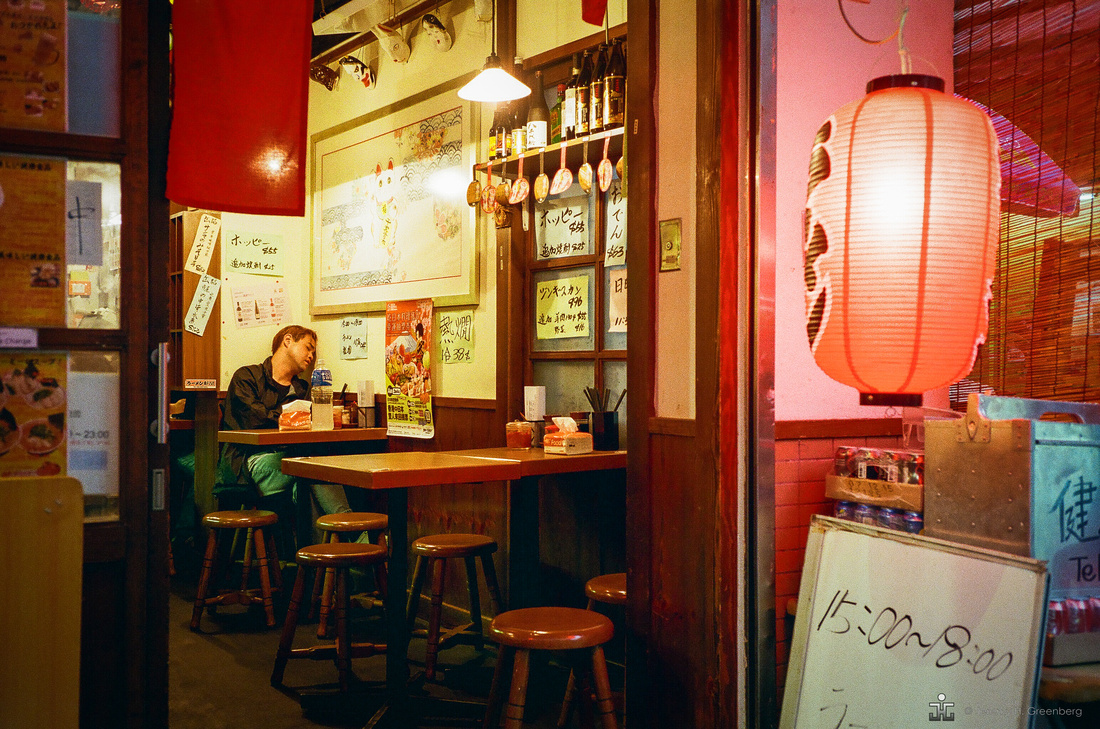
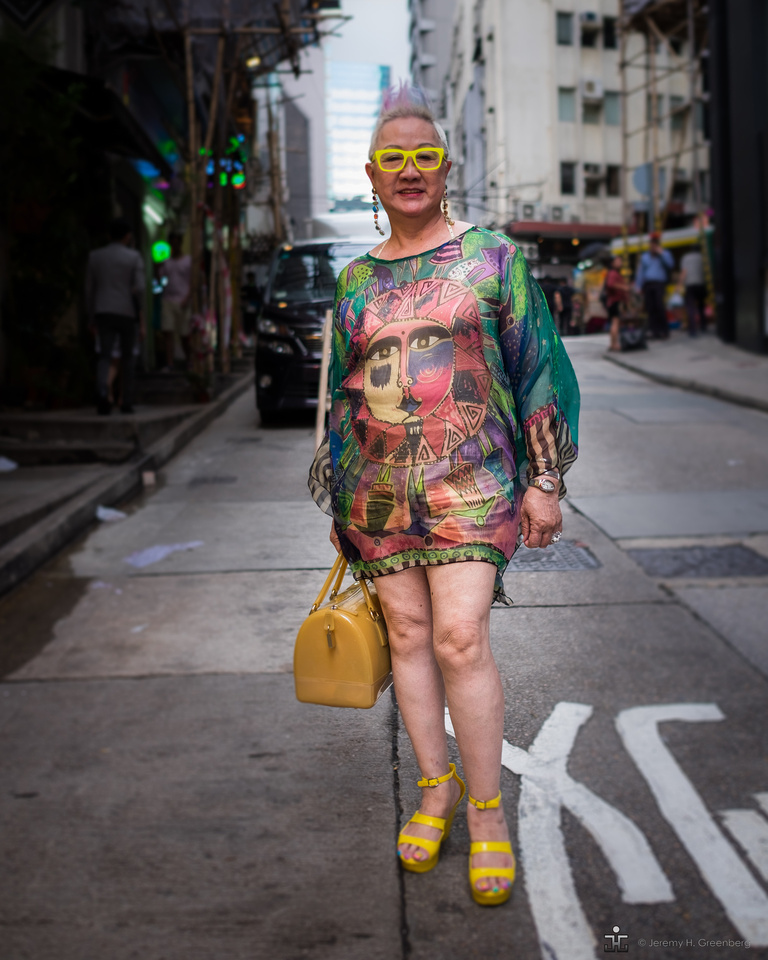
 The candid photograph can be anytime, anywhere and normally the subject is not aware or knowingly participating in the process. Candid photos do not need to be in the street, per se. Also, the candid photograph may or may not have the subject making eye contact with the viewer (camera). Candid photos can be planned or spontaneous and tend to reveal some natural quality unique to the individual in the photograph. Look for gesture, pose, and include other elements that are generally important such as background and composition that should be considered in pretty much all images that contain candid or street portraits.
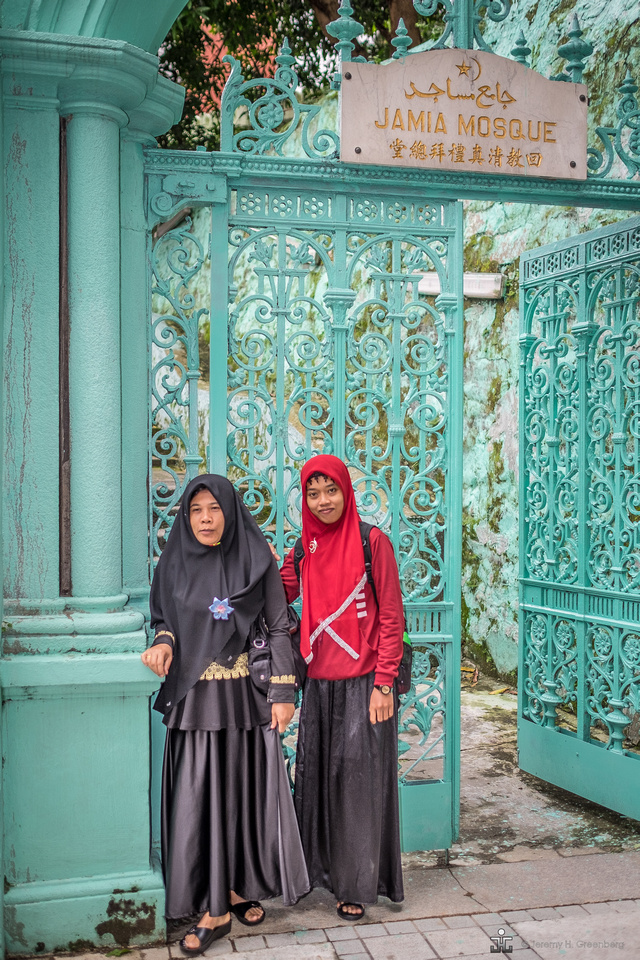
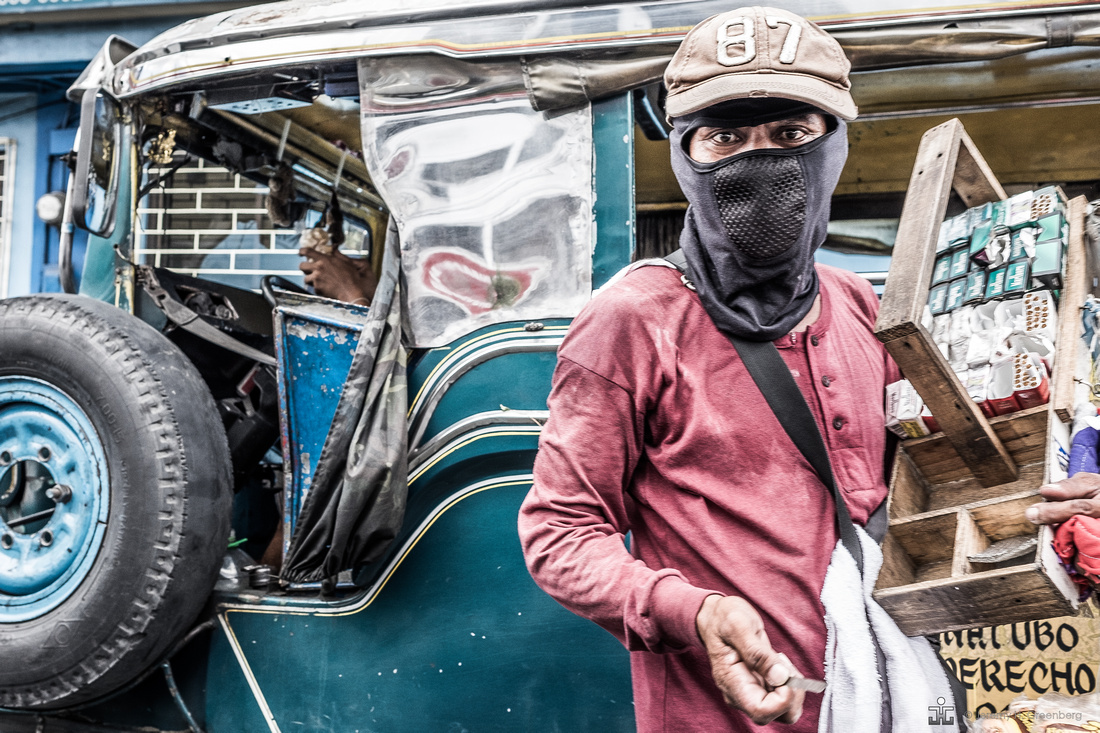
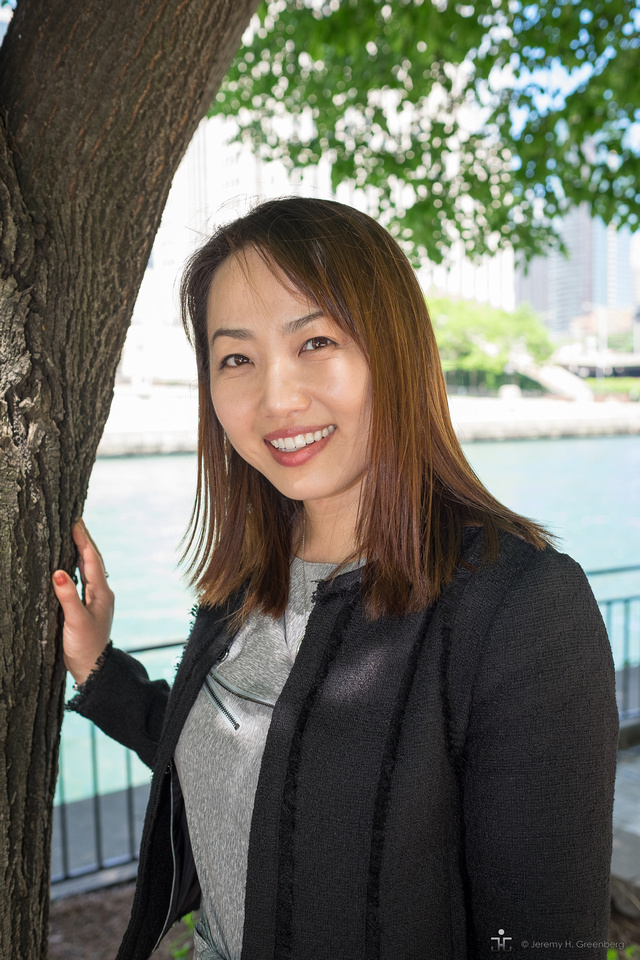
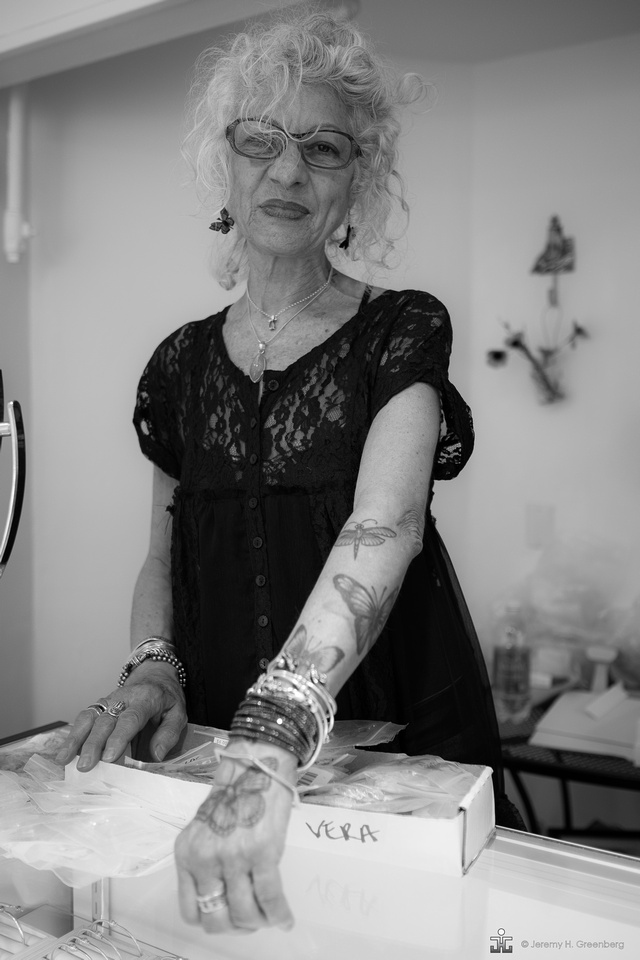
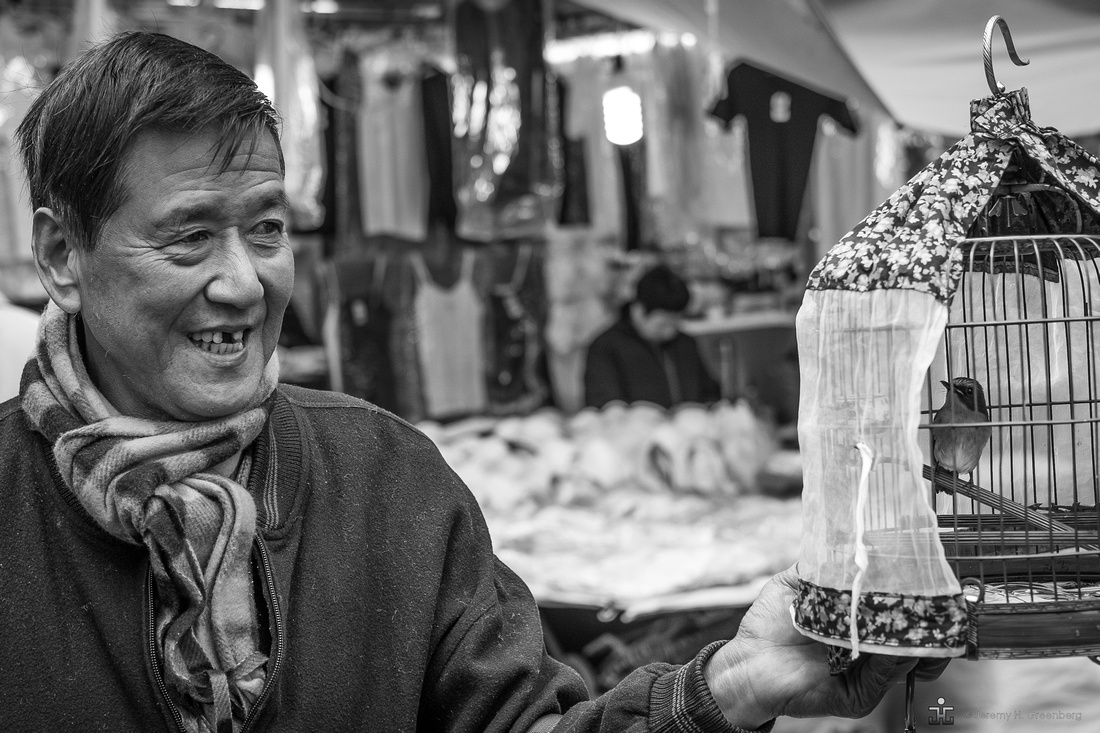
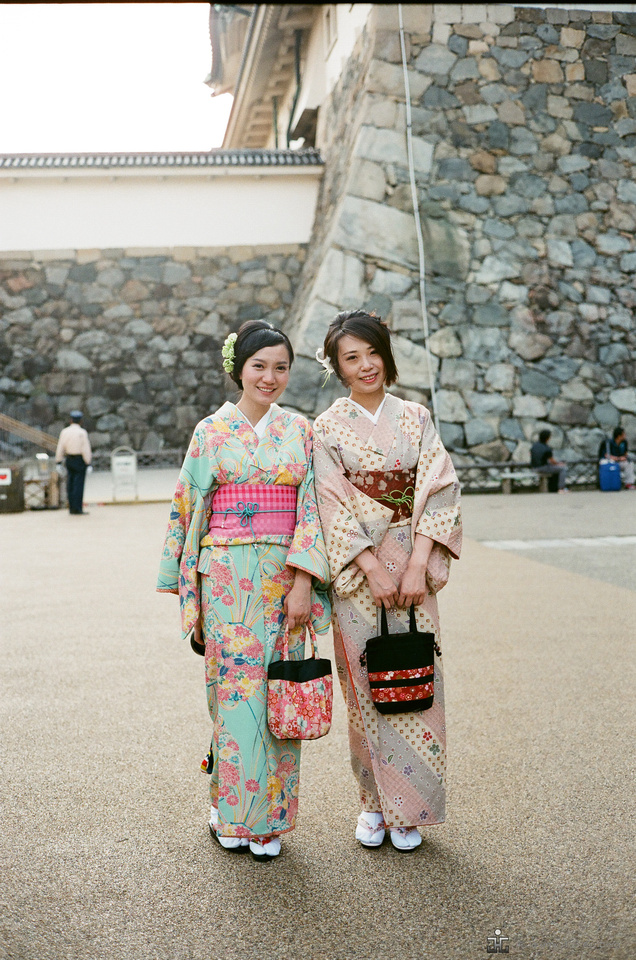
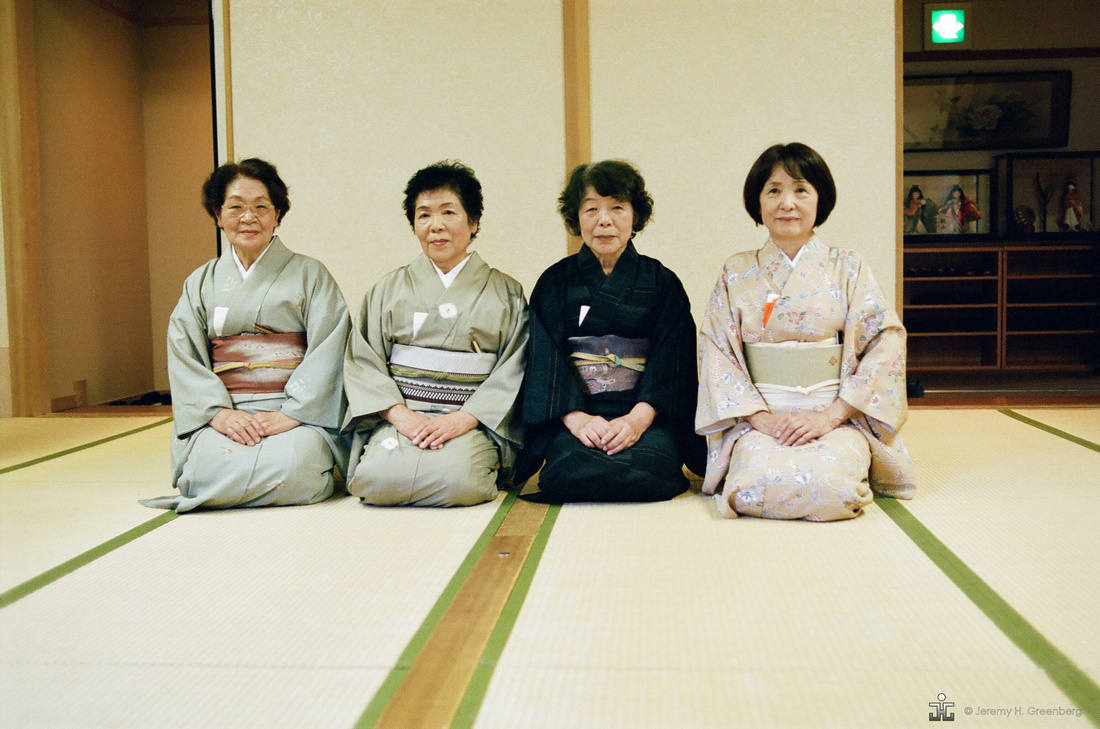
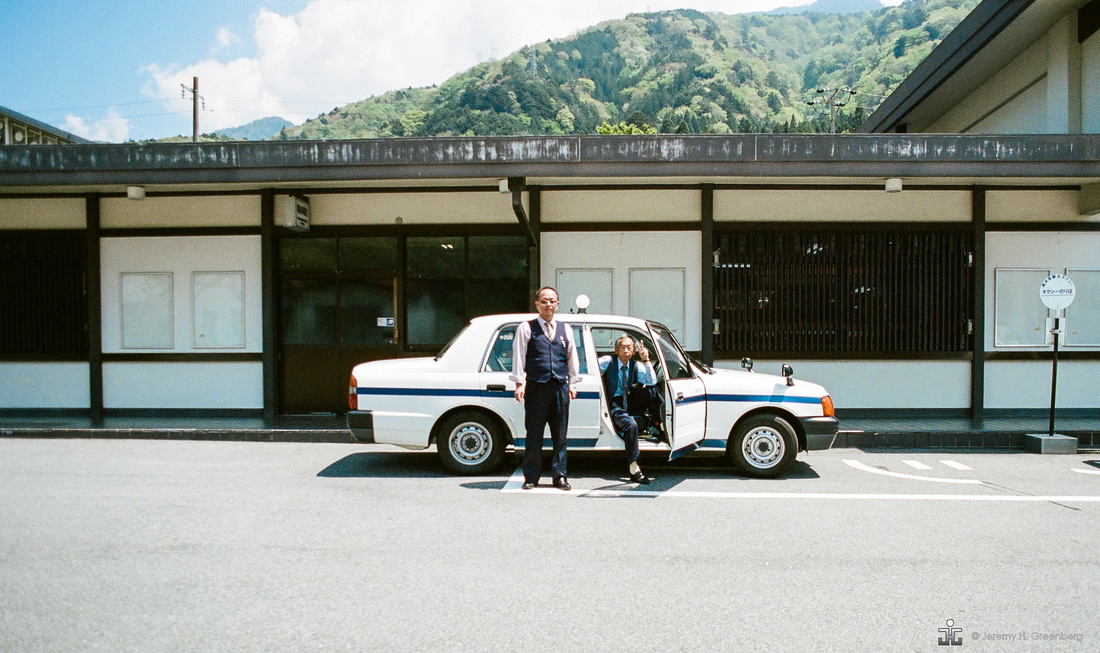
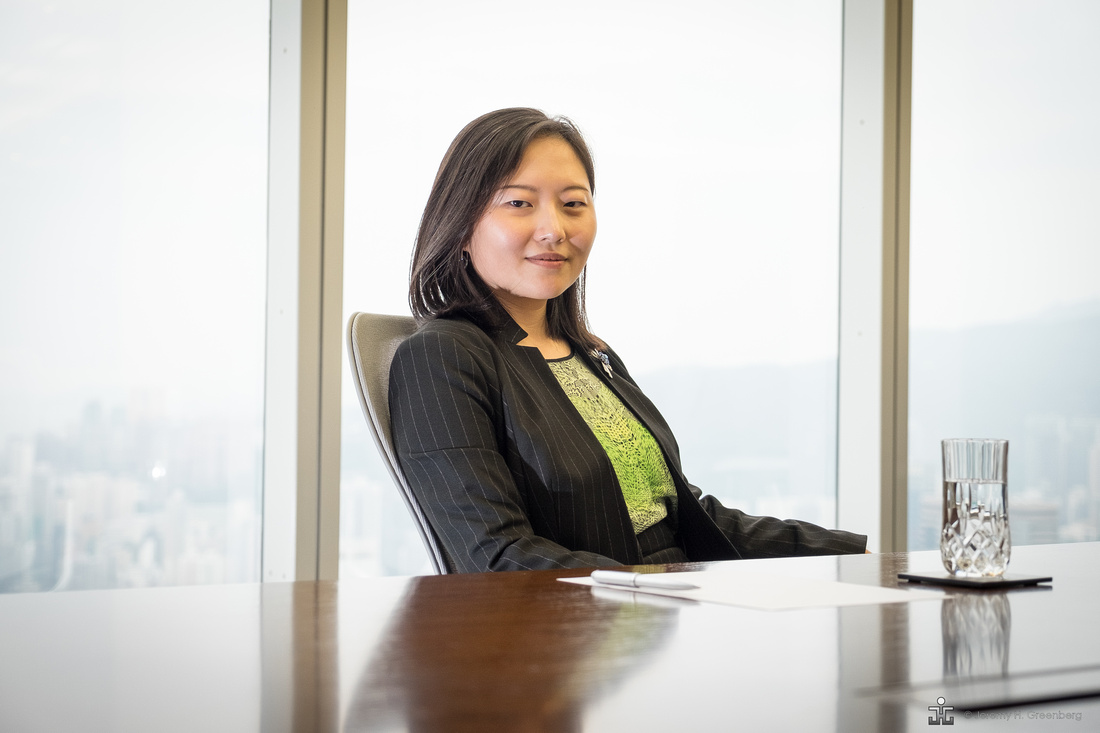
Environmental portraits are generally images of a person in their element. For example, environmental portraits include: a football player on a field, a student in a classroom, a chef in the kitchen. The background is part of the story and is related to what the person does or who the person is.
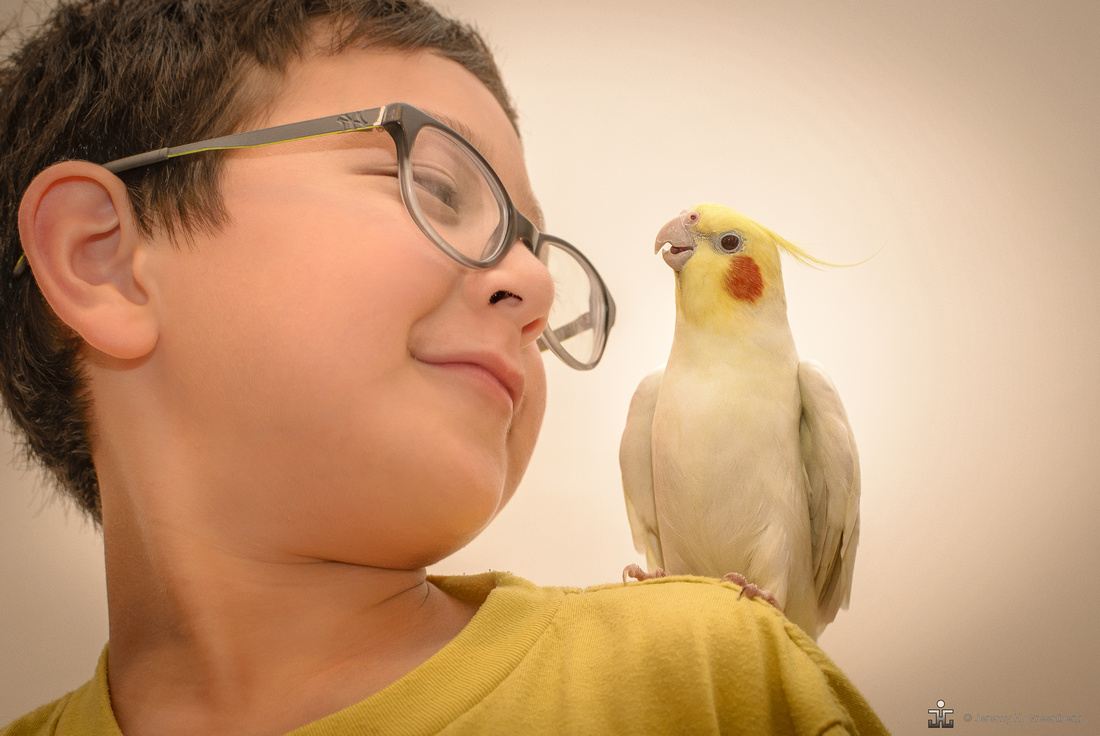
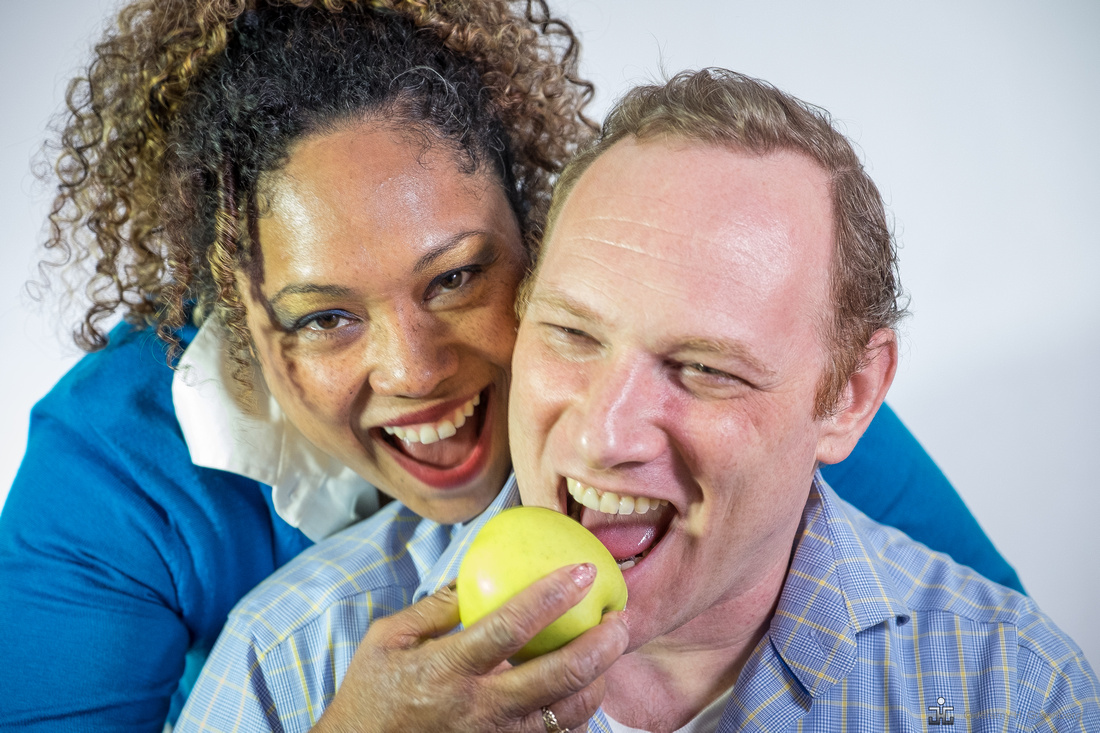
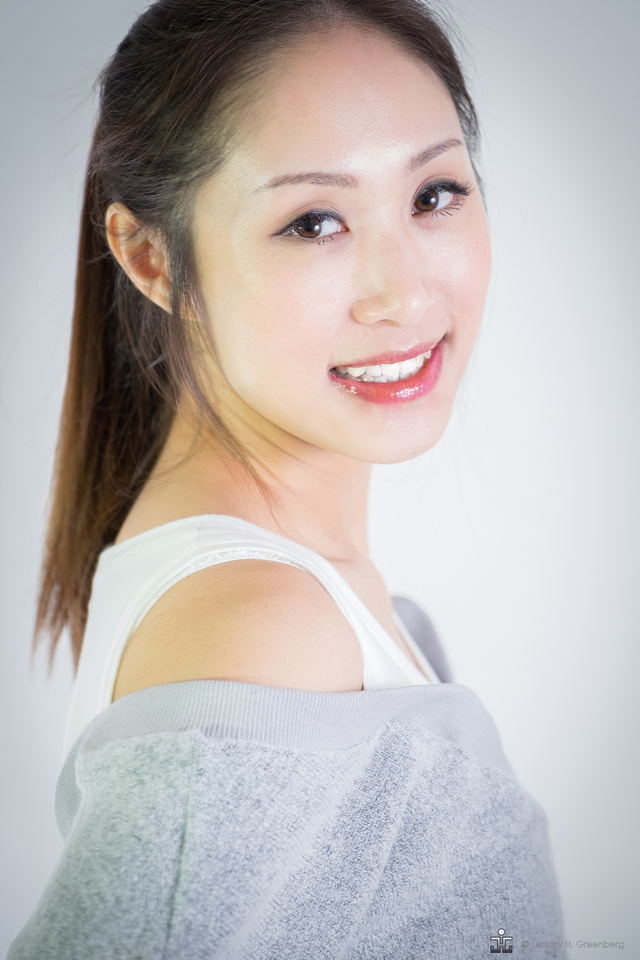
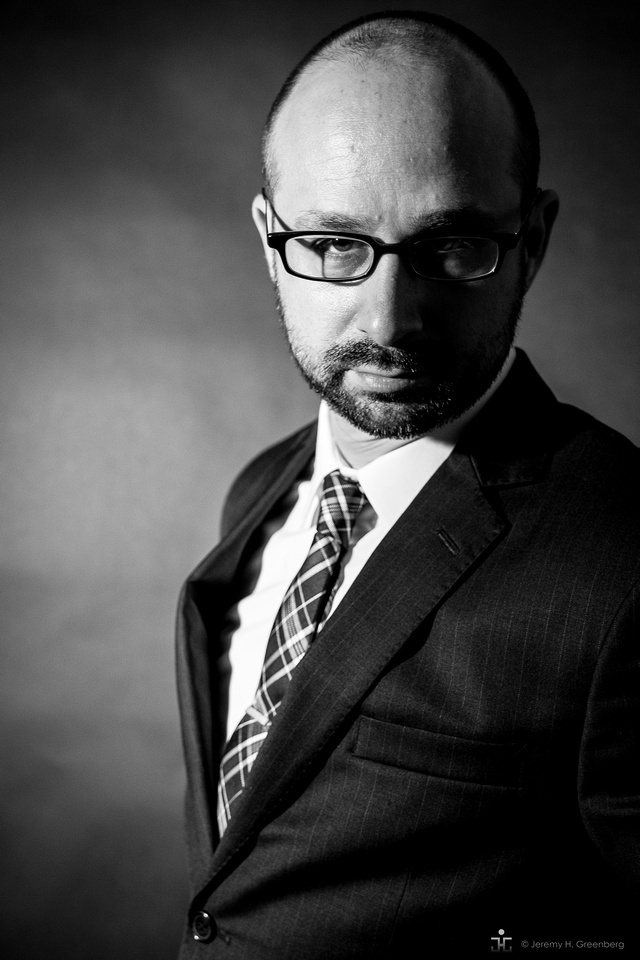
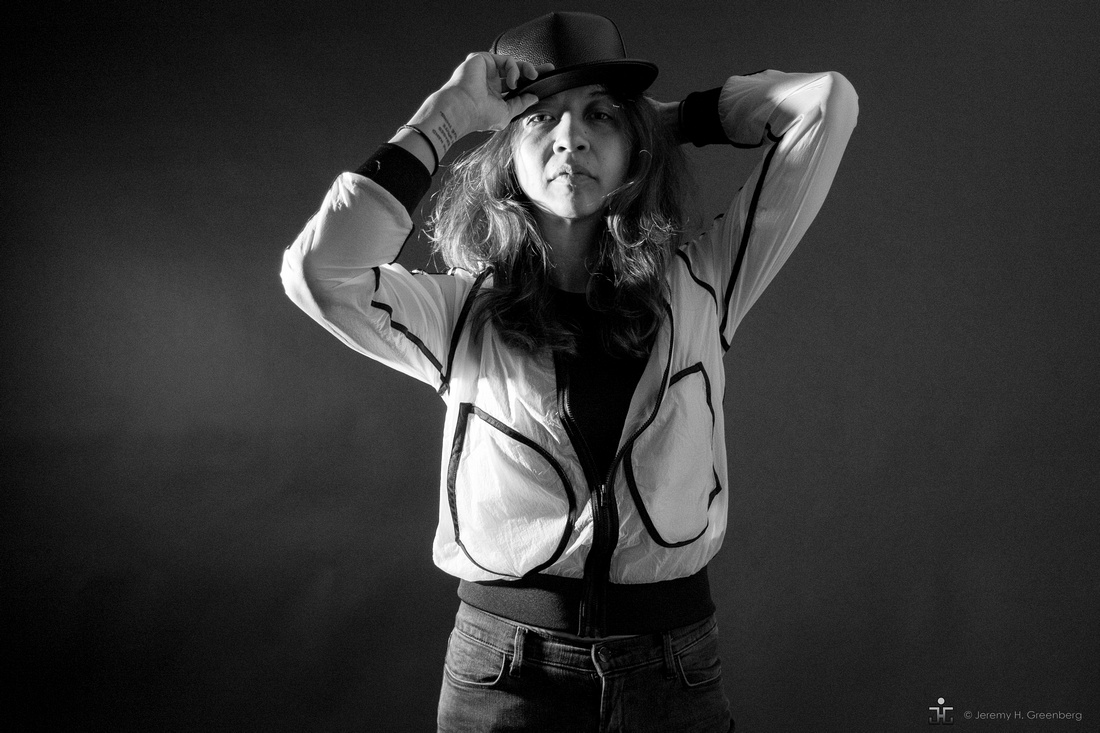
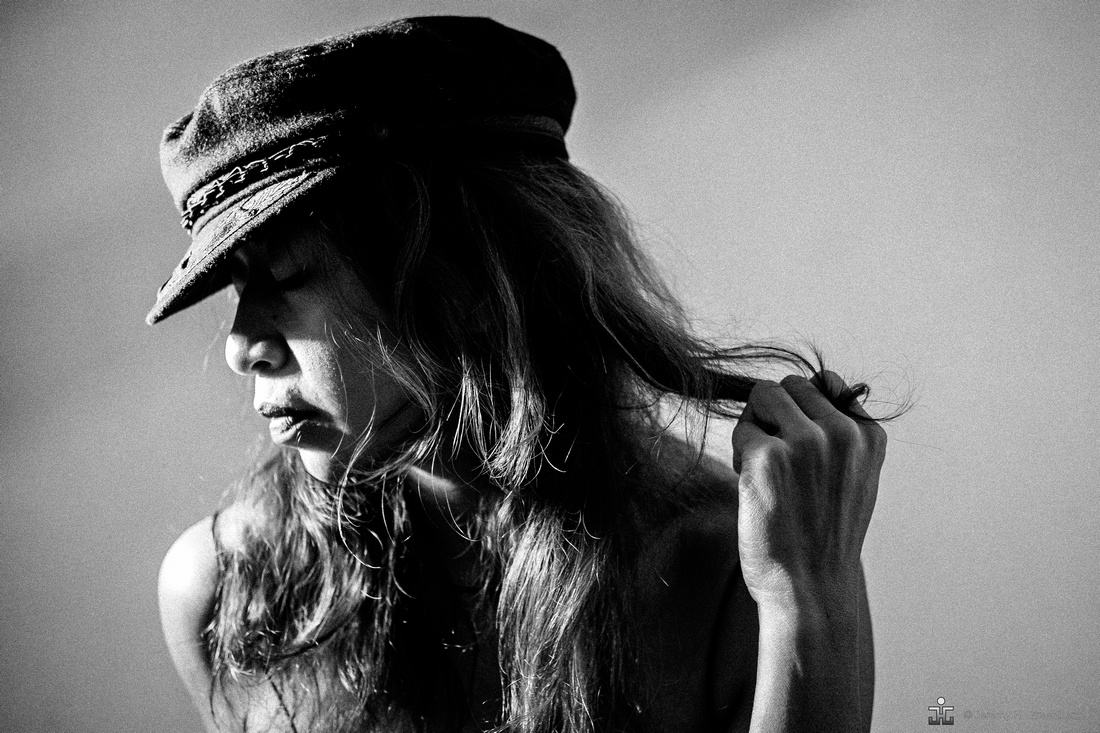
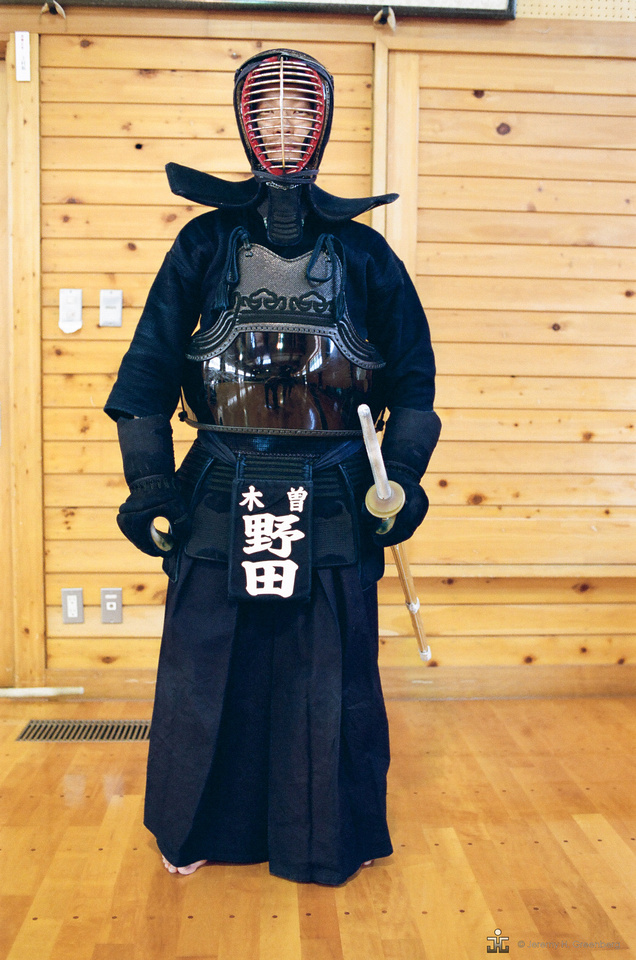
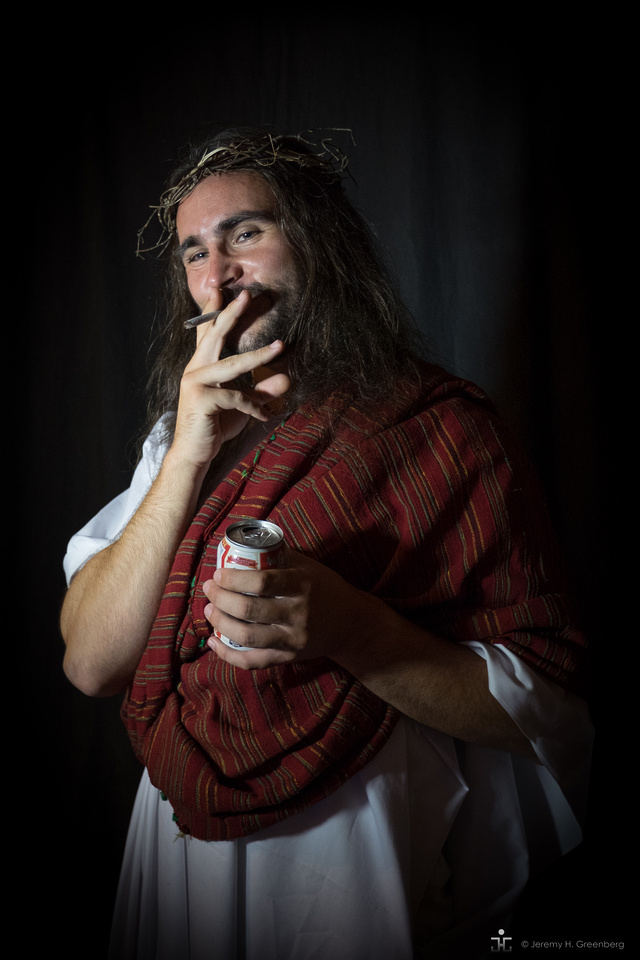
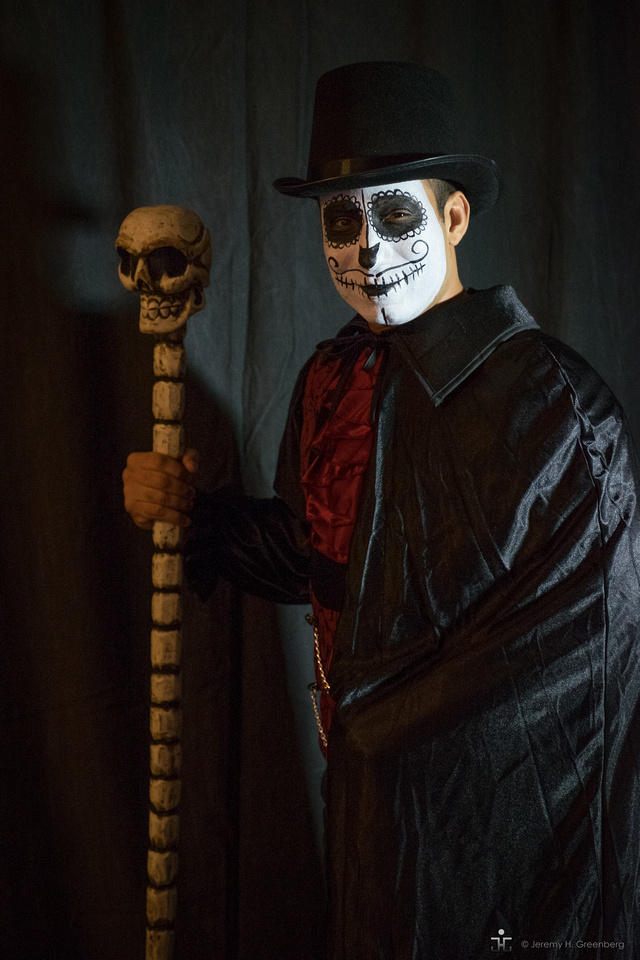
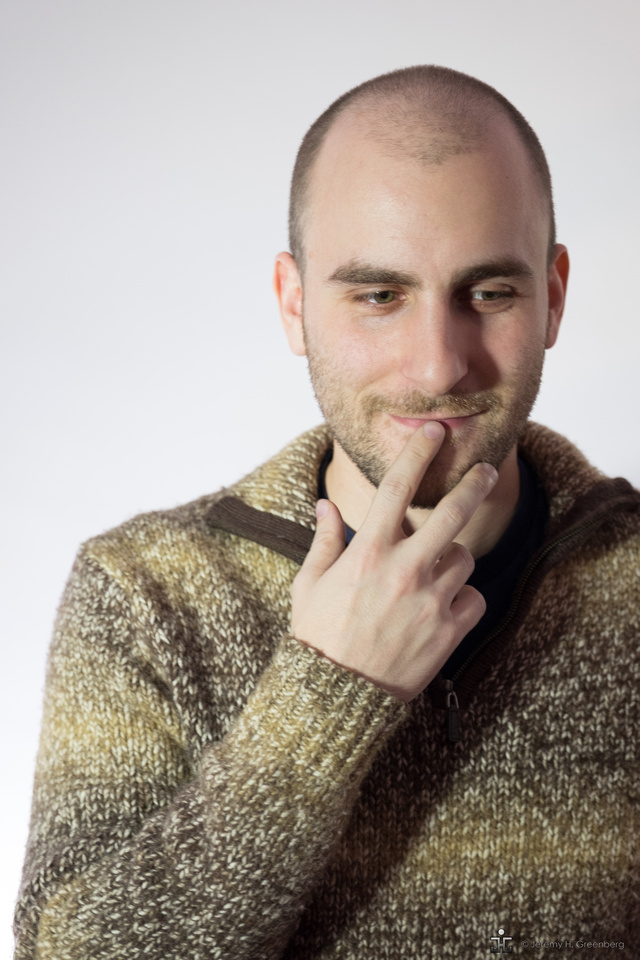
Studio portraits are unique due to the unnatural nature of the studio environment. The person is generally isolated and not only the subject of the image, but the entirety of the image. Lighting is crucial. There are many lighting options. One light, two light, three light, or more are typical. The number (and position) of lights is an important element that functions to communicate the mood of the photo. Everyone needs to be lit differently. There are a plethora of techniques that can be employed to highlight or hide features. One effective technique that can be accomplished in the studio is to light the person based on their mood and or the personality or attitude that they radiate. A dark mysterious teenager can be lit in low light using one light from a 45 or even 90 degree angle, while a playful child can be brightly lit to portray their bright spirit. It is to the advantage of every photographer to have experience lighting different people and practicing this as an important skill even for the amateur or hobbyist.


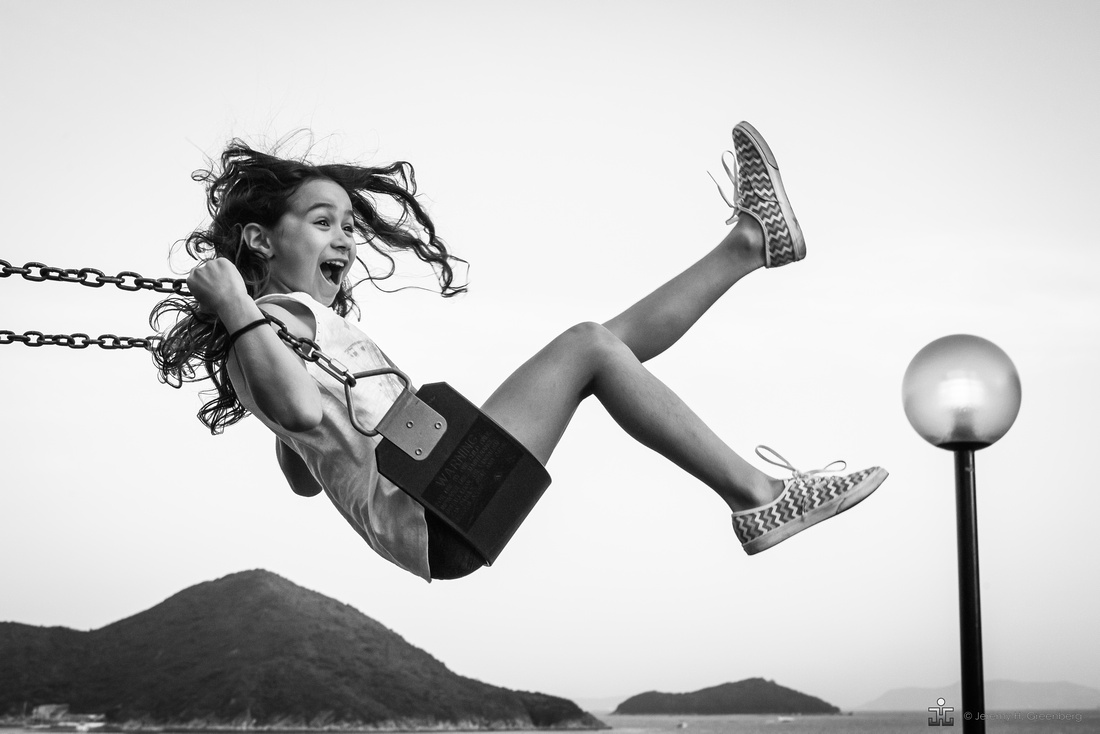
Regarding shooting children, often the best images will occur under conditions when the child, regardless of age, is calm and relaxed and familiar with the photographer. This can be accomplished in many ways, however, flexibility and patience are essential to a successful photo shoot with a child. Be prepared to make a lot of pictures of a child to get a few keepers due to the unpredictable nature of most children, especially young children under 10 years old. Toys, prompts, and a playful approach will all go a long way under these conditions.
On the topic of shooting people in general, a word on lens selection, namely focal length. Although shooting portraits with wider than 35mm lens is certainly possible, the distortion will make the person’s nose look bigger than it really is unless you have an expensive lens that corrects for this effect that is characteristic of wide angle lenses. This is generally not flattering. Use a nifty fifty or better yet, an 85mm lens to compress and flatten the subject’s face, slightly. An 80mm-200mm lens can work well but you may need a lot of space to shoot with longer focal lengths or else you will fill the entire frame with the subjects face. This might be the look that you are going for but I suggest starting with 50 and going up in 25mm increments to achieve the look that you want.
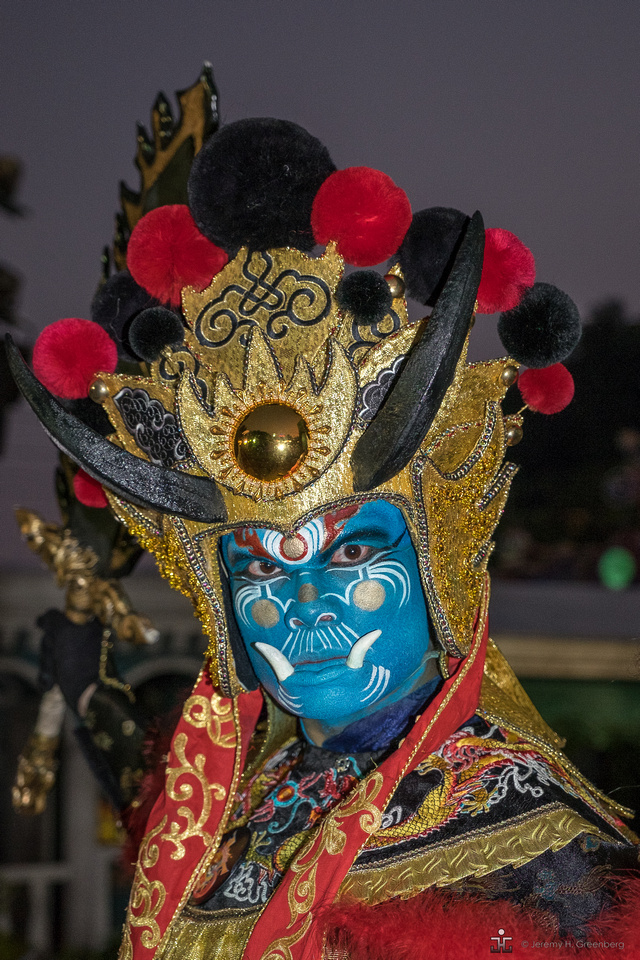
Lastly by all means, avoid poles sticking out of people’s heads and keep the composition clean and tidy. Look at the images in this post. It should be fairly obvious which of the three types of portraits each image falls into. Most of all, practice, and enjoy the process.
Remember, the light is always right.
jhg