Blog #55 Back to Basics: Extreme [Extremity] Photography Part 3
Blog #55 Back to Basics: Extreme [Extremity] Photography Part 3
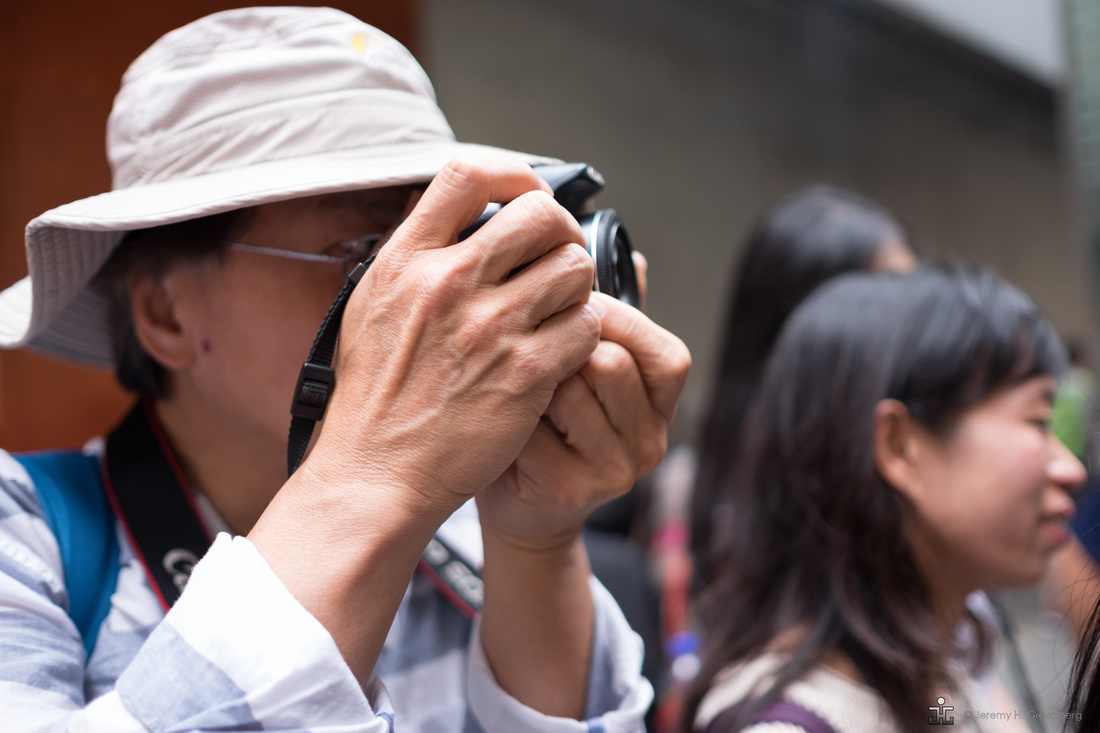
The last two blog entries are titled, Extreme [Extremity] Photography Part 1 & Part 2. The intention there was to illustrate how to make portraits of people or otherwise interesting images that included only their hands or feet [shoes]. As a photographer you are involved in an active process or decision to include or omit part of your subject. Your decision to omit most of the subject will result in an incomplete story that leaves the viewer with the task of filling in the gaps.

Making images involves many decisions. There are decisions about cameras, film, lenses, exposure, aperture, where to put your feet, when to press the shutter release button, and what to include as well as exclude in the frame.
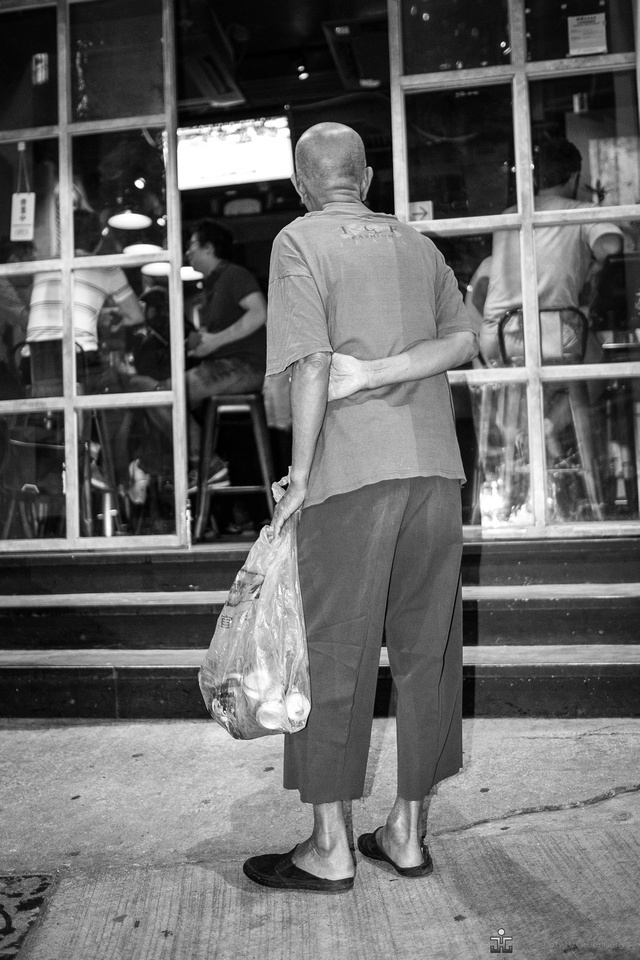
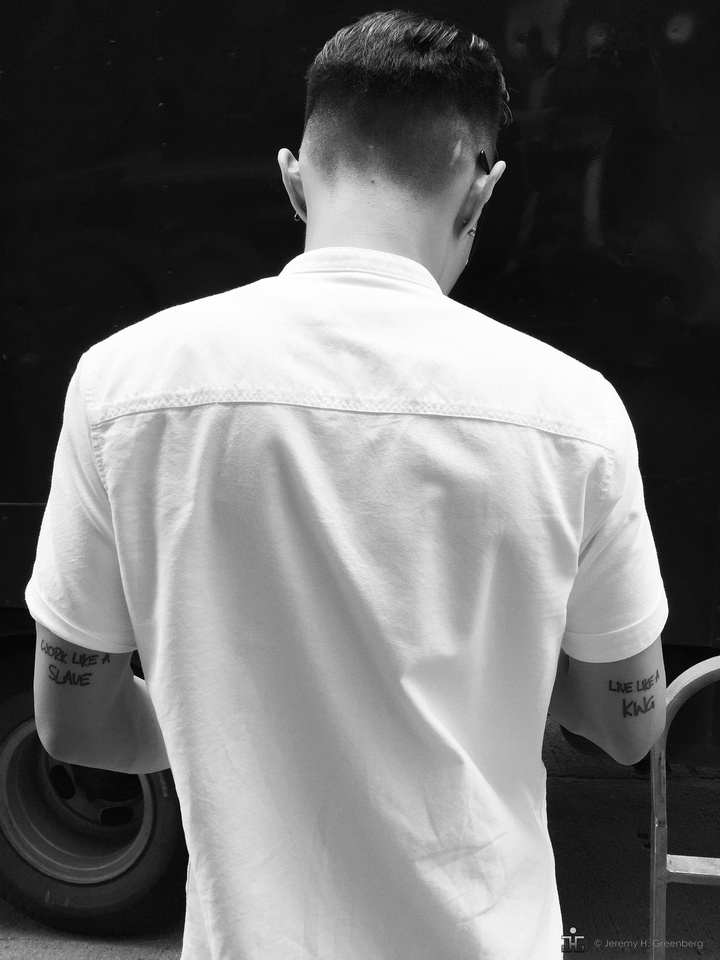
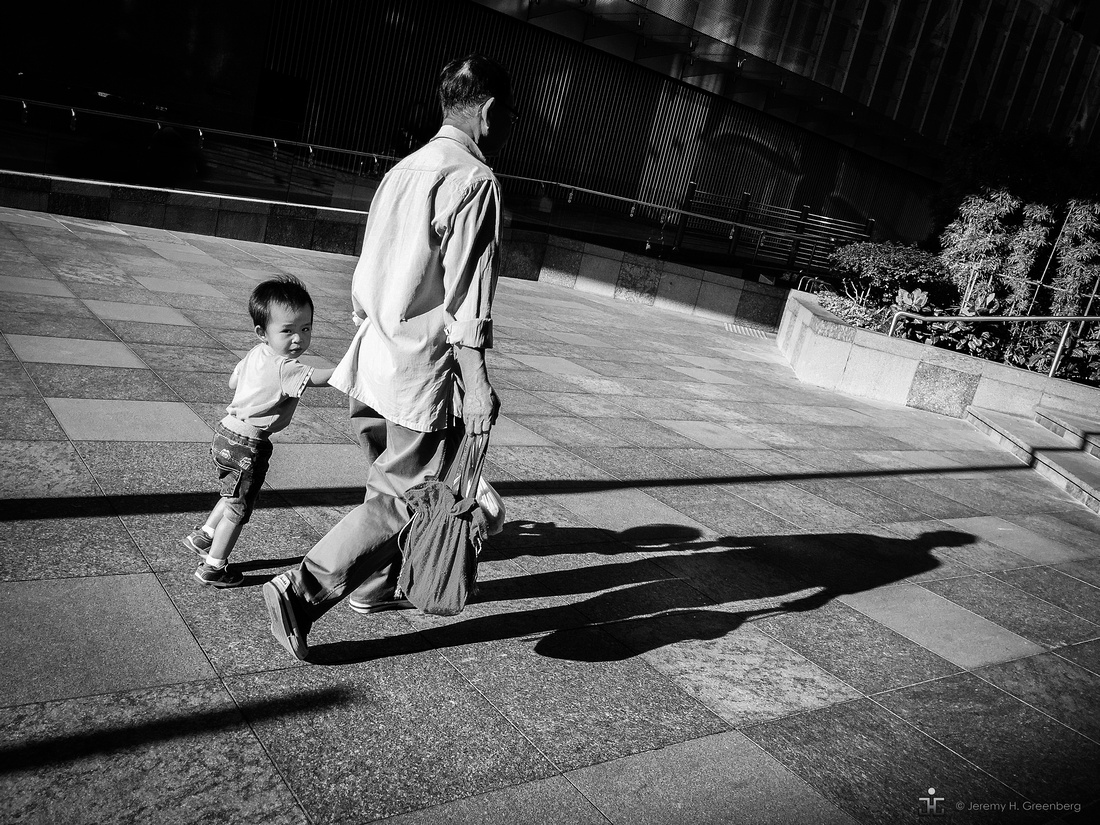
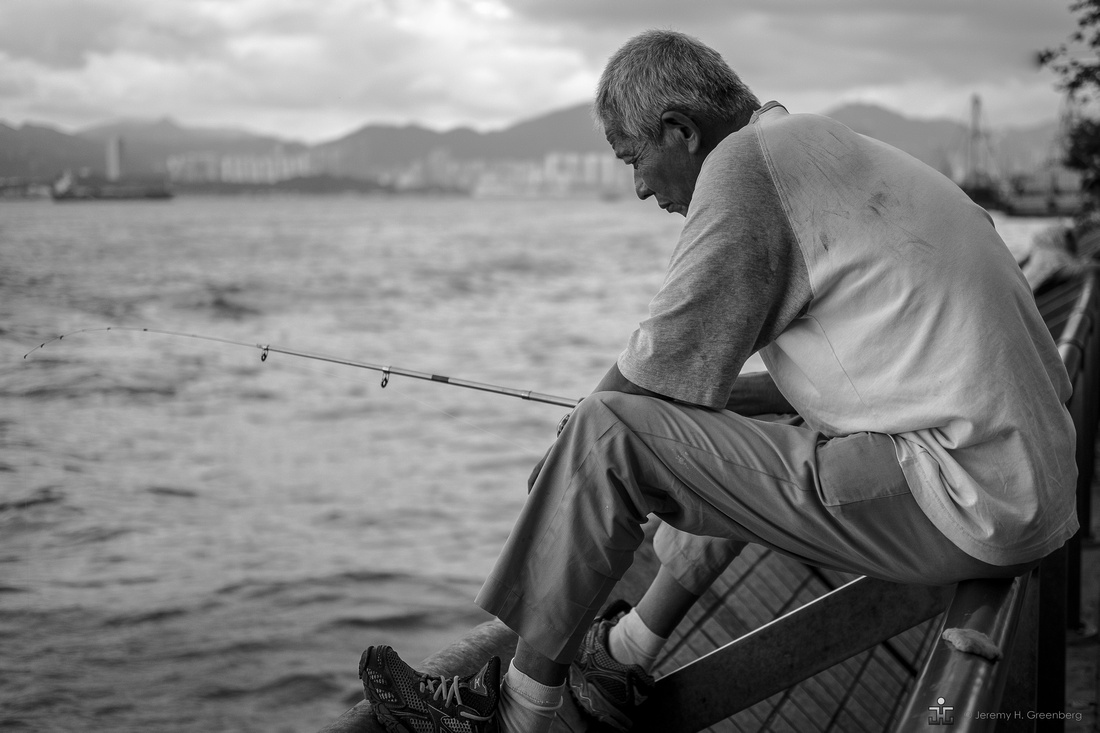
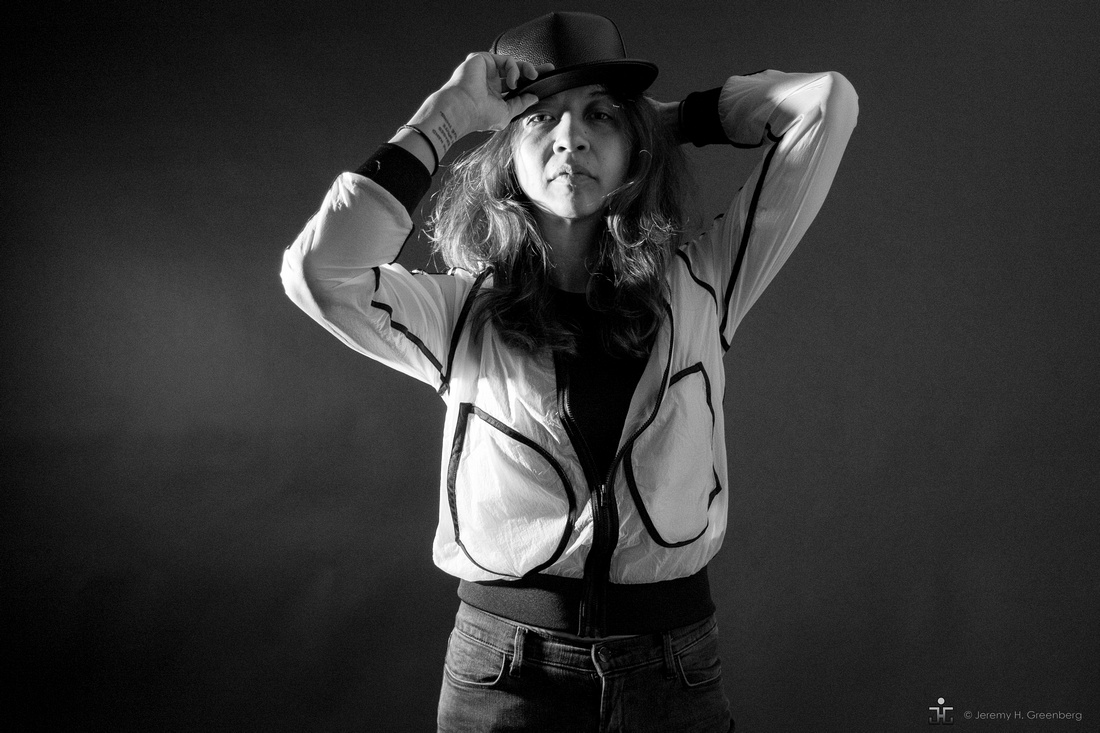
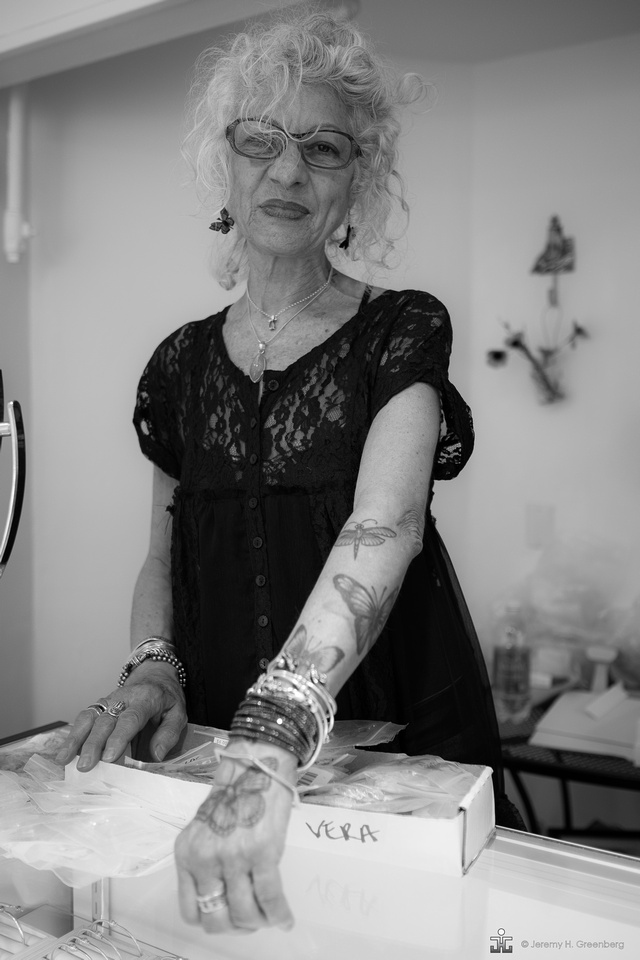
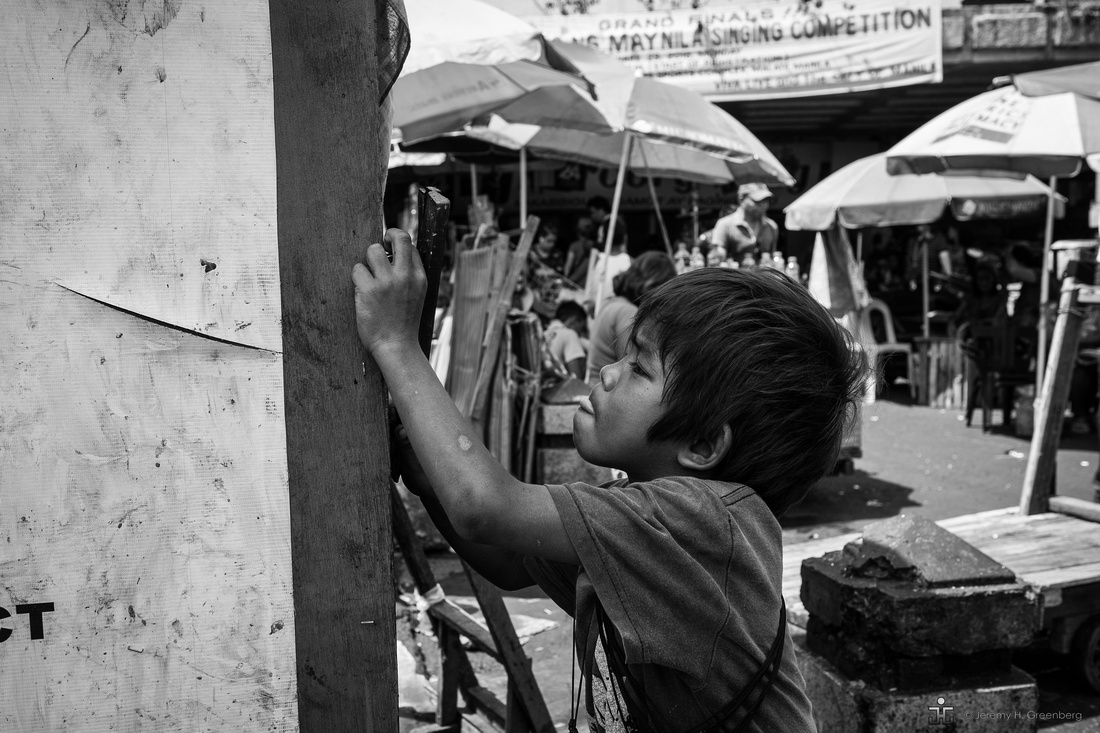
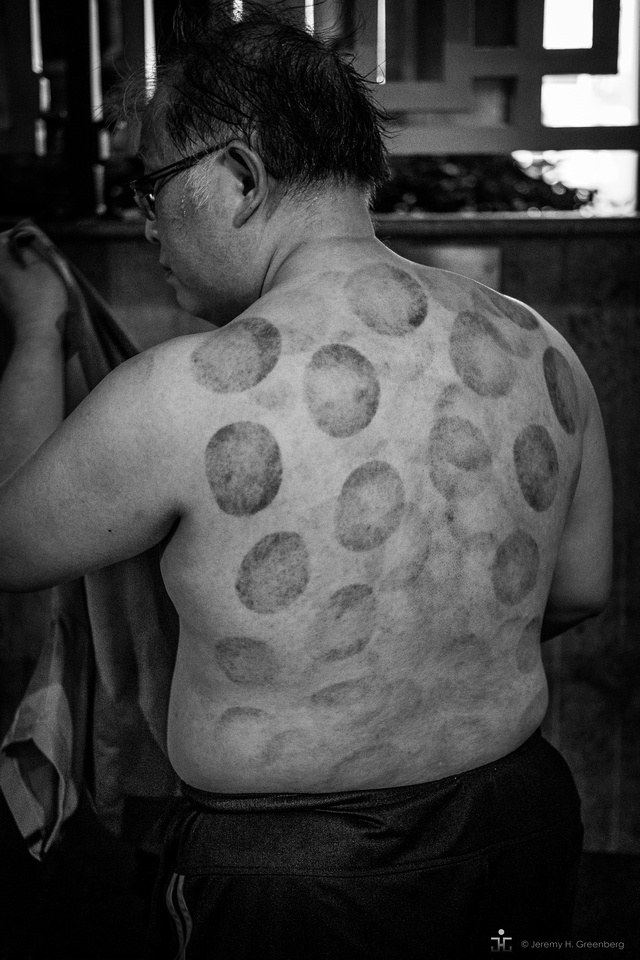
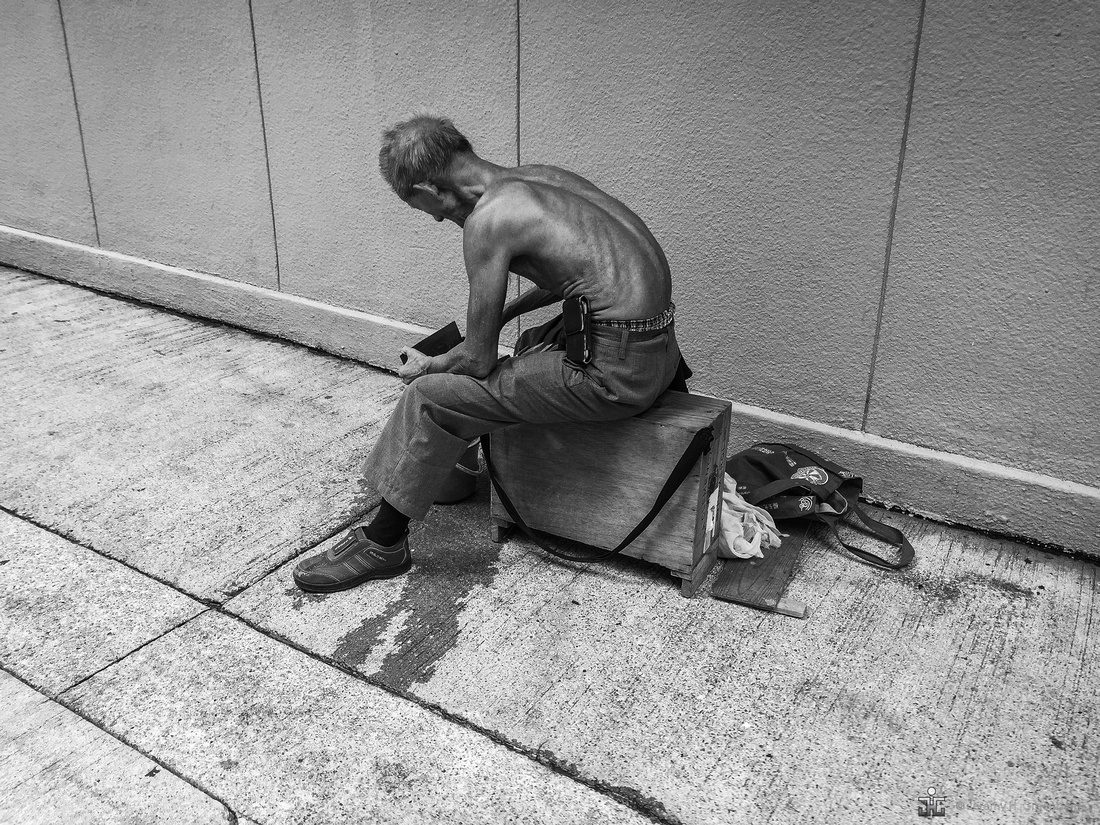
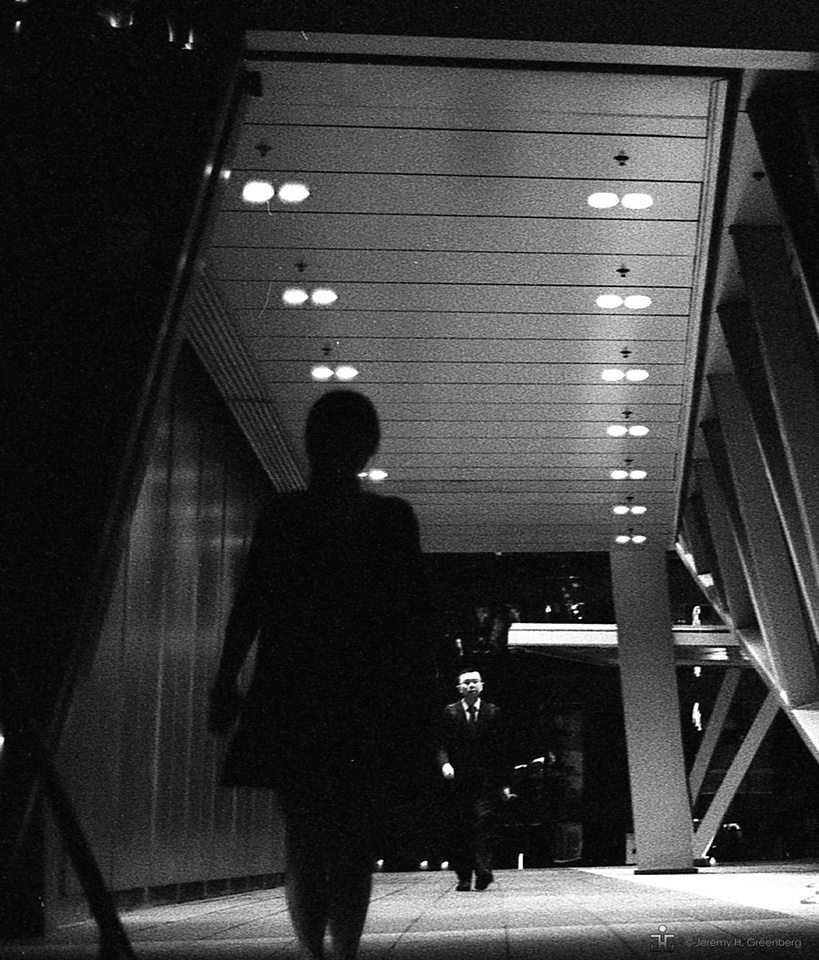
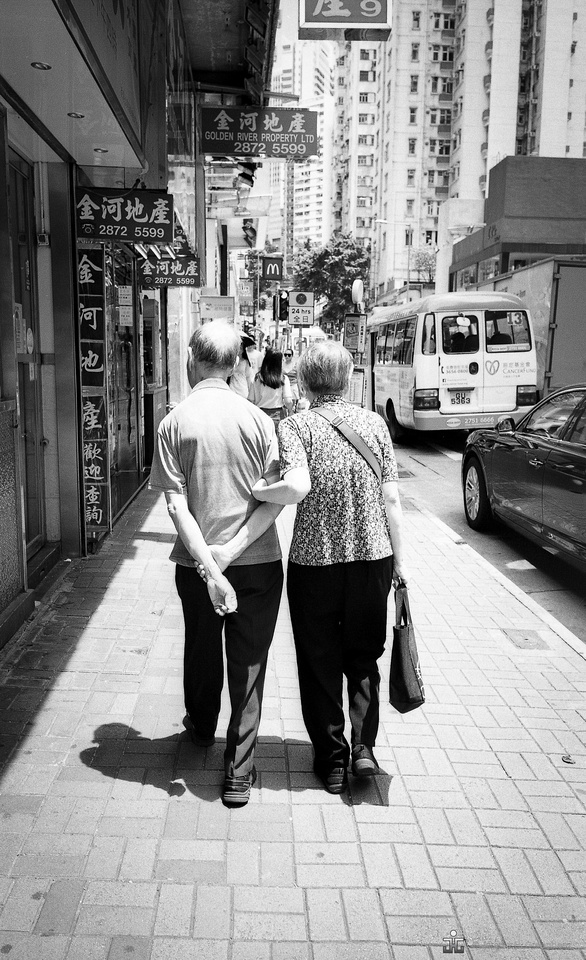
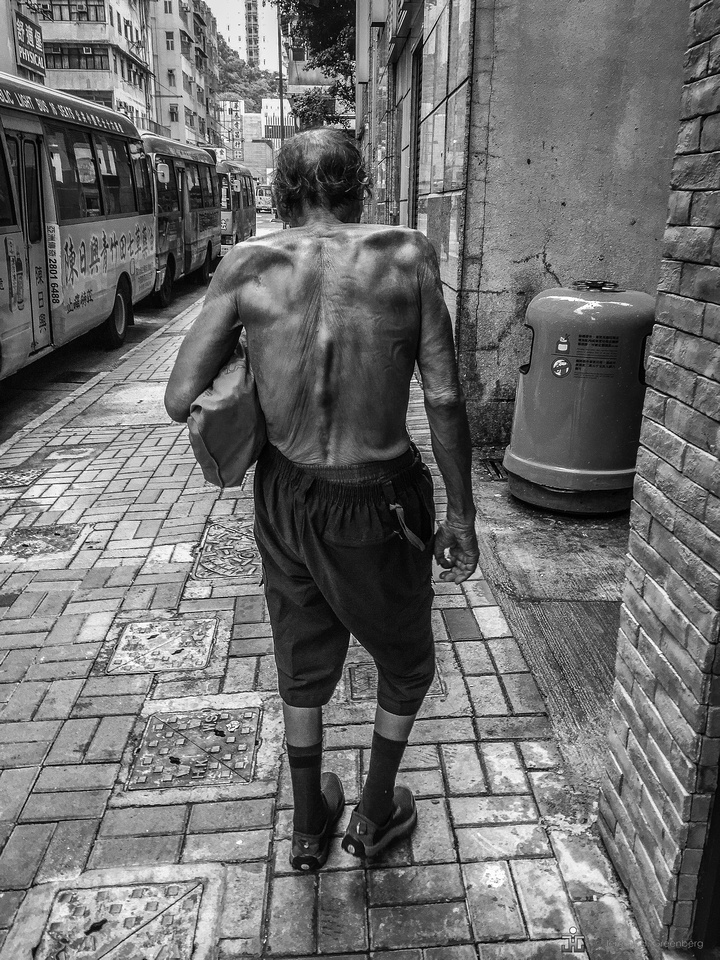
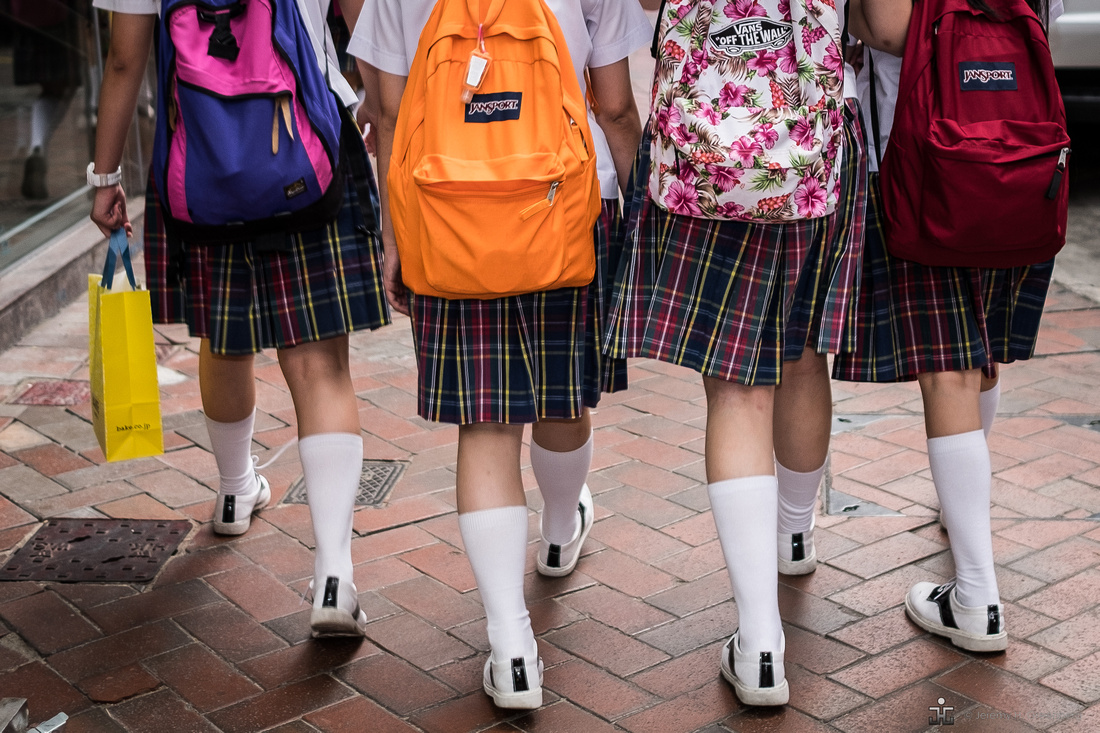
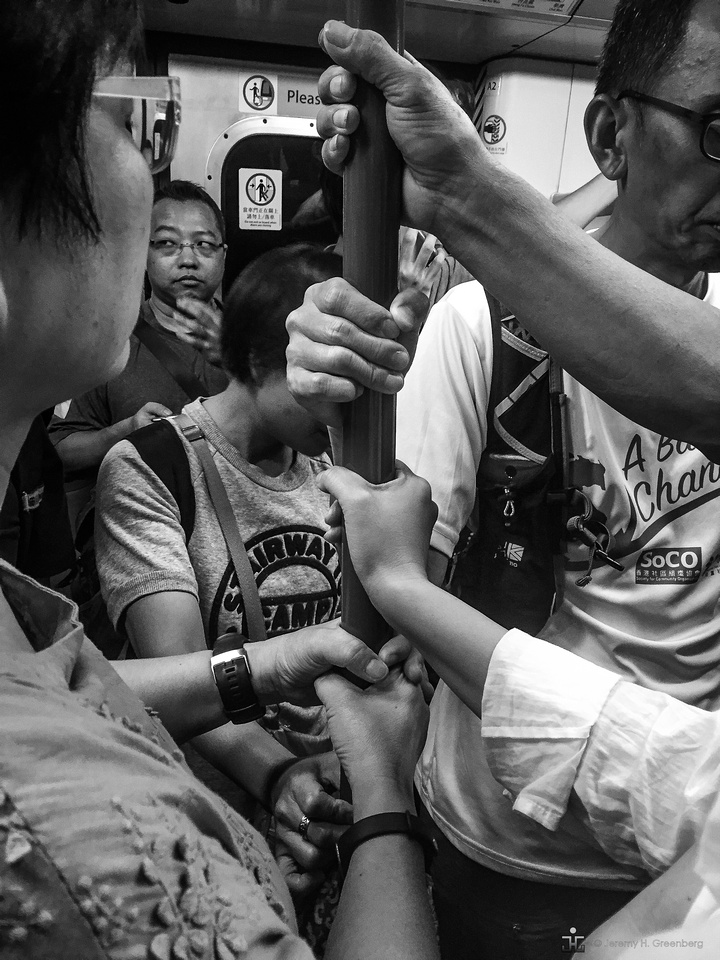
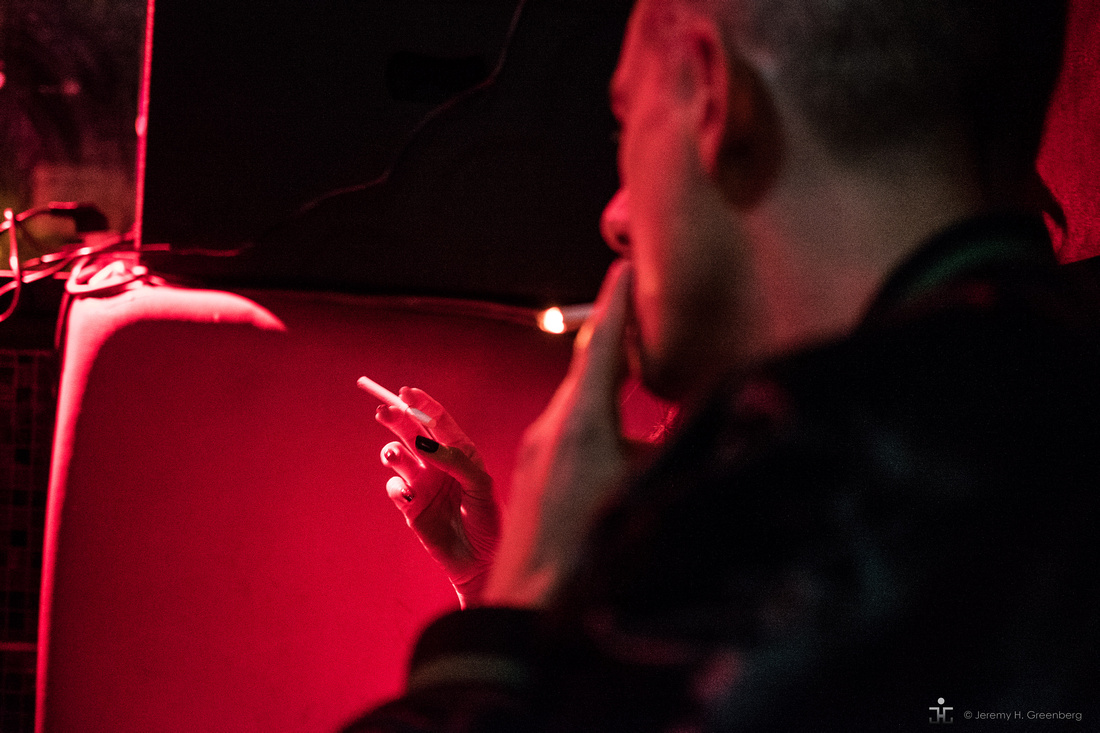
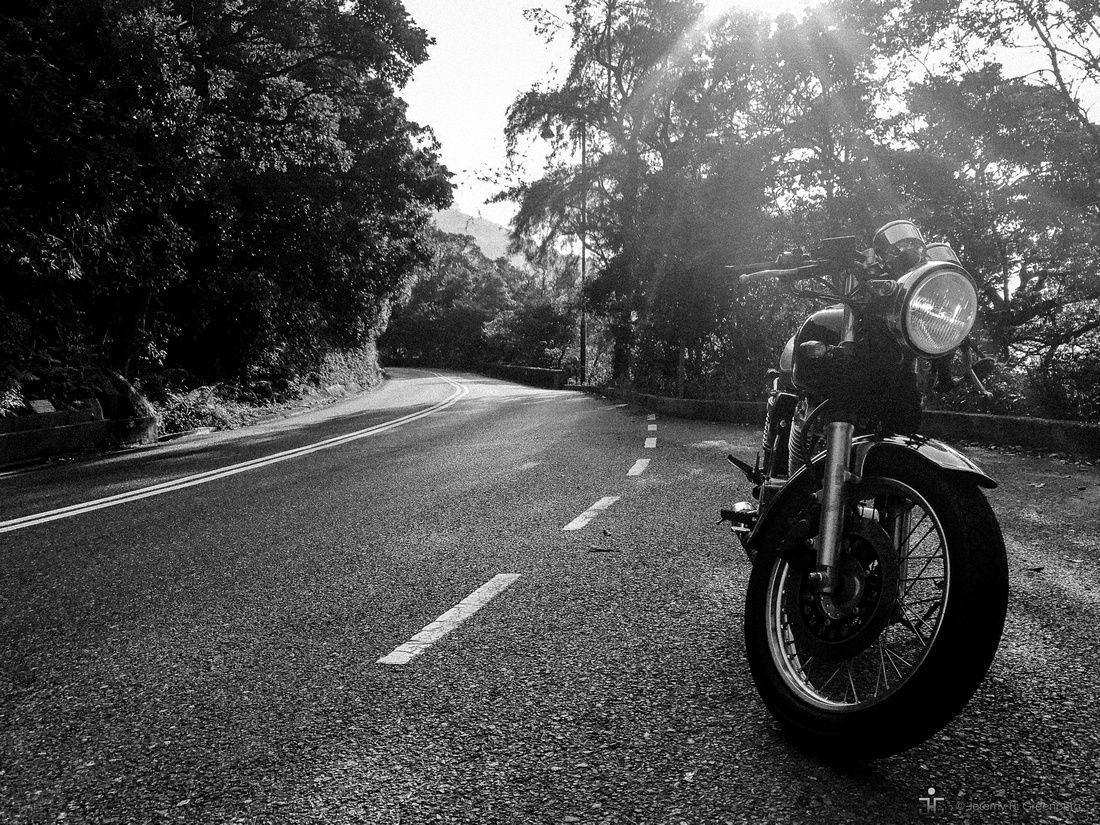
Without realising it when I set out to write Part 1 and Part 2 blog entries, I has already gathered quite a few images of people showing only their backs. These are also challenging images and they don’t always work. In this last of a three-part series, I offer some examples of portraits and some candid street images that include only the back of a person with little else.
Do you think that they work? Feel free to leave comments above.
Thanks for reading and remember, the light is always right.
jhg


Blog #54 Extreme [Extremity] Photography Part 2
Blog #54 Extreme [Extremity] Photography Part 2
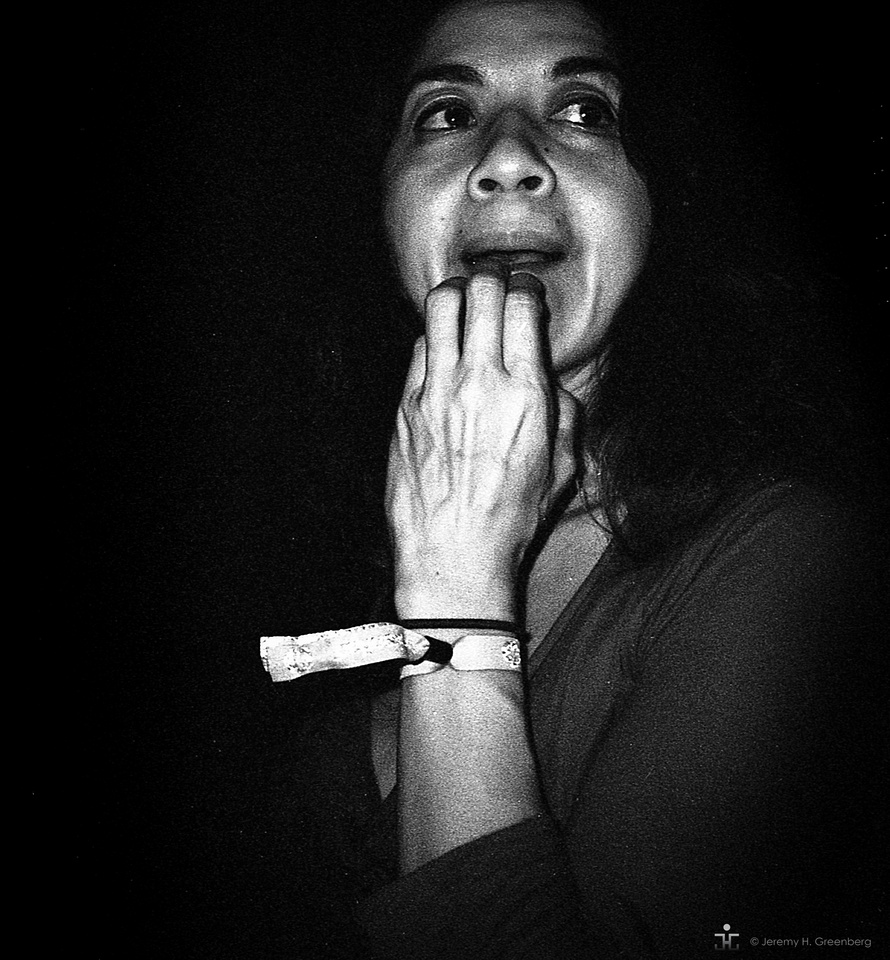
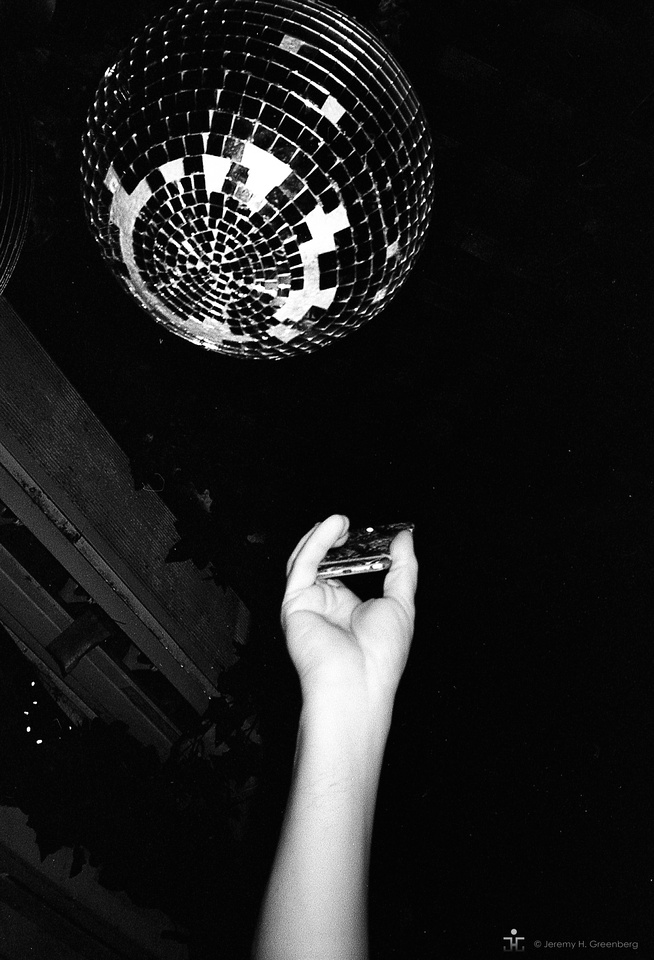
In last's week's blog, I wrote about a simple idea. Namely, the process of making images using only a part of someone and why on earth that might be a desirable thing to do.
Hands were the subject of that blog post. You might want to try and make hands the subject of your image. This week, as promised, I offer the second part of this mini two-part series.
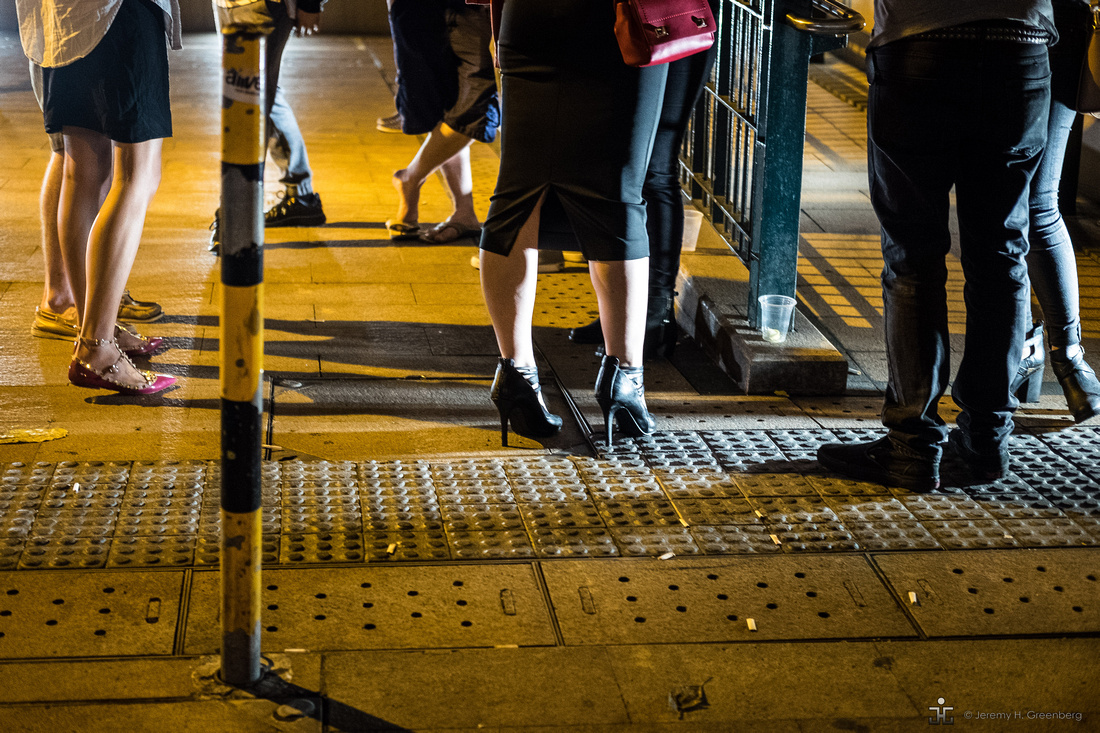
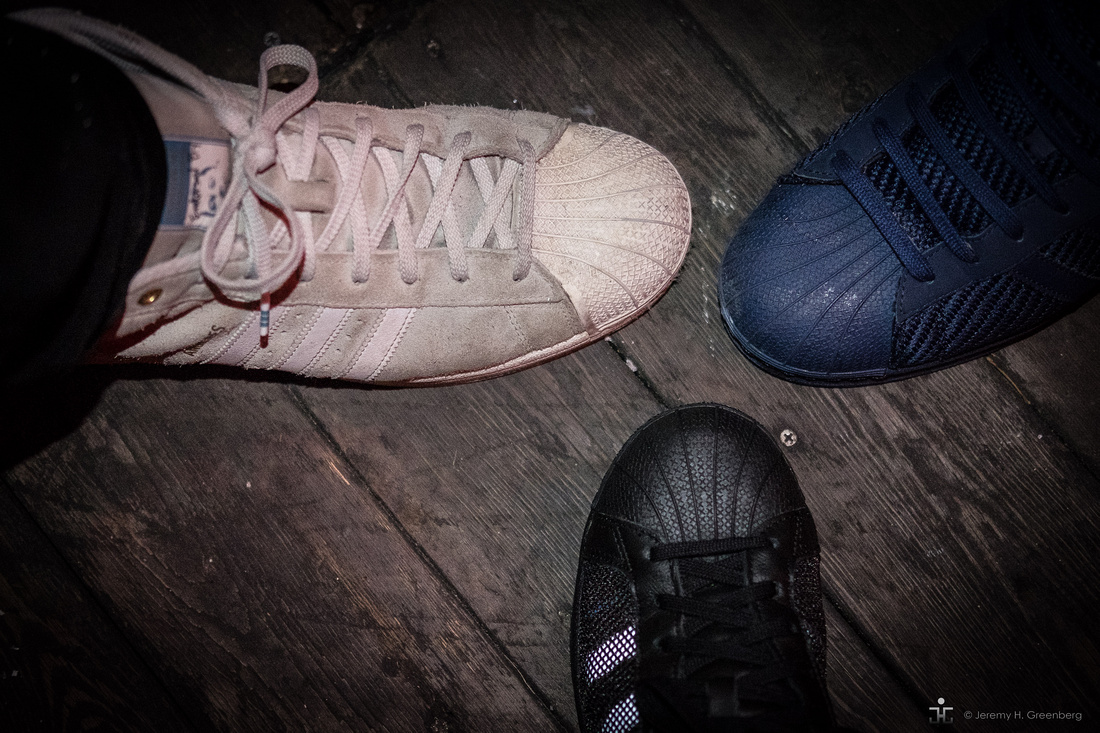
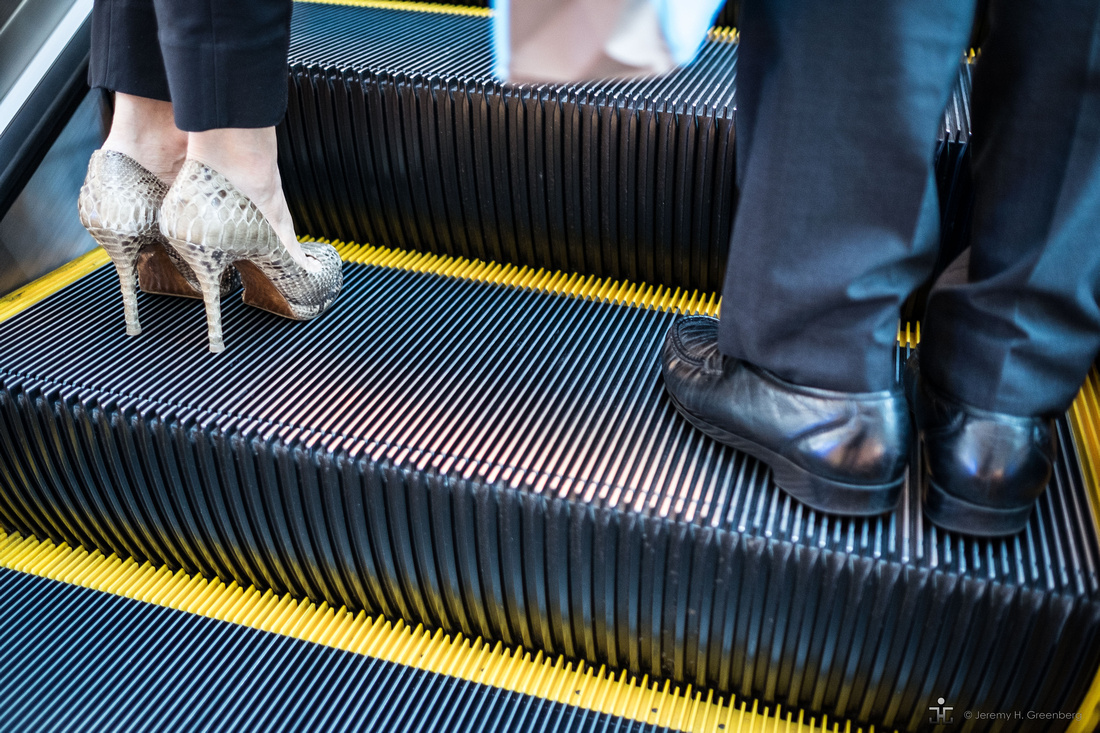
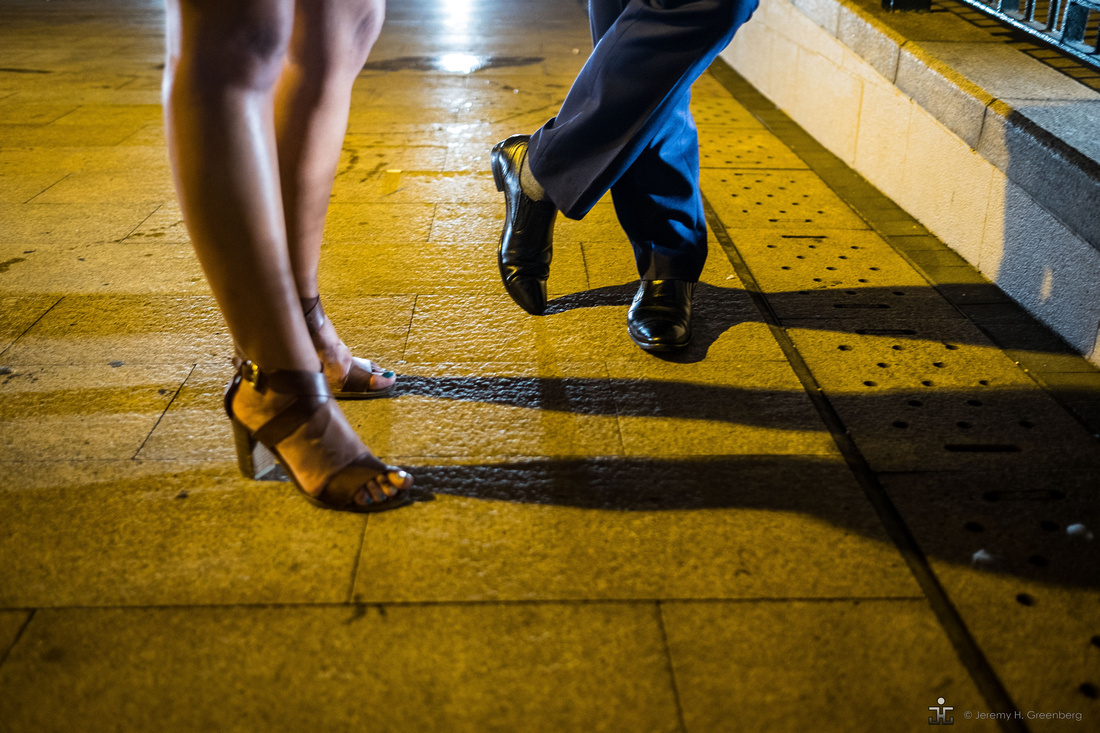
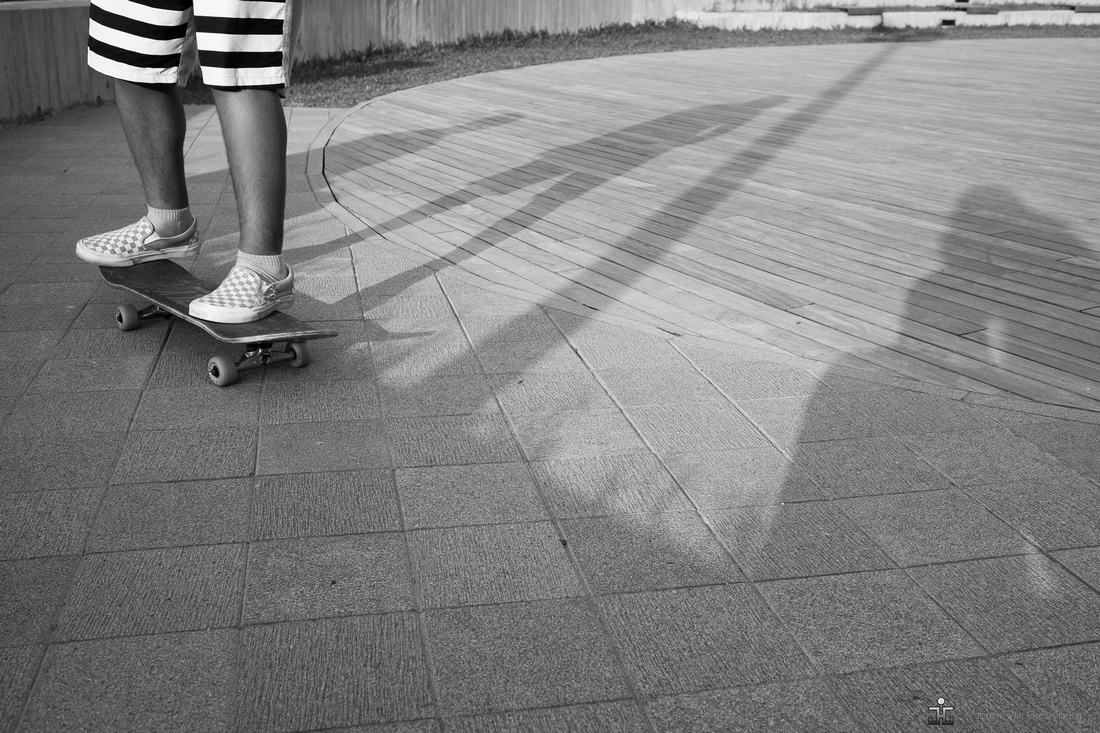
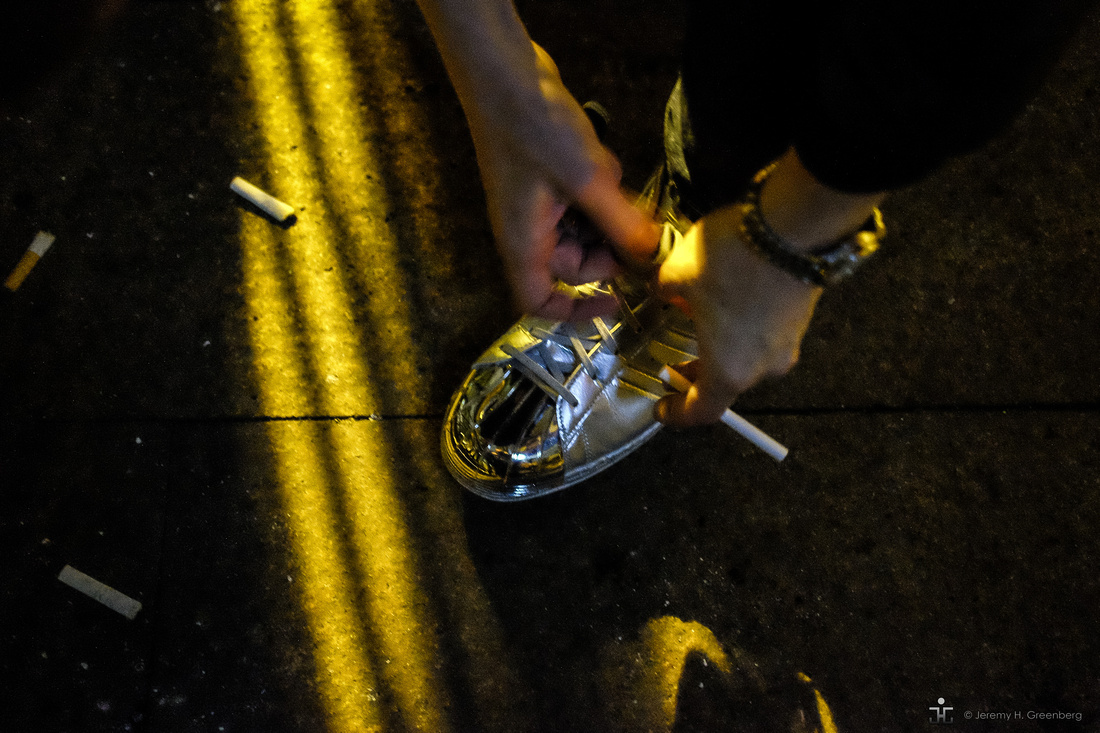
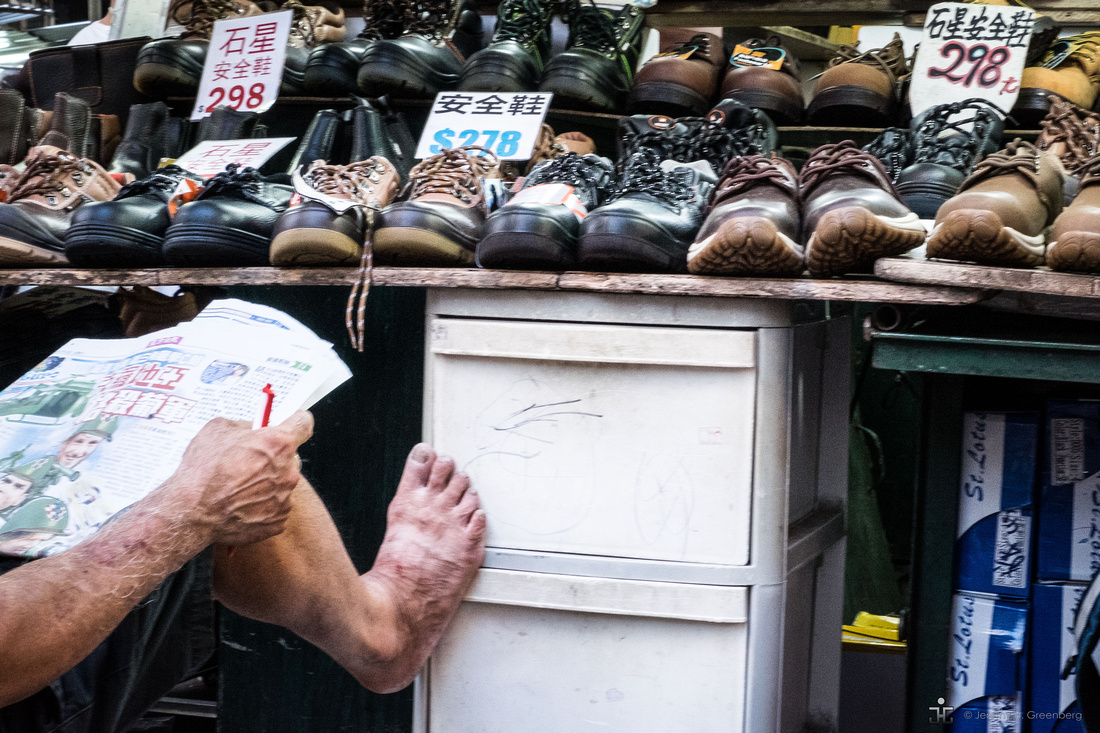
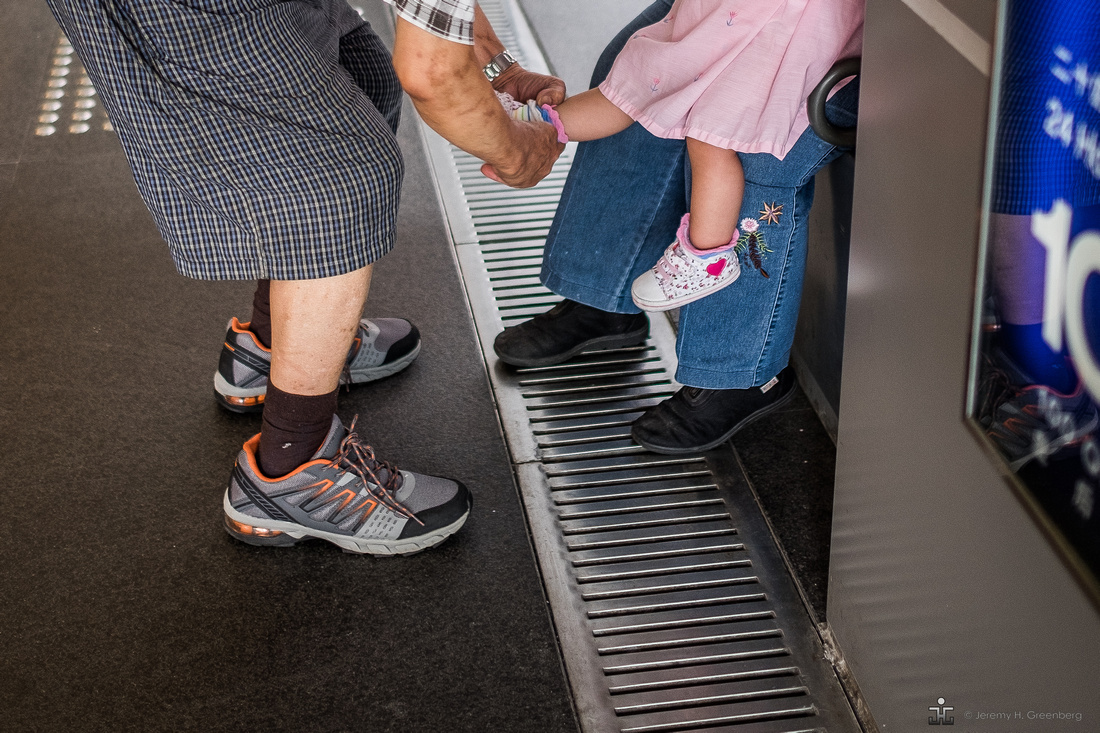
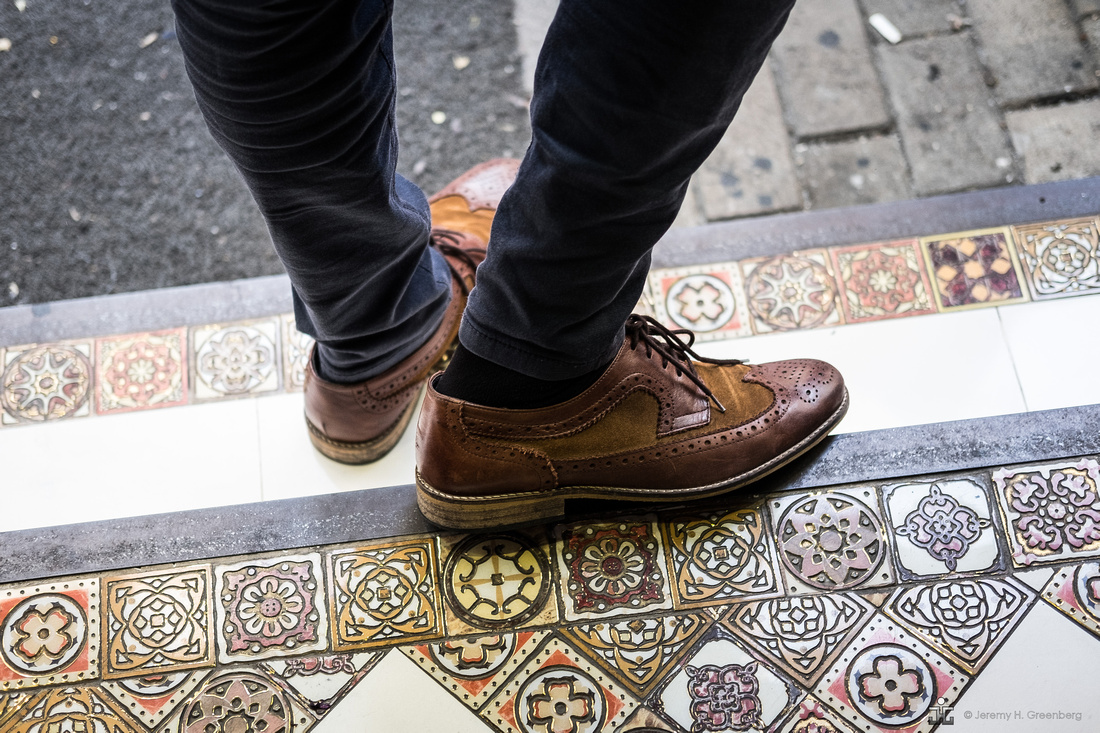
This time, I suggest that you consider using another extremity, namely, feet (or shoes), as the subject of your images.
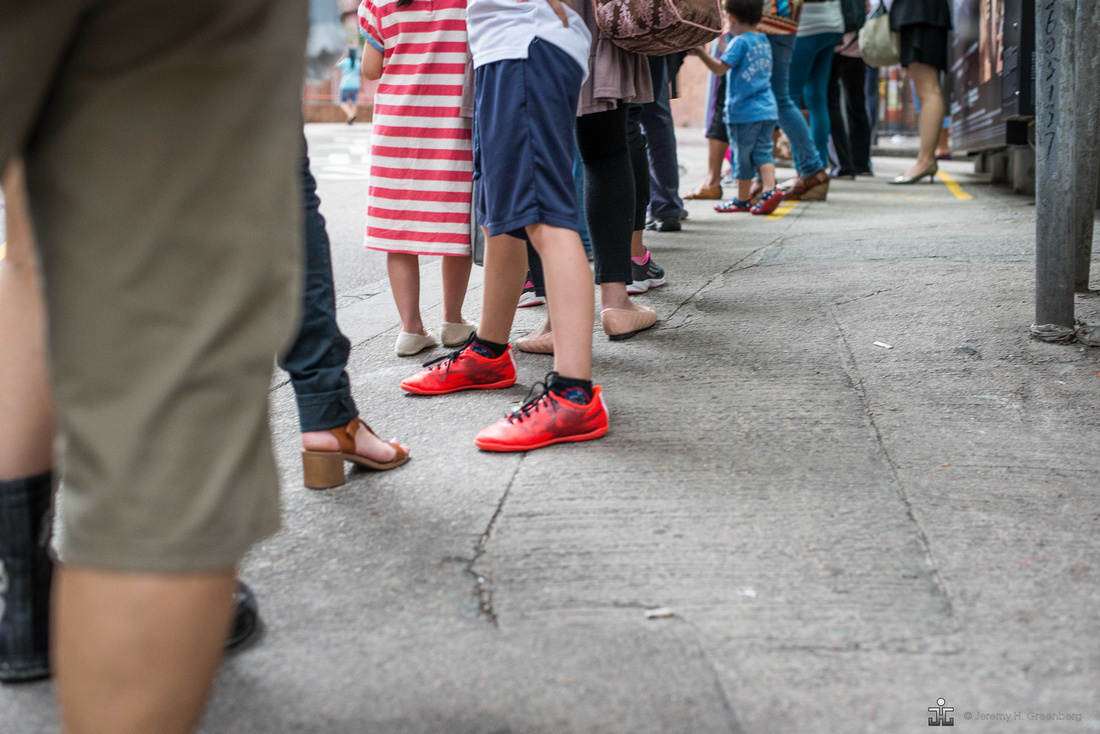
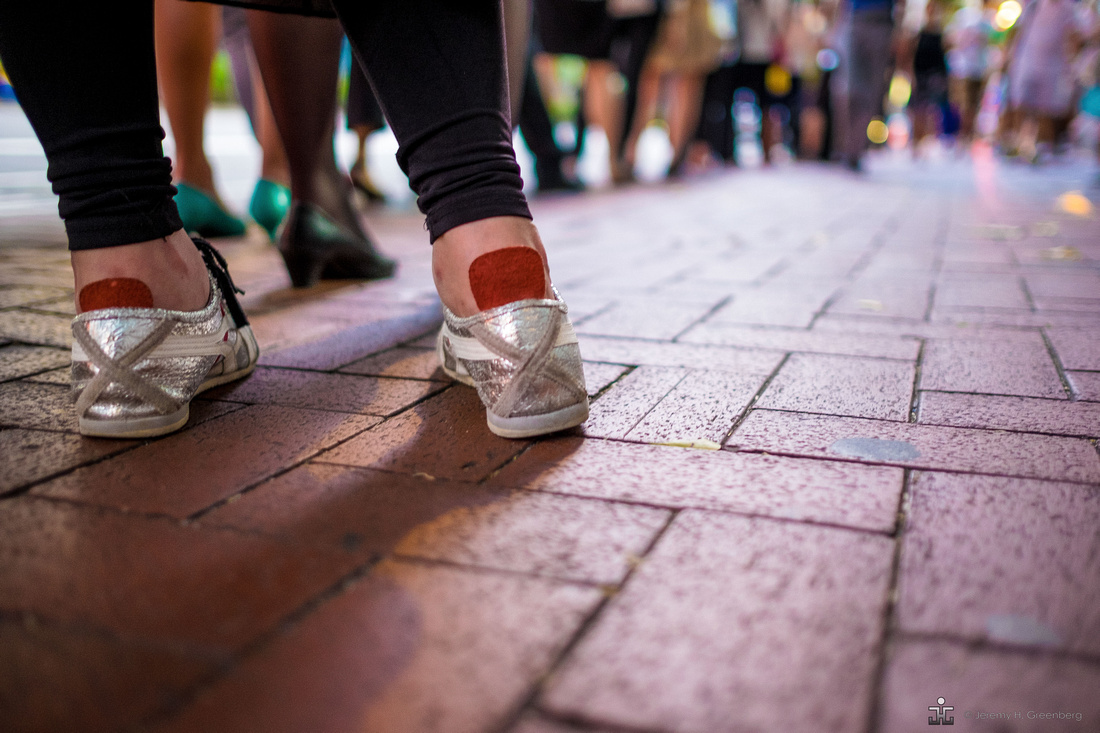
You can tell a lot about a person by there feet and shoes. Shoes connect with the ground and provide clues to the individual's personal aesthetic. Shoes, along with other items of fashion, define occasions. While they do not define a person, per se, they certainly can make lasting [or fleeting] impressions of someone.
By viewing and inspecting the feet, shoes, and "lower portion" of a person such as their legs, you can give clues about them without providing the viewer of the image with all of the information, visually, about your subject. Subsequently, the viewer is tasked with filling in the blanks so to speak with the rest of the story. Sometimes you can get away with making your viewer work a little harder than usual to figure out what you are presenting, or better yet, trying to say through your images.

Indeed, I tend to agree with Andy Warhol's statement,
"Art is what you can get away with".
If you're tuning in for the first time, check out the Part 1 here.
Otherwise, look on and remember...
The light is always right.
jhg


Blog #35 Extreme [Extremity] Photography Part 1
Blog #53 Extreme [Extremity] Photography Part 1
According to Cig Harvey, pictures can work well when they are about things rather than of things. Everyone can easily relate to photos of people that include all of most of the subject. However, images can be composed such that the subject is a body part such as hands or feet [shoes]. When the photographer intentionally omits information from an image, the result can be interesting or conceptual, in other words something if left to the imagination.

Photos of hands or feet allow the viewer to place themselves in the image, so to speak, and to generalise the scene to their own experience. In this blog post, Part 1 will be all about hands. The next blog post, Part 2 will be all about shoes and I will share my attempt to tell a story only through shoes.
Photographer Jason Eskenazi said it well.
“As a photographer if your photos are too obvious then you’re missing the point. Photos are about mystery, about not knowing, about dreams, and the more you know about that—then you can recognize them on the street.”

My aim here is to inspire you to get off your beaten path, so to speak. If you are not used to making images of this type, go make 36 to experience a fresh perspective or specific type of image. Why 36? Because that’s how many frames you get in a 35mm roll of film! Try to make the viewer pause and have to work for the meaning in the image.


Try this approach to add a fresh perspective to your work. One caveat. Be patient. Sometimes you need to let these types of images come to you and reveal themselves. Just hands hands are notoriously one of the most difficult things to draw or paint, these are difficult images to fish for as well, but are well worth the effort in the long run. The point here is to be open to all perspectives, angles, and possibilities. Incorporate hands into your project, or the story that are are working on.
Happy hunting.
Remember, the light is always right.
jhg


Blog #52 Marc Levoy’s 18 Lectures on Digital Photography
Photography is fun! Learning about how to make pictures and the underlying principles about how it all works can be equally fun. Whether you are an amateur, hobbyist, or aspiring professional, the field is vast and the breath of knowledge is deep. Past blogs have discussed and encouraged formal instruction in photography as a form of self-improvement (see also Part 2). Becoming better at making pictures and putting in a little effort and practice can yield lifetime of enjoyment in the medium for you and others.
Marc Levoy has offered 18 lectures on the topic of Digital Photography online through You Tube. Click here to begin watching Video & Lecture 1. Dr. Levoy is a very knowledgable professor emeritus. His background is in architecture, and computer science. His lectures are all available online and for free. Click here.
Topics include: a history of photography, color theory and related information, cameras, lenses, lighting techniques, and other related subjects within photography. Caveat! There is a heavy emphasis on the math and science behind the principles and techniques. Discussions about sensor architecture are somewhat interesting but you might not find them so. He uses algebra, geometry, and calculus along with some advances operations and visual graphic displays to illustrate the points. All this gets a bit tiresome for the non-electrical engineers in the audience [such as myself]. Students in his lecture are typically engineers from Pixar, Google, and other silicone valley agencies. However, just as you’re about to fall asleep he changes topics into areas that are more interesting albeit relevant to the typical photographer.
The lectures wavered between irrelevant and review for me, personally. However, they were entertaining and interesting on some level.

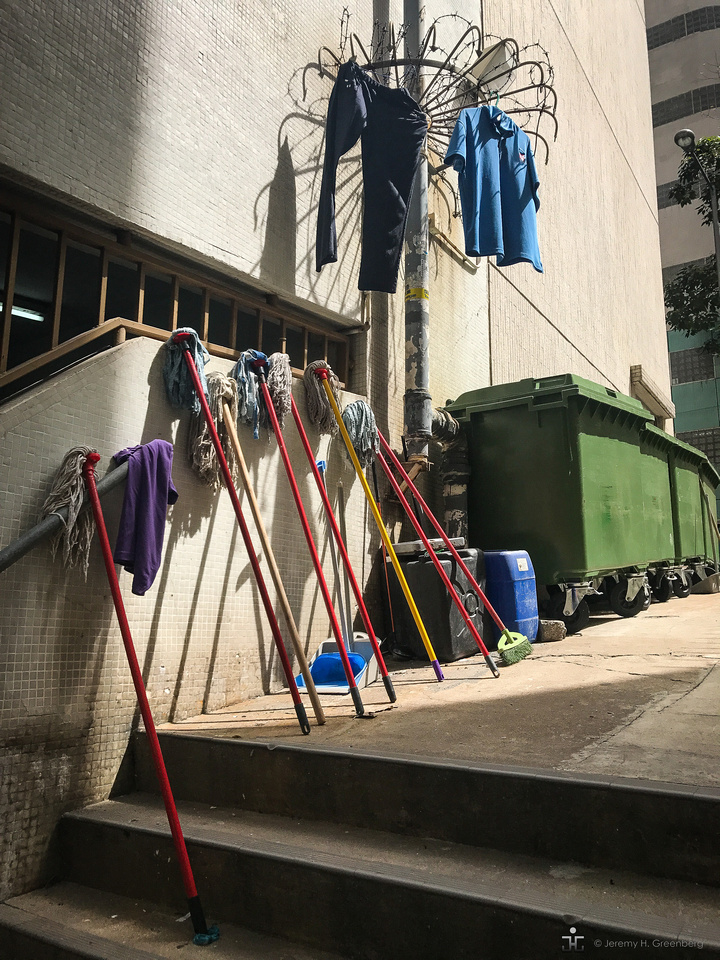

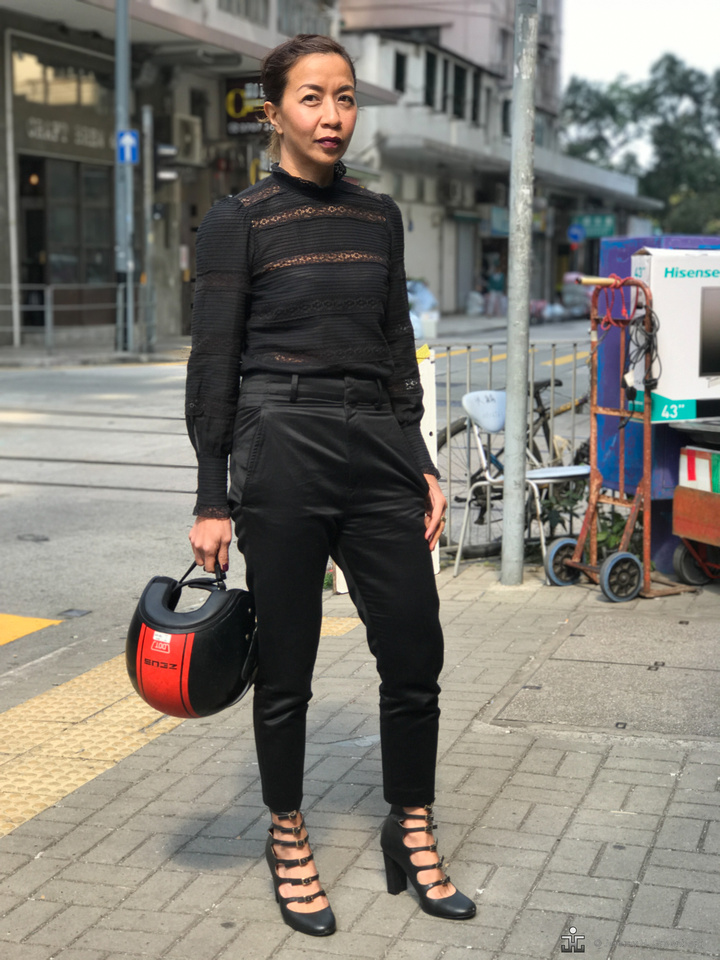
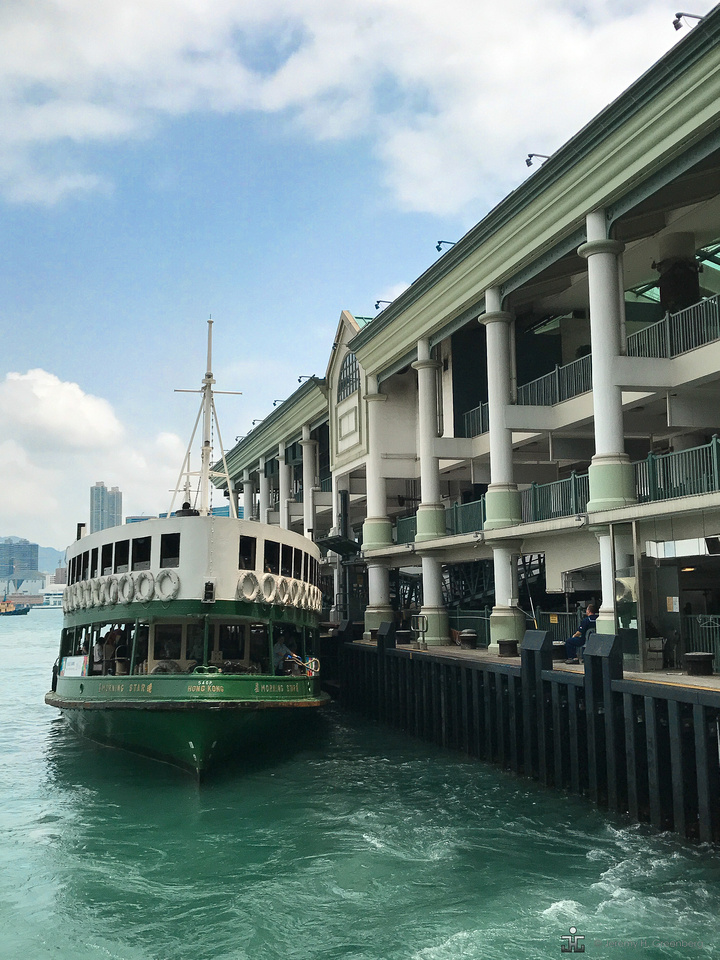
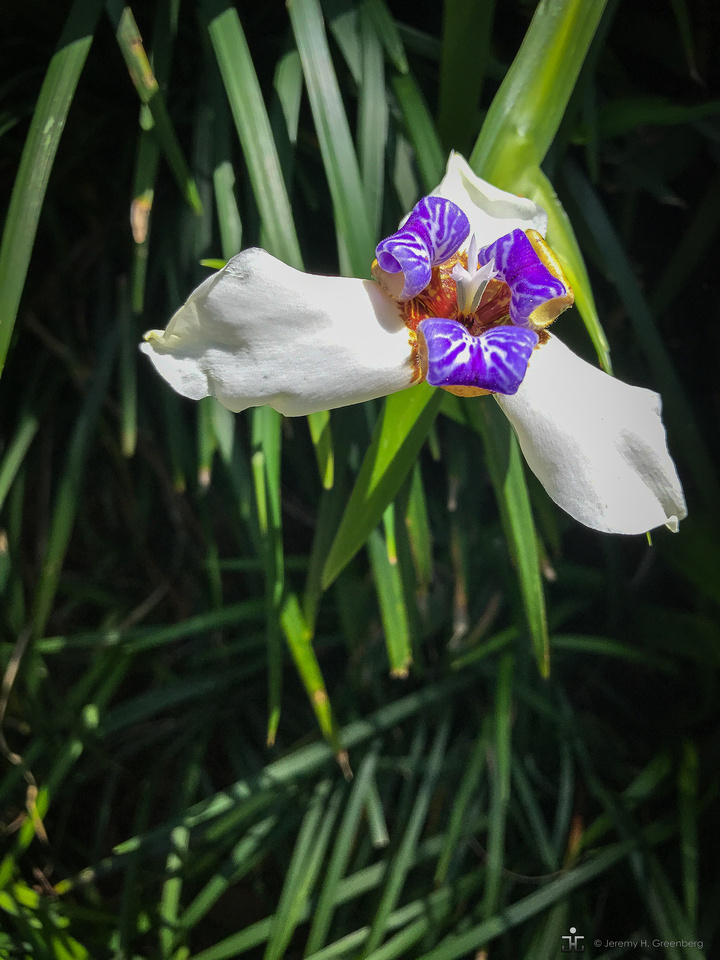
On another topic, in my recent Blog #48 titled Five Reasons Why it’s Better to Shoot with a Real Camera Over a Smartphone I wrote about shooting with a camera versus a smartphone. There are obvious advantages to using a real cameras such as having a larger sensor, higher resolution images that is required for printing larger than A4 size, and who doesn’t love interchangeable lenses? That’s all fine and good, however, the purpose of that article was not to hate on smartphones. I shoot with my iPhone 7+ although I prefer my other cameras. To illustrate this point I have included a few recent images made on the iPhone within this blog post just to shake things up a bit. Am I a hypocrite? I don’t think so I just have my preferences and through sharing my viewpoints, I find that it helps me to shape my own attitudes and approach to my photography.
The light is always right.
jhg


Blog #51 Shooting People, Especially Children
Blog #51 Shooting People, Especially Children.
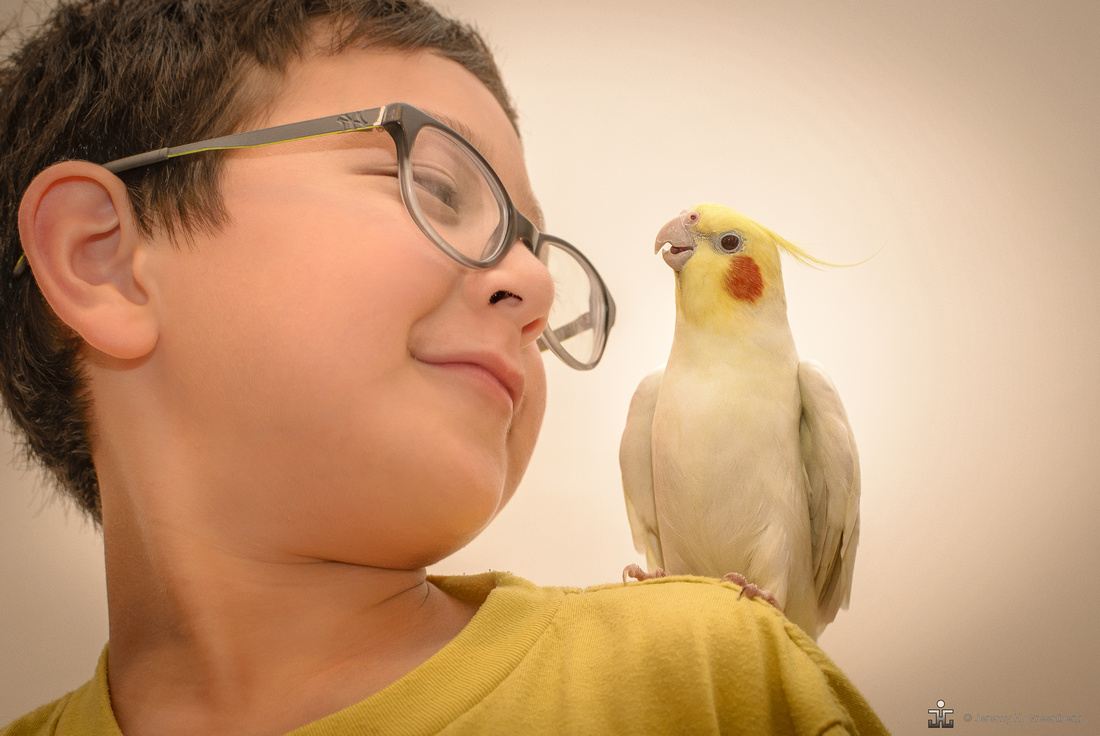
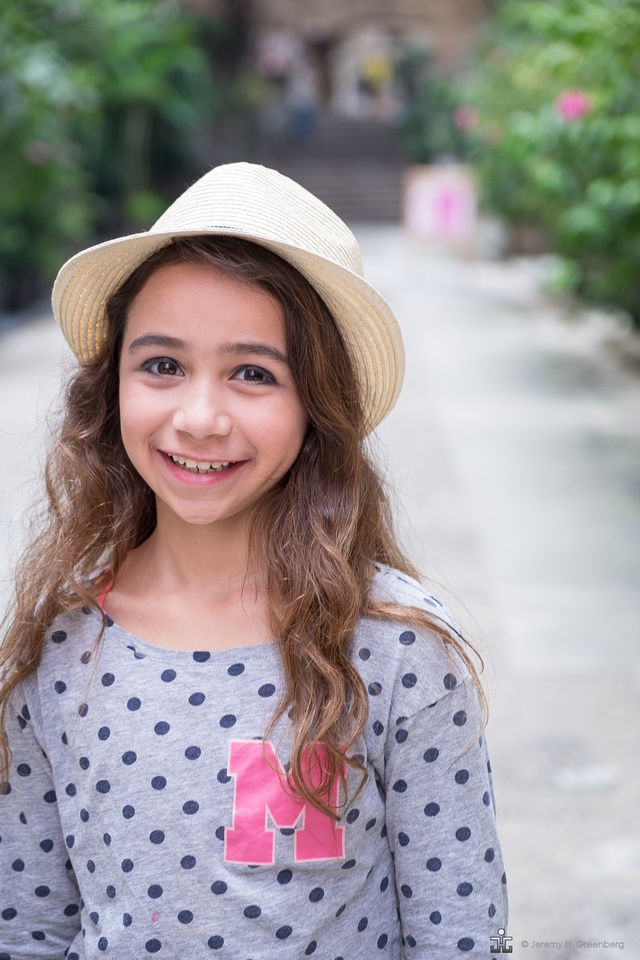
In this week’s post, I will describe the practice of shooting people, especially children. The title is supposed to be a catchy to get your attention. Did it work? At any rate, basically there are three types of settings that I will describe here: candid, environmental portraits, and or the studio portrait. I will also share some of my experiences in shooting children. I have four of my own children, two boys and two girls so I get a lot of practice making images of my own ankle biters. Also, as I have mentioned in previous blog posts, I work in an international school. I shoot children quite often in many different activities throughout their school experiences. Photographing children has unique challenges.
People are everywhere unless you live at the South Pole, in which case I suppose one is shooting a lot of, penguins? One of the most (if not the most) common subject of the printed image is people. We have all seen thousands of images of people although some work better than others for various reasons. This is quite a broad topic indeed. However, I will focus on just three types of images of people.
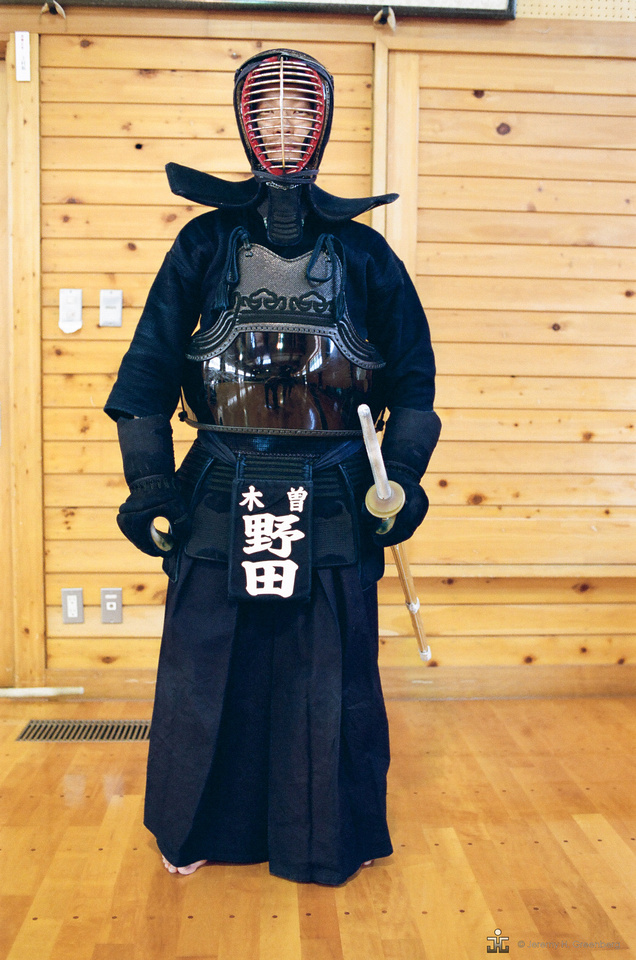
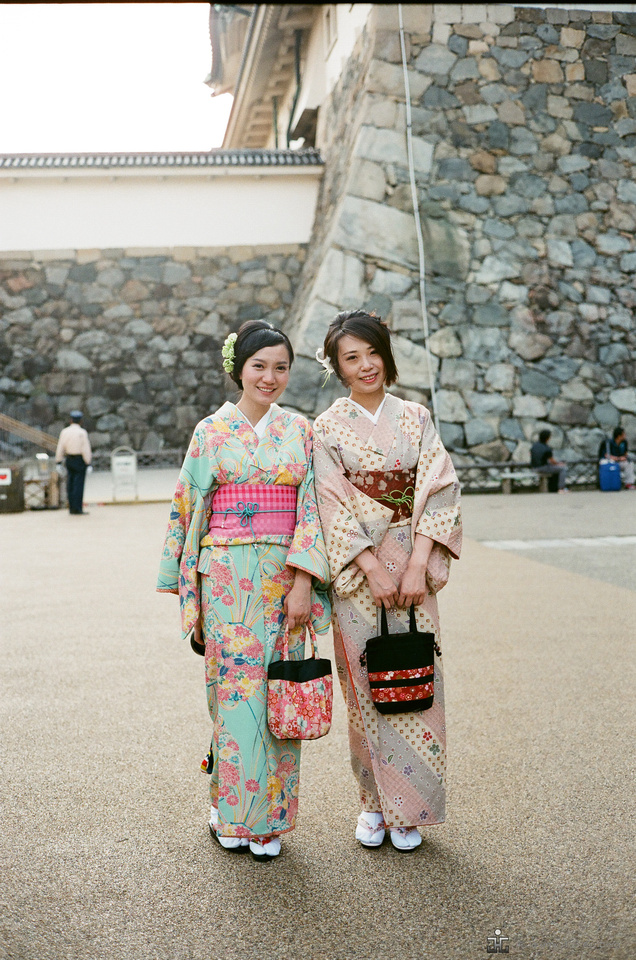
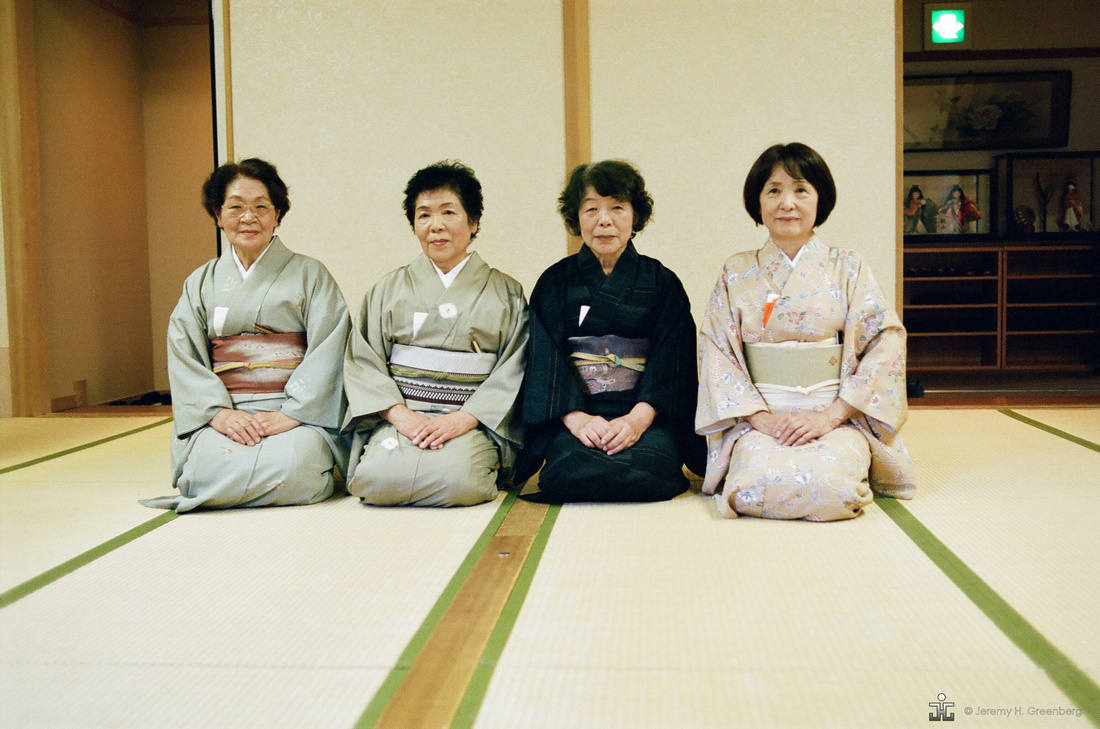
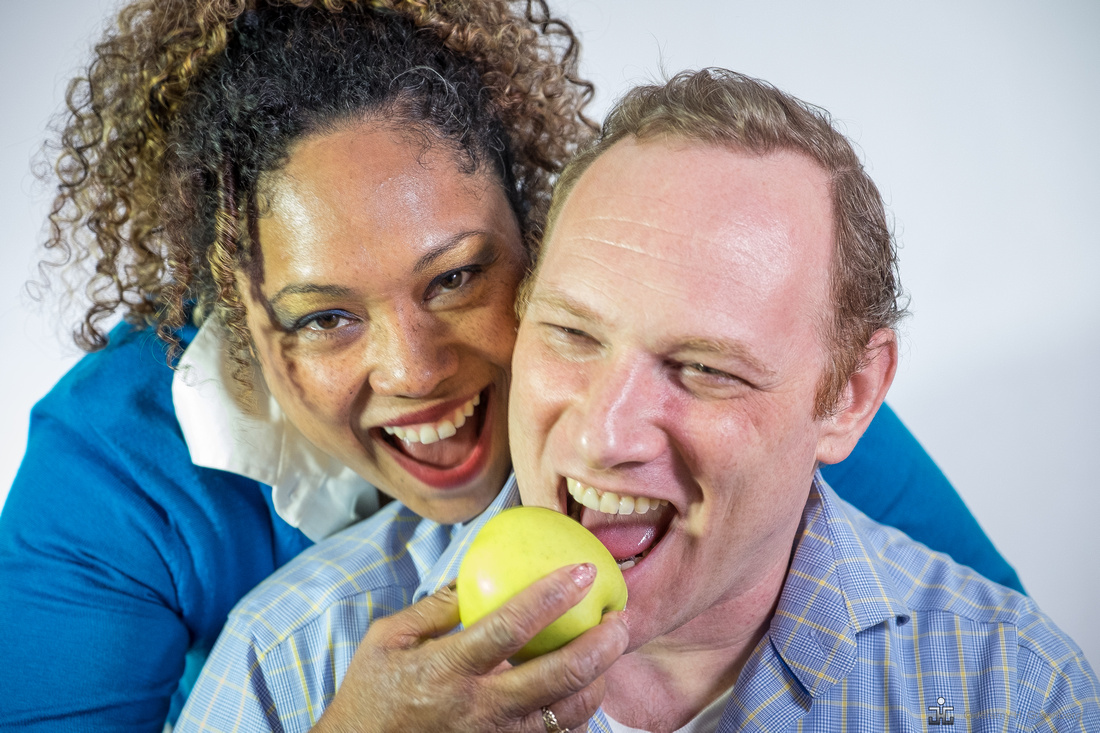
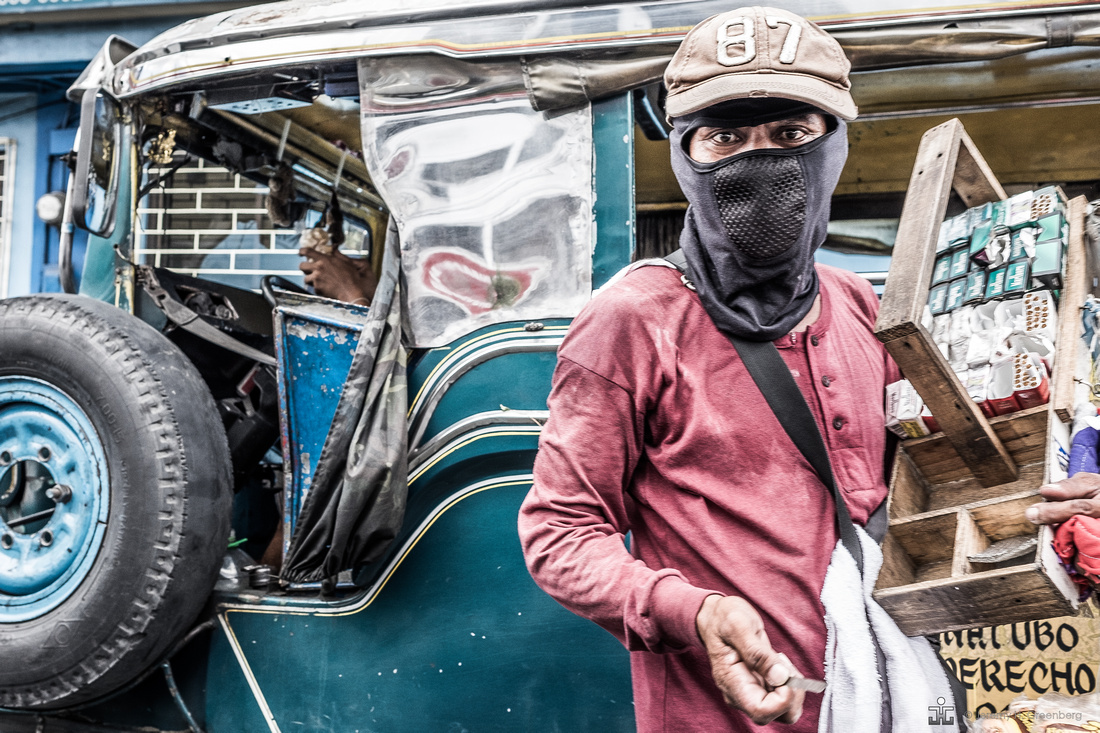
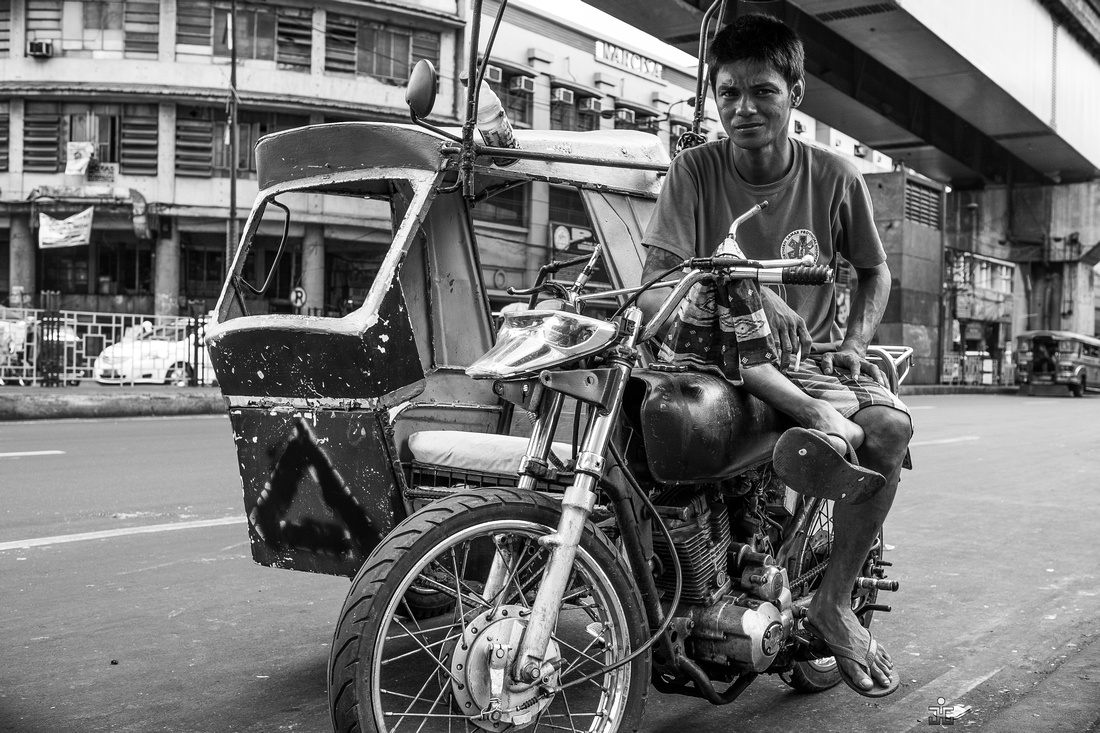
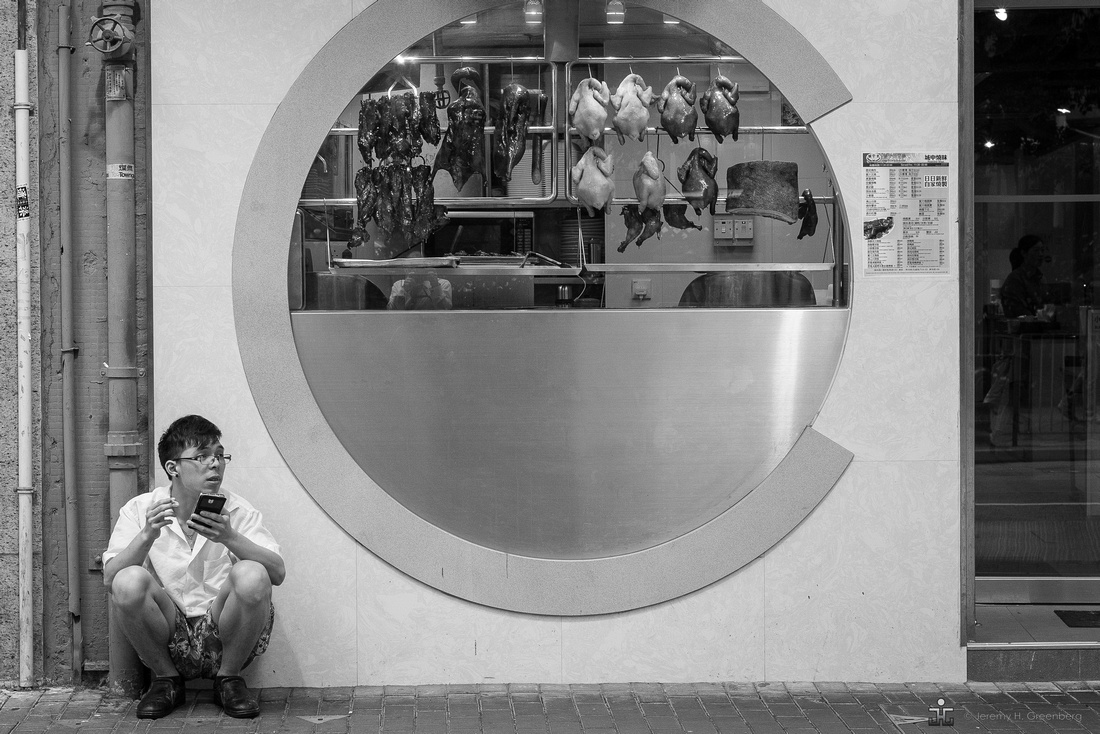
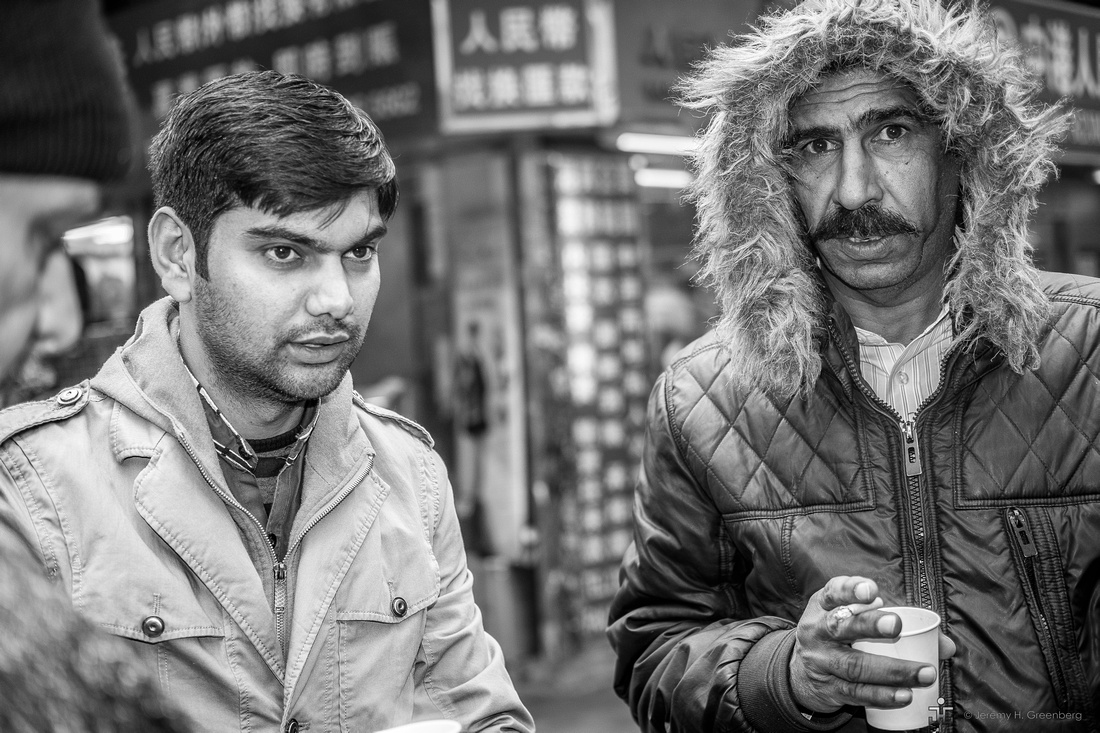
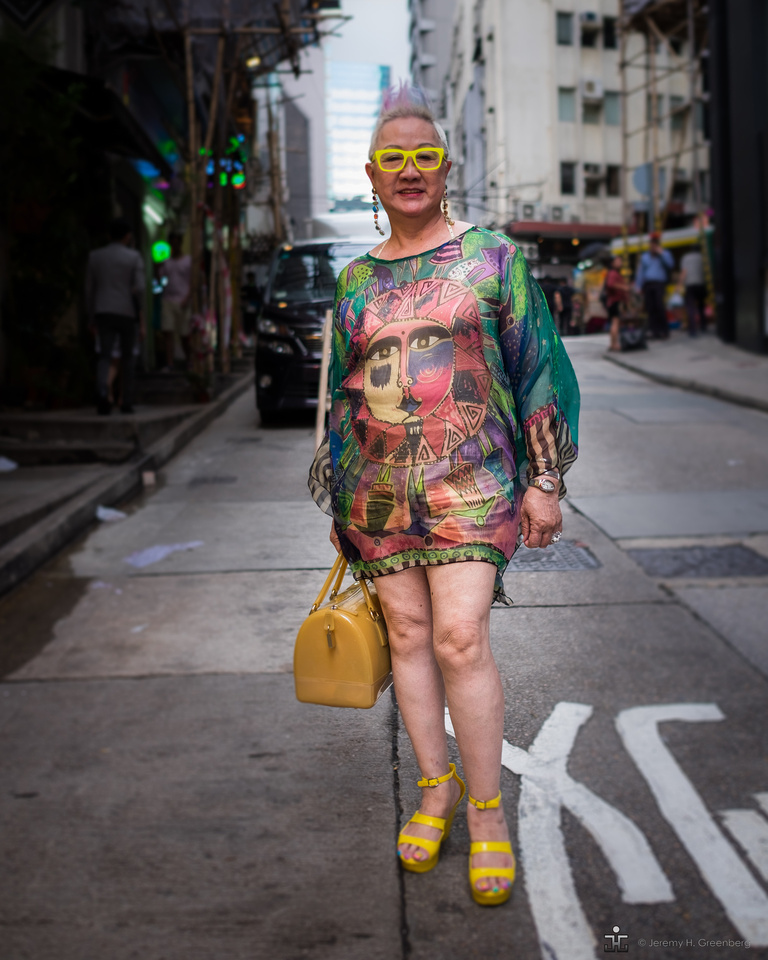
 The candid photograph can be anytime, anywhere and normally the subject is not aware or knowingly participating in the process. Candid photos do not need to be in the street, per se. Also, the candid photograph may or may not have the subject making eye contact with the viewer (camera). Candid photos can be planned or spontaneous and tend to reveal some natural quality unique to the individual in the photograph. Look for gesture, pose, and include other elements that are generally important such as background and composition that should be considered in pretty much all images that contain candid or street portraits.

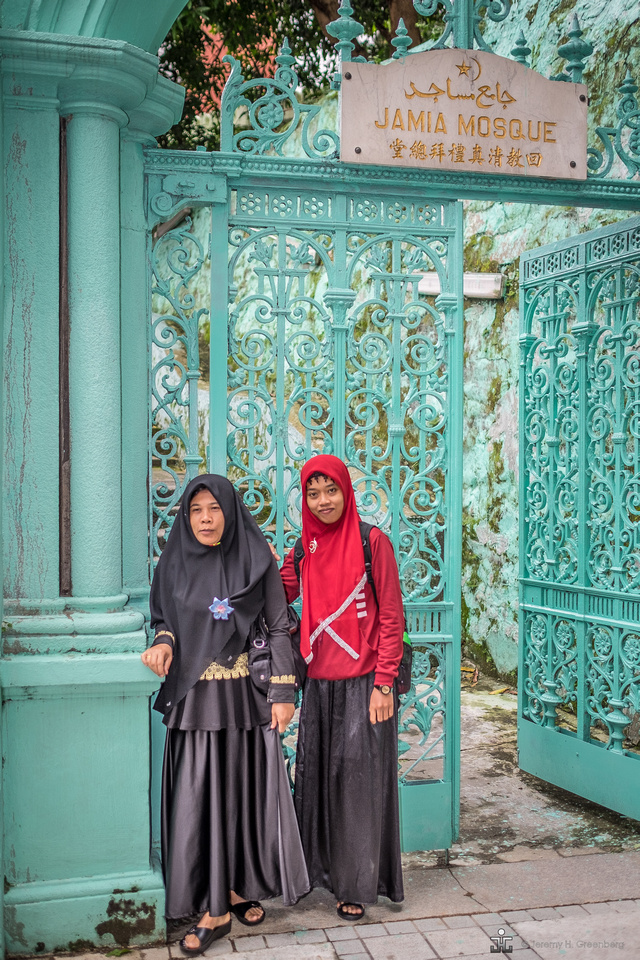
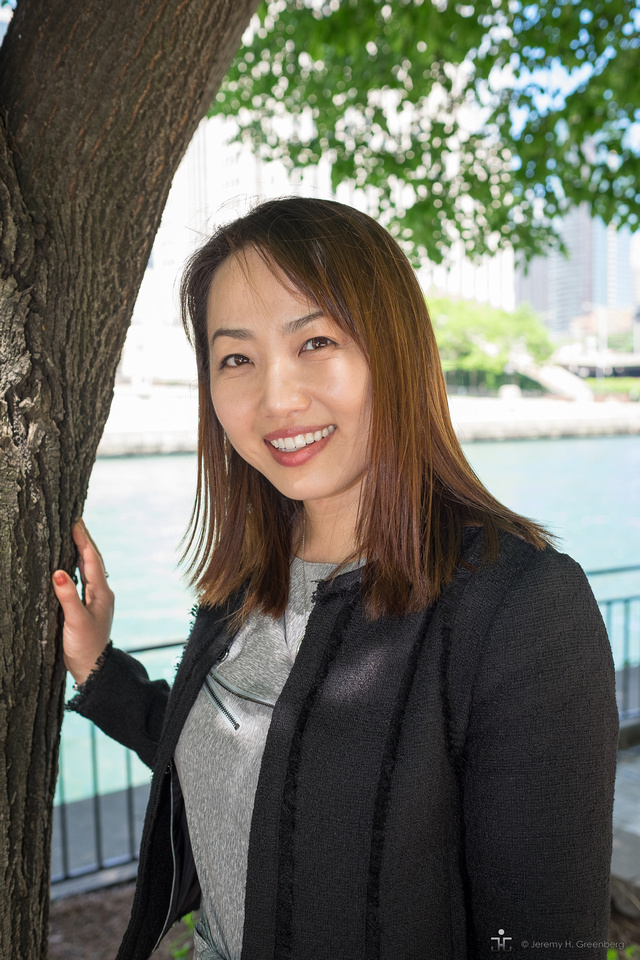
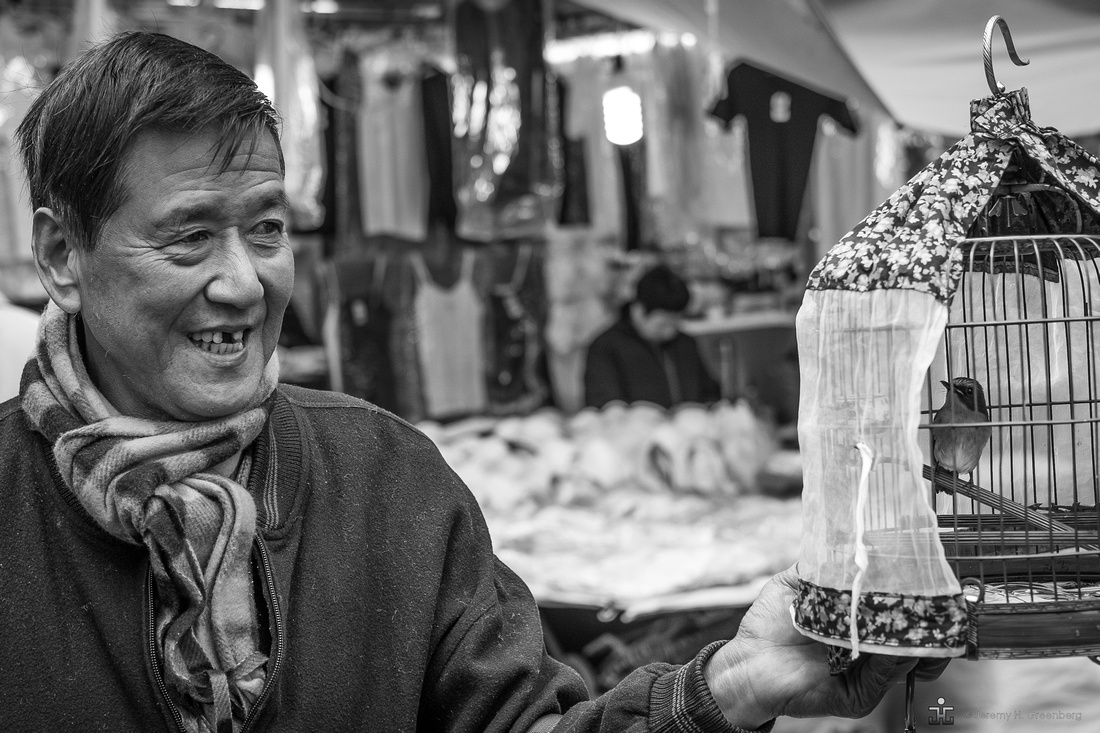
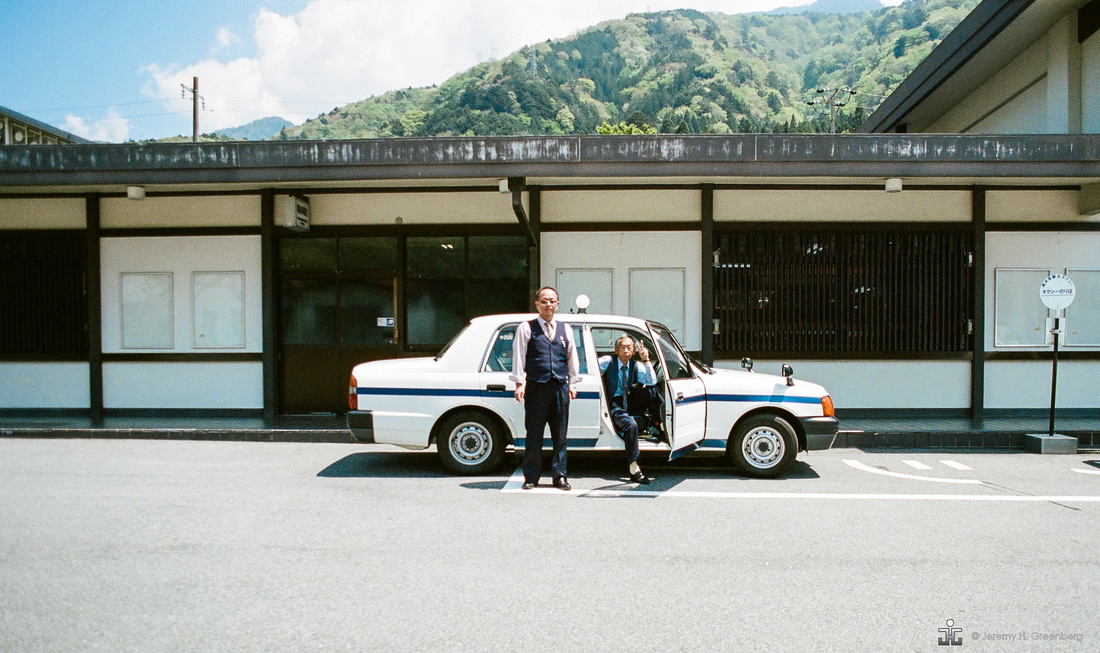
Environmental portraits are generally images of a person in their element. For example, environmental portraits include: a football player on a field, a student in a classroom, a chef in the kitchen. The background is part of the story and is related to what the person does or who the person is.
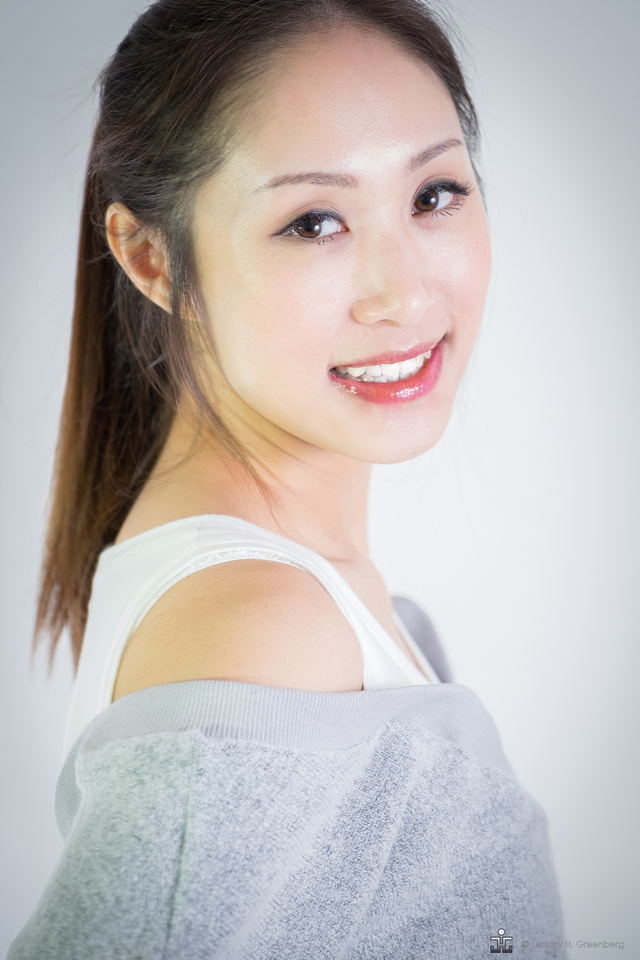
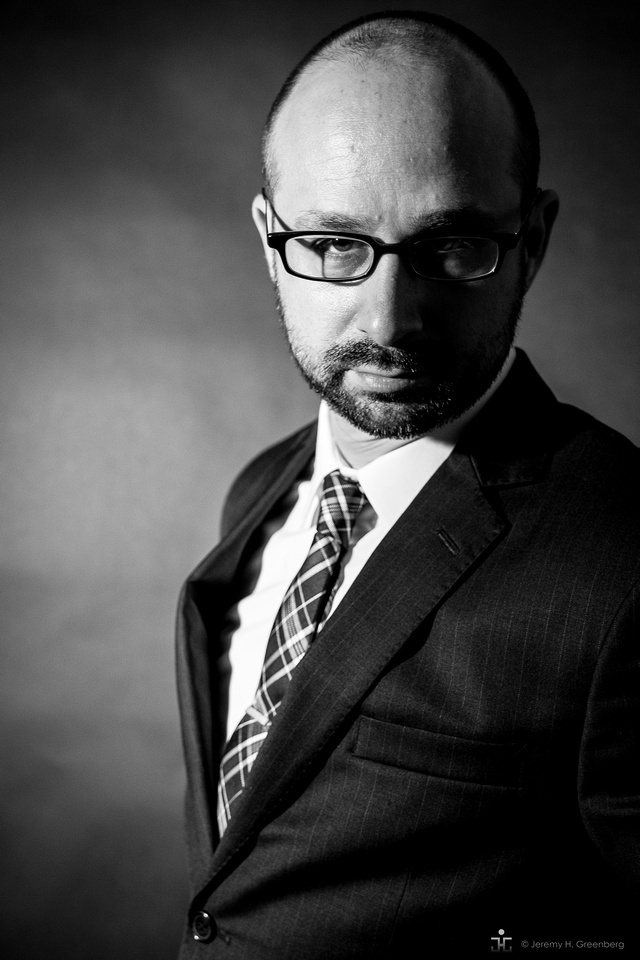
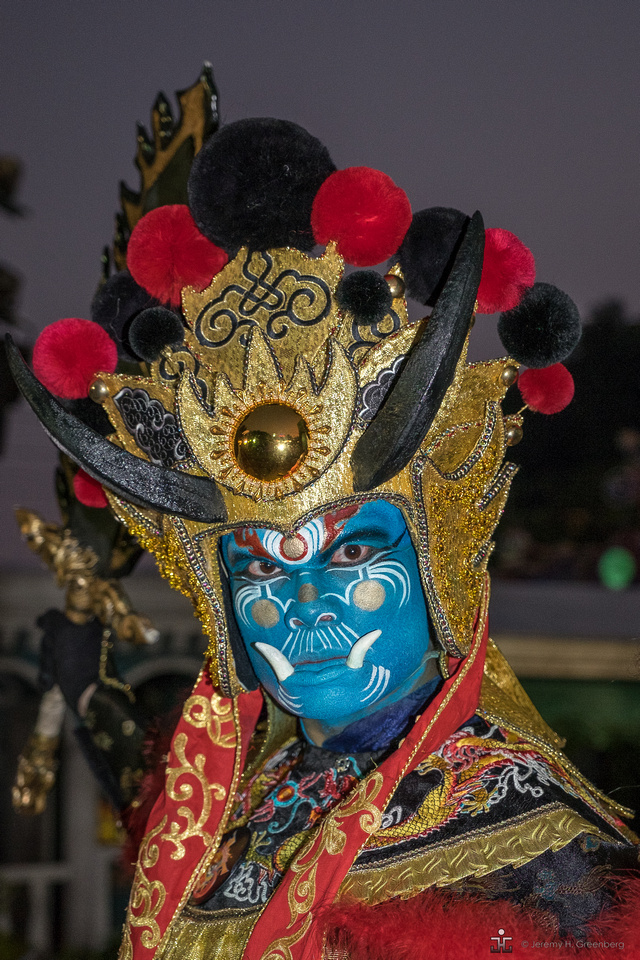
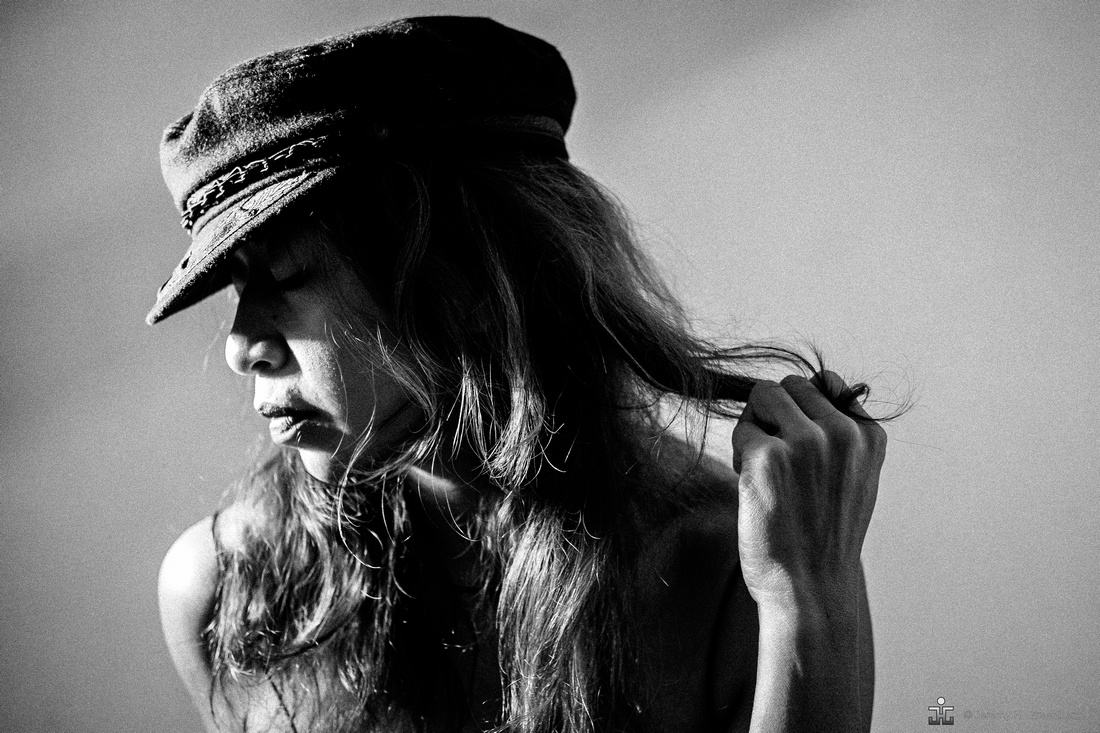
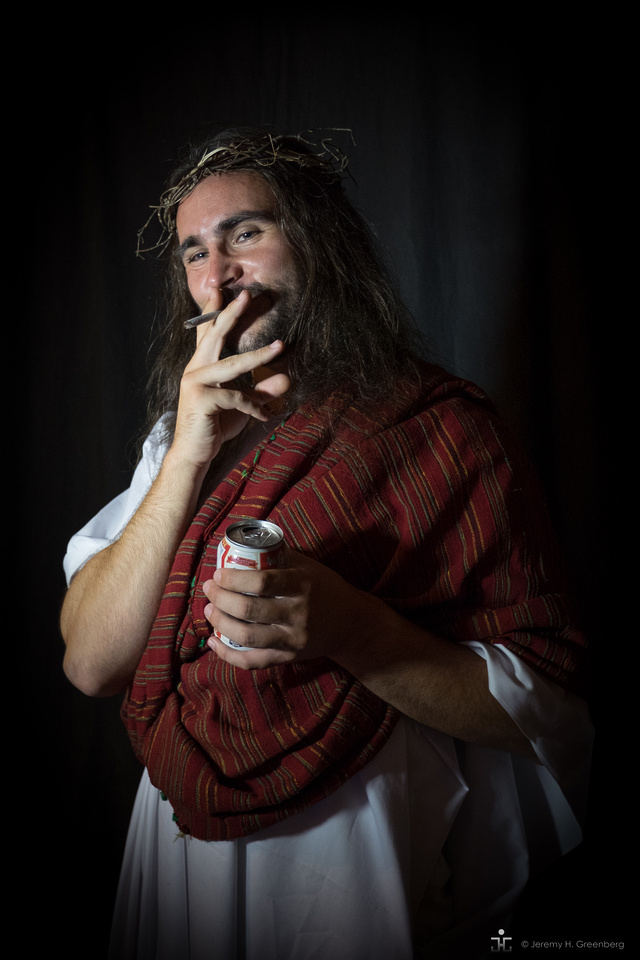
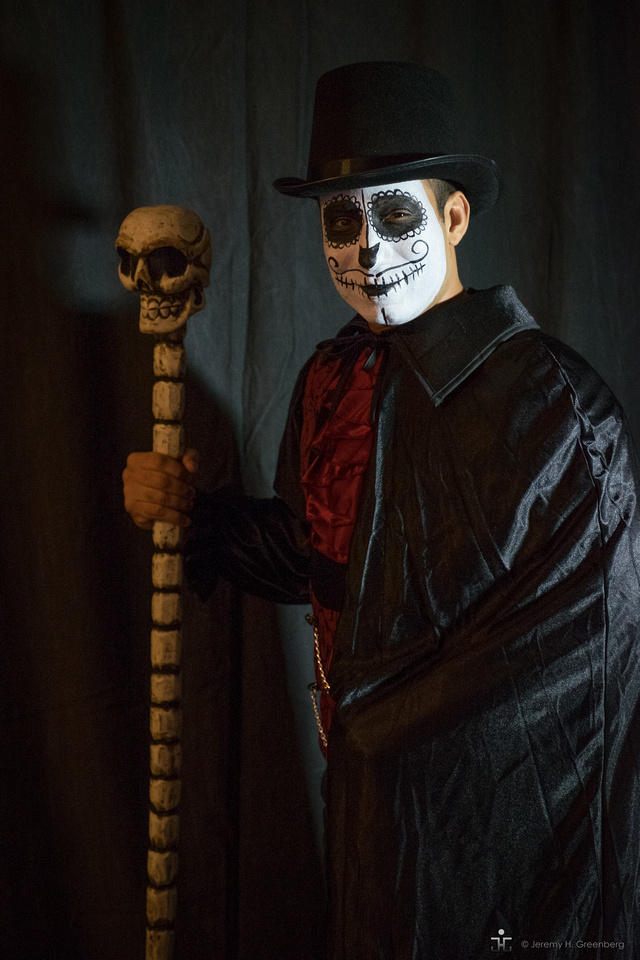
Studio portraits are unique due to the unnatural nature of the studio environment. The person is generally isolated and not only the subject of the image, but the entirety of the image. Lighting is crucial. There are many lighting options. One light, two light, three light, or more are typical. The number (and position) of lights is an important element that functions to communicate the mood of the photo. Everyone needs to be lit differently. There are a plethora of techniques that can be employed to highlight or hide features. One effective technique that can be accomplished in the studio is to light the person based on their mood and or the personality or attitude that they radiate. A dark mysterious teenager can be lit in low light using one light from a 45 or even 90 degree angle, while a playful child can be brightly lit to portray their bright spirit. It is to the advantage of every photographer to have experience lighting different people and practicing this as an important skill even for the amateur or hobbyist.


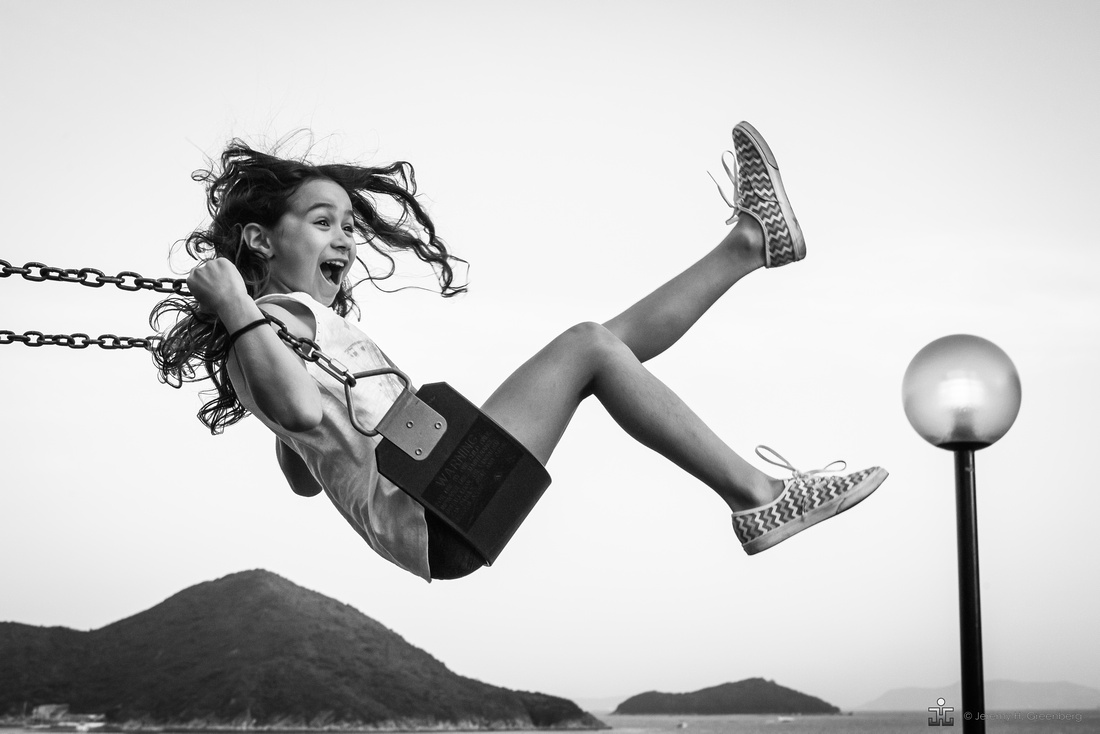
Regarding shooting children, often the best images will occur under conditions when the child, regardless of age, is calm and relaxed and familiar with the photographer. This can be accomplished in many ways, however, flexibility and patience are essential to a successful photo shoot with a child. Be prepared to make a lot of pictures of a child to get a few keepers due to the unpredictable nature of most children, especially young children under 10 years old. Toys, prompts, and a playful approach will all go a long way under these conditions.
On the topic of shooting people in general, a word on lens selection, namely focal length. Although shooting portraits with wider than 35mm lens is certainly possible, the distortion will make the person’s nose look bigger than it really is unless you have an expensive lens that corrects for this effect that is characteristic of wide angle lenses. This is generally not flattering. Use a nifty fifty or better yet, an 85mm lens to compress and flatten the subject’s face, slightly. An 80mm-200mm lens can work well but you may need a lot of space to shoot with longer focal lengths or else you will fill the entire frame with the subjects face. This might be the look that you are going for but I suggest starting with 50 and going up in 25mm increments to achieve the look that you want.
Lastly by all means, avoid poles sticking out of people’s heads and keep the composition clean and tidy. Look at the images in this post. It should be fairly obvious which of the three types of portraits each image falls into. Most of all, practice, and enjoy the process.
Remember, the light is always right.
jhg