Blog #119 Combinations
Blog #119 Combinations
In thinking about making art, and the tools needed to do so, there are just a few albeit critical decisions that need to be made. First, you will need a camera, a lens, perhaps a tripod, or all of the above plus a roll of film.
Clearly, projects can be built top to bottom, or bottom to top in this regard. In other words, the process or means to the end has no rules, no guidelines. The subject may dictate the gear or visa versa.
After a while, when the photographer inevitably explores multiple genres, bodies, lenses, film types, and everything in between, he or she will inevitably stumble upon some camera+lens+[film] combinations that work well for them, or with a given project. In my experience experimenting over the years I have stumbled across a handful of these winning combinations. Here is a short list of my top 10 in no particular order.

Jeremy’s Top 10 Winning Combinations
- Nikon D5200 + Nikon Nikkor 50mm f/1.8 lens [the cropped sensor makes the nifty fifty behave like an 85mm portrait lens and it makes stunning portraits of people].
- Nikon F100 + Nikon 28mm f/2 AF lens + any 35mm film [this is such a powerful, easy to use combination for shooting streets, urban architecture, landscapes, and even portraits. You will want to shoot this all day. The DOF is outstanding. The F100 is a chunk of a camera but the 28mm is small and light and makes for a great package.].
- The Leica 28mm f/2.8 + Fujfilm Neopan Acros 100 ISO 35mm black and white film [sadly, this film is being phased out but the natural tones and contrast of this film at 100 ISO works so well with the sharpness and additional contrast from the Leica that the images that result will really make you stop and stare. Use a Yellow #8 filter for that extra punch. French company Bergger’s Berspeed developer for black and white is one of the top developers available and usually results in relatively high contrast with very fine grain structures.].
- Any 35mm film SLR from Nikon + 50mm lens + Kodak Portra 400 colour film for making portraits [the colour is just perfect for skin tones with Portra].
- Nikon’s AF L35 + flash + night + Kodak Portra 400 [again, Portra is just stunning for making portraits. When your subject is lit properly with fill flash this film comes alive and truly sings].
- Fujifilm GA645 medium format film camera + Kodak TMAX 100 [absolutely amazing black and white combination with great tones, and fine grain. Use Berspeed developer and scan at 2400 dpi or higher.
- Kodak Ektar 100 film and just about any camera or lens, outside, in a sunny colourful setting [Ektar is bright and punchy but presents very real colours, similar to real life only better, like after a double expresso].
- Fujifilm X-T2 + Fujinon XF 16-55mm f/2.8 WR Zoom lens [this is my go-to work horse professional grade event combination. Use the extra battery grip that adds two more batteries for a total of three. Rain? Dust? Dirt? Snow? Cold? Keep on shooting. How many cameras and lenses can do this? Enough said.].
- Fujifilm X-T1, X-T2, X-E3, any X-mount body + Fujfilm 85mm f/1.4 [this is the bomb set up for portraits, the colour and sharpness that comes off of the Fujfilm sensor with this lens is extremely high quality and terrific in the most demanding situations and with the most discerning clients.].
- Fujifim X-E3 + Fujifilm XF 18-55 f/2.8-4.0 compact zoom lens [for travel this is the best combination I have ever used. It’s small, light and the 28-85mm full frame equivalent does everything from street photography, landscapes, portraits, and even stars. I frequently take only this camera lens and neither has let me down. Just about all of the Fujifilm primes can be substituted from this zoom and still work great such as the 18mm, 23mm, 35mm, all of which I use regularly. They are all great in all honesty and their size and weight as well as image quality leave nothing to complain about.].
So there it is, 10 winning combinations that I have discovered by way of trial and many errors. I find myself coming back to these combos time and time again since they so well for me. What are your winning combo? Whatever it it, use it, exploit its strengths and find that match or pairing with your project and make it work.
The light is always right.
jhg
*Images: © Jeremy H. Greenberg
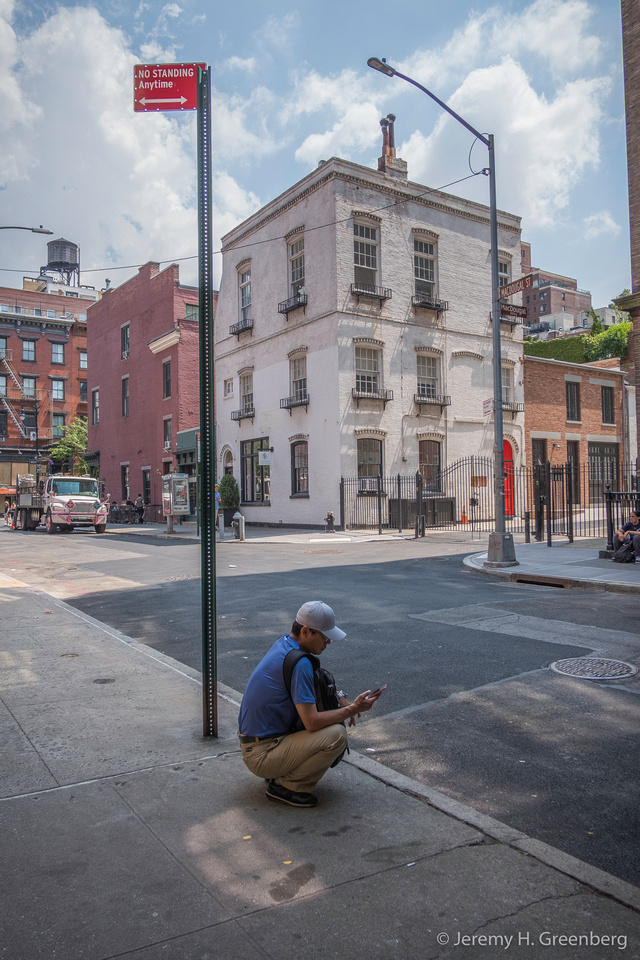
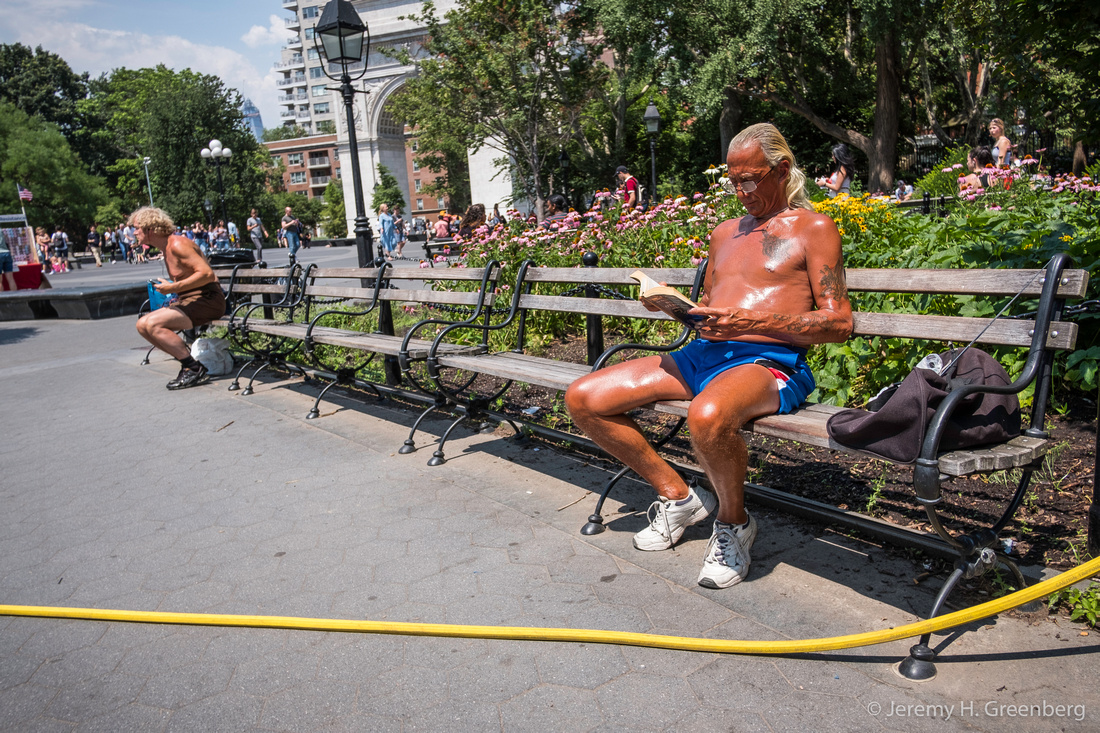
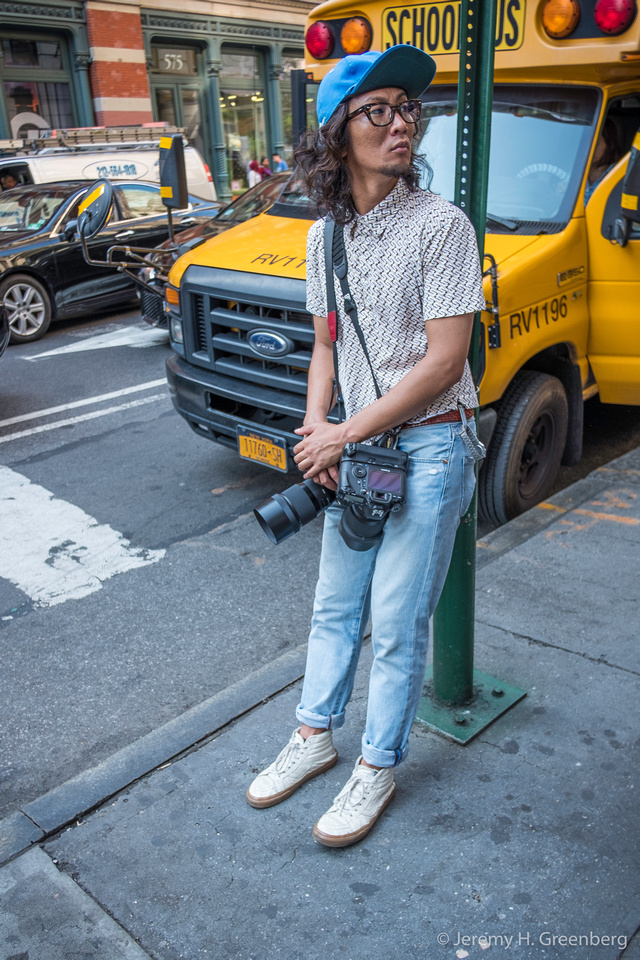
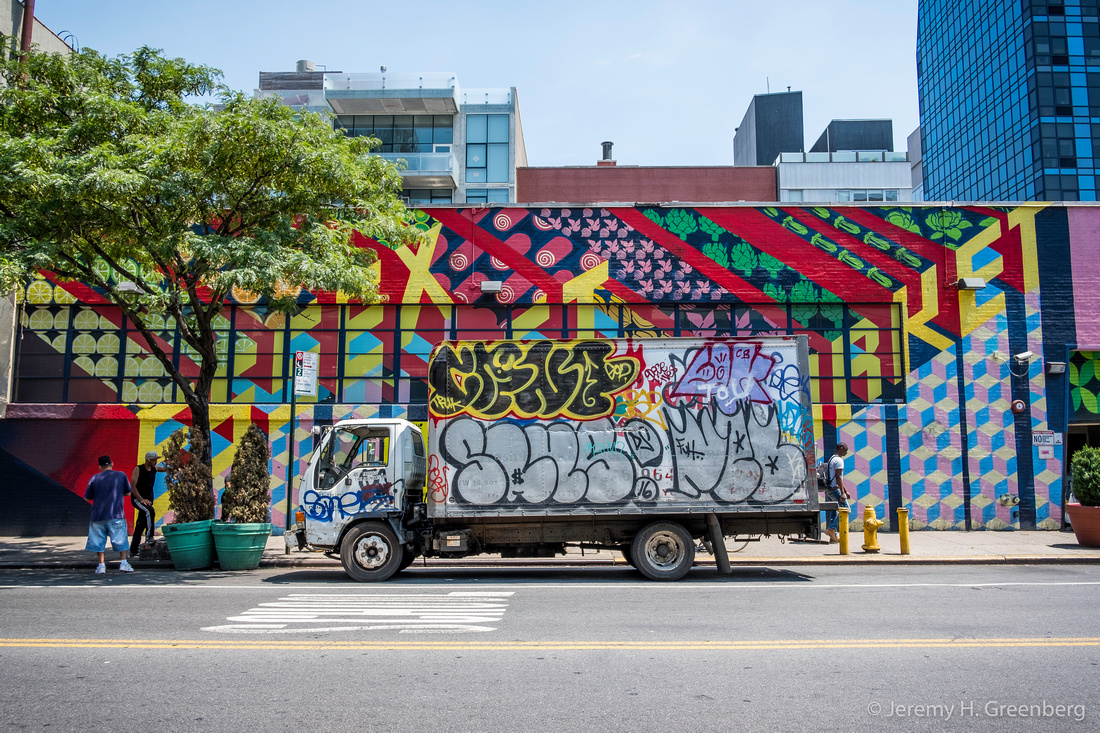
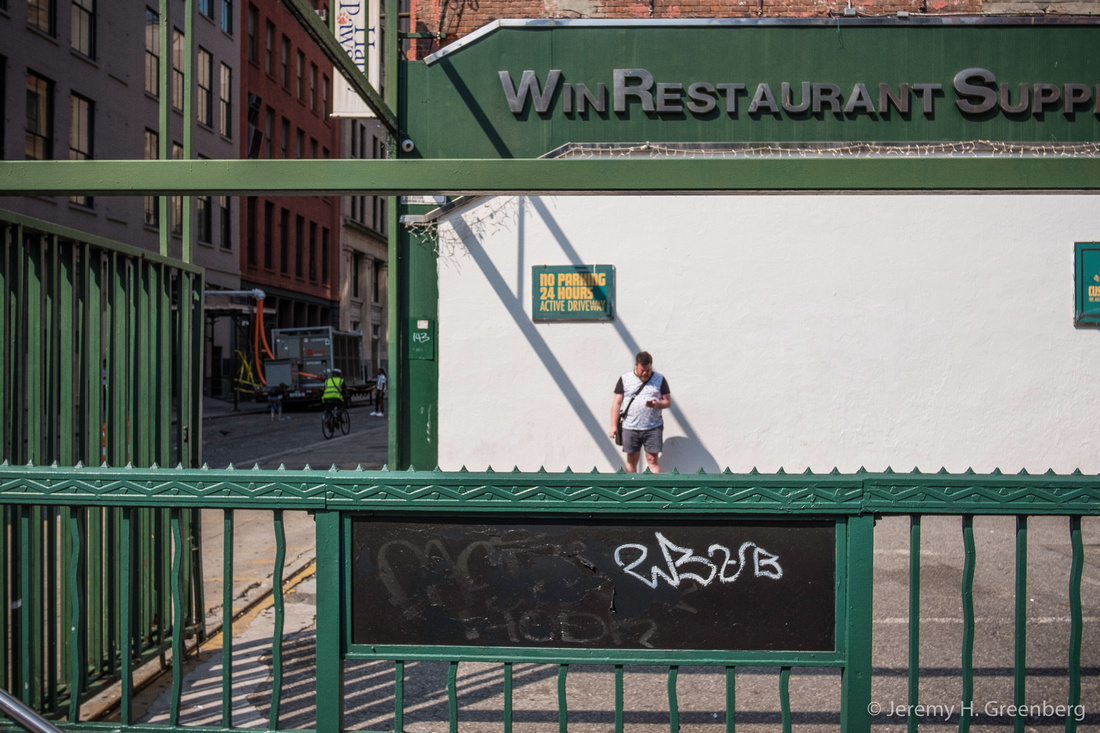
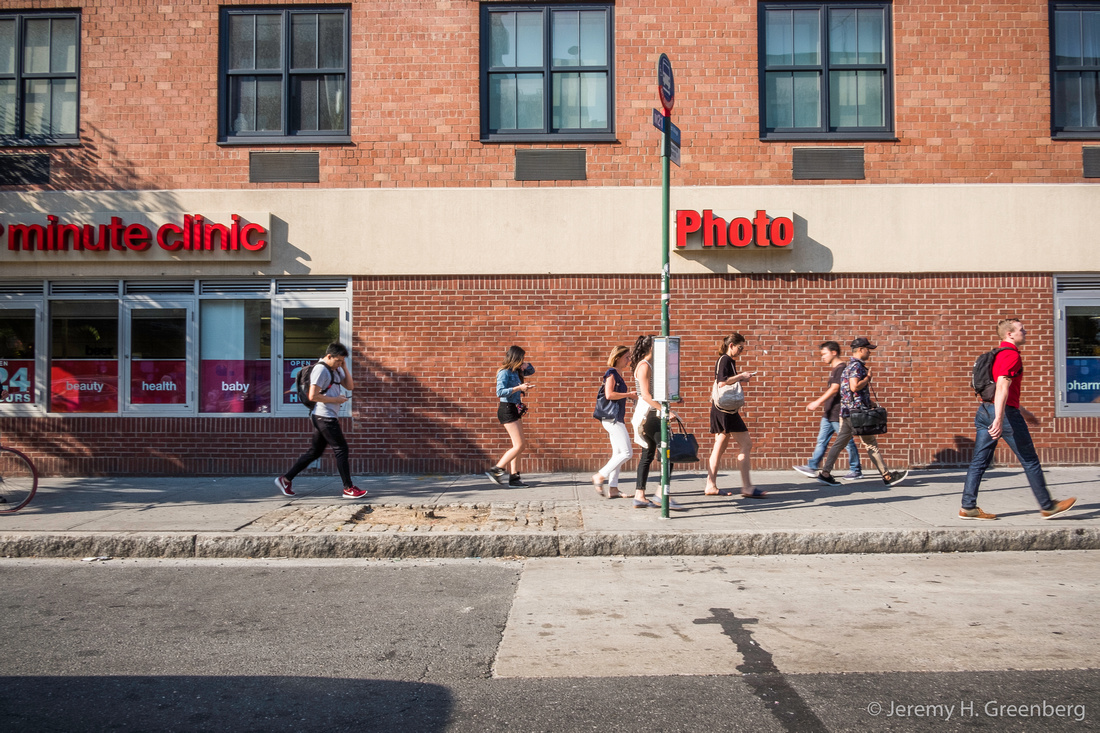
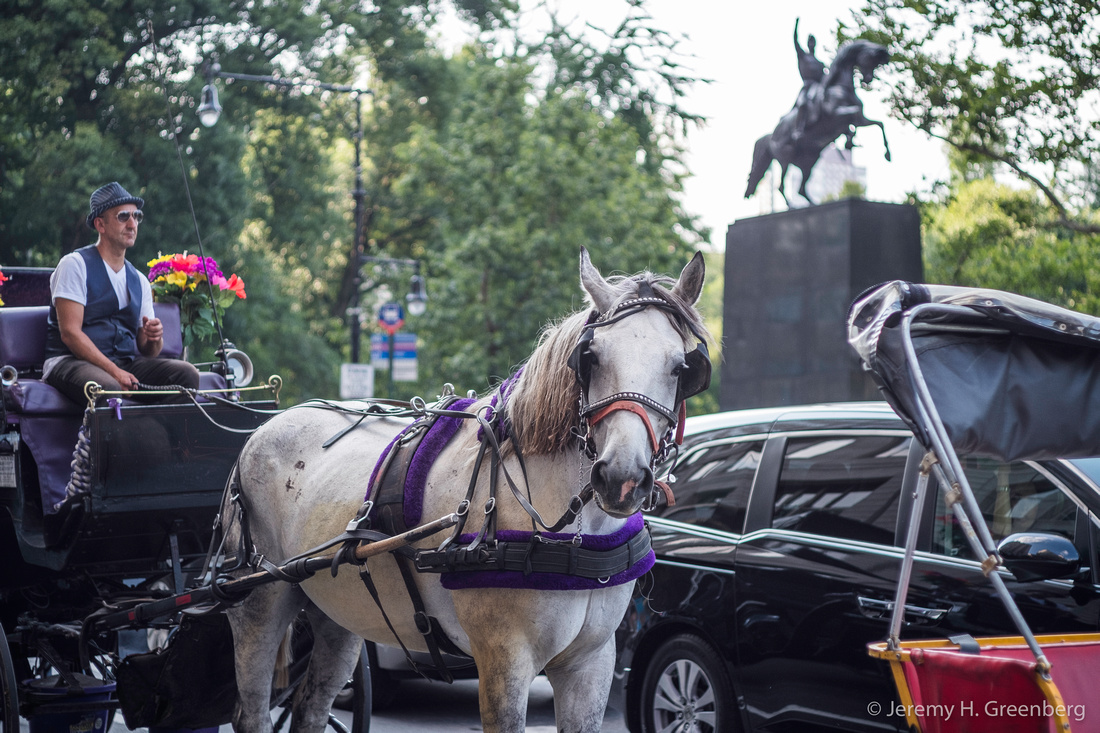
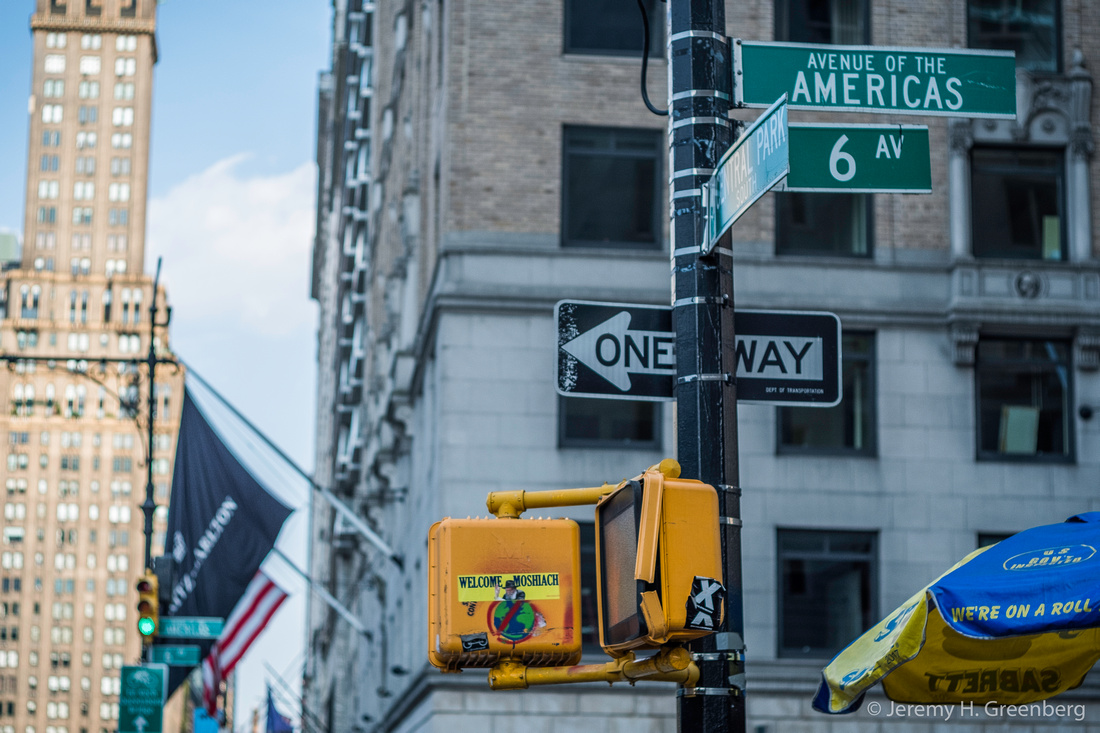
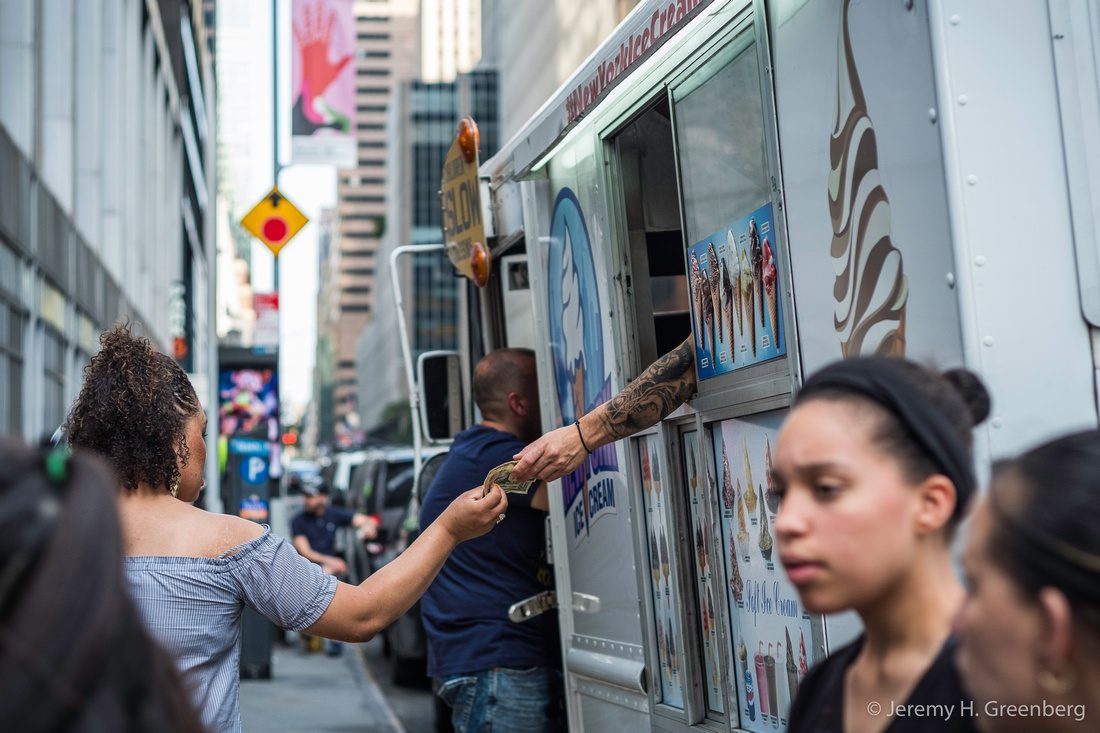
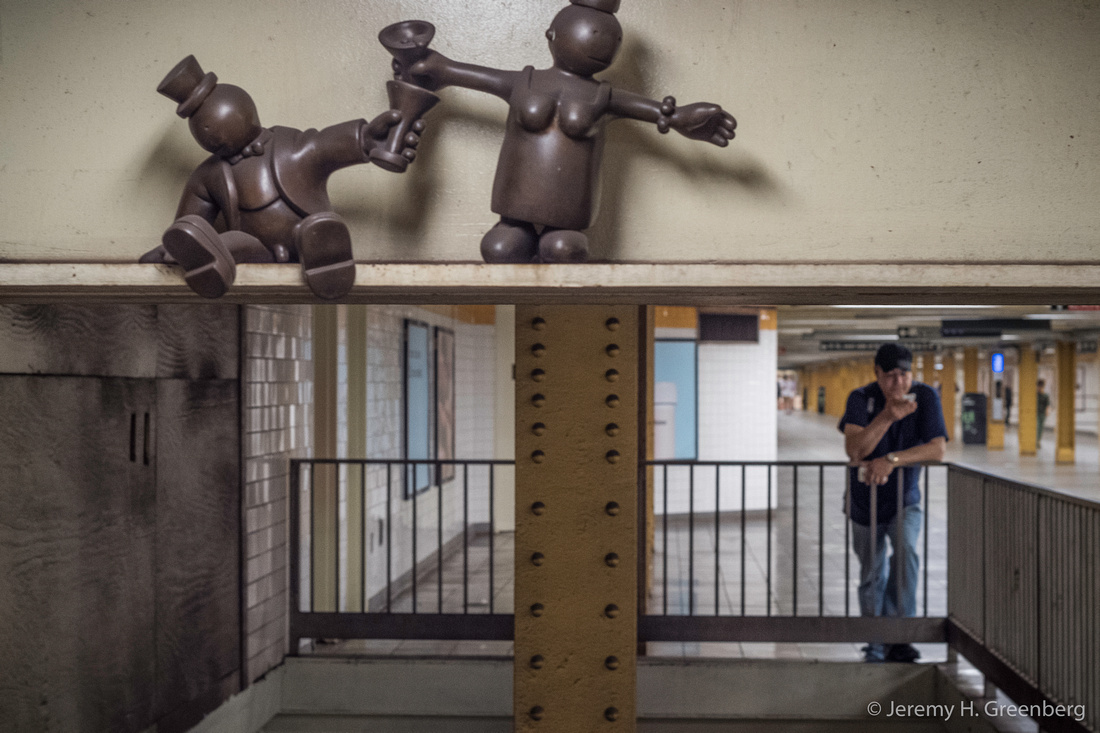
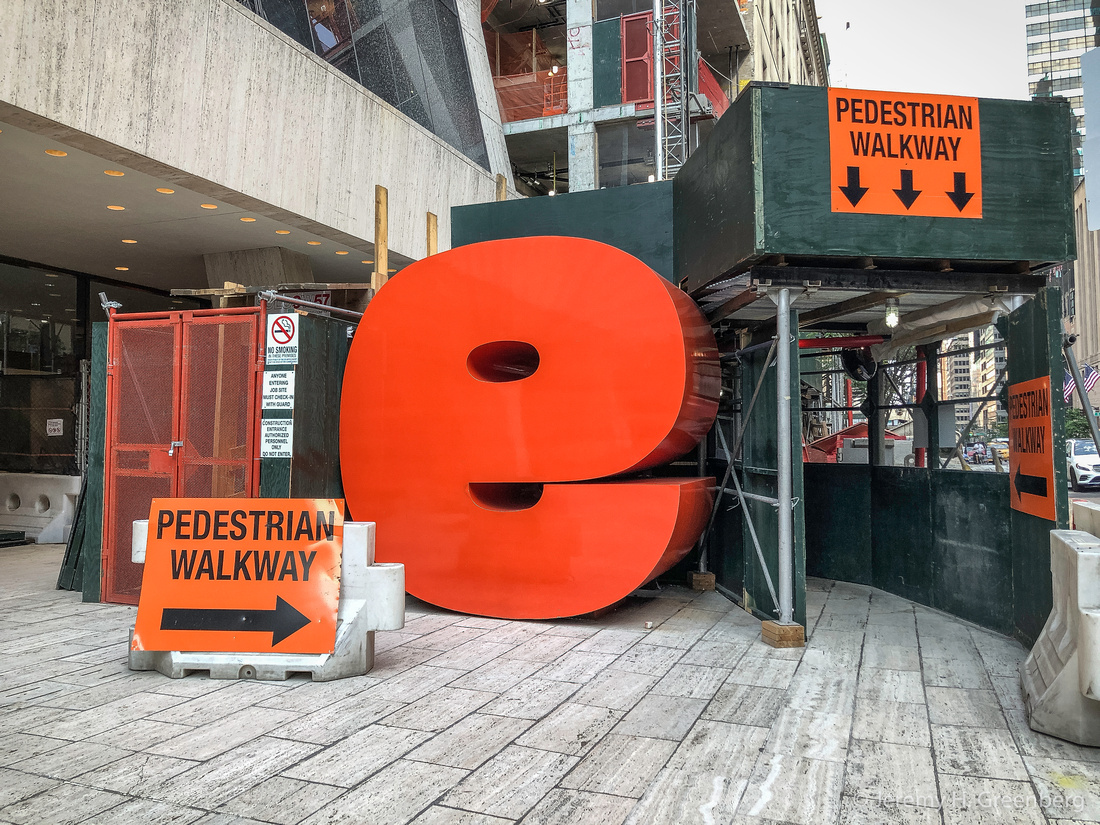
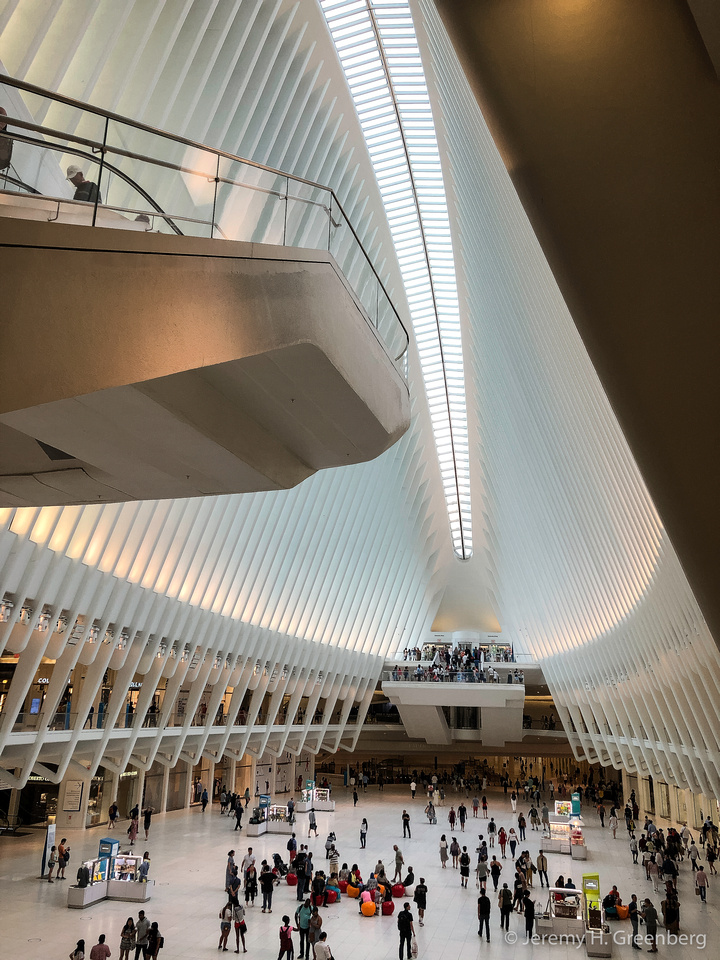
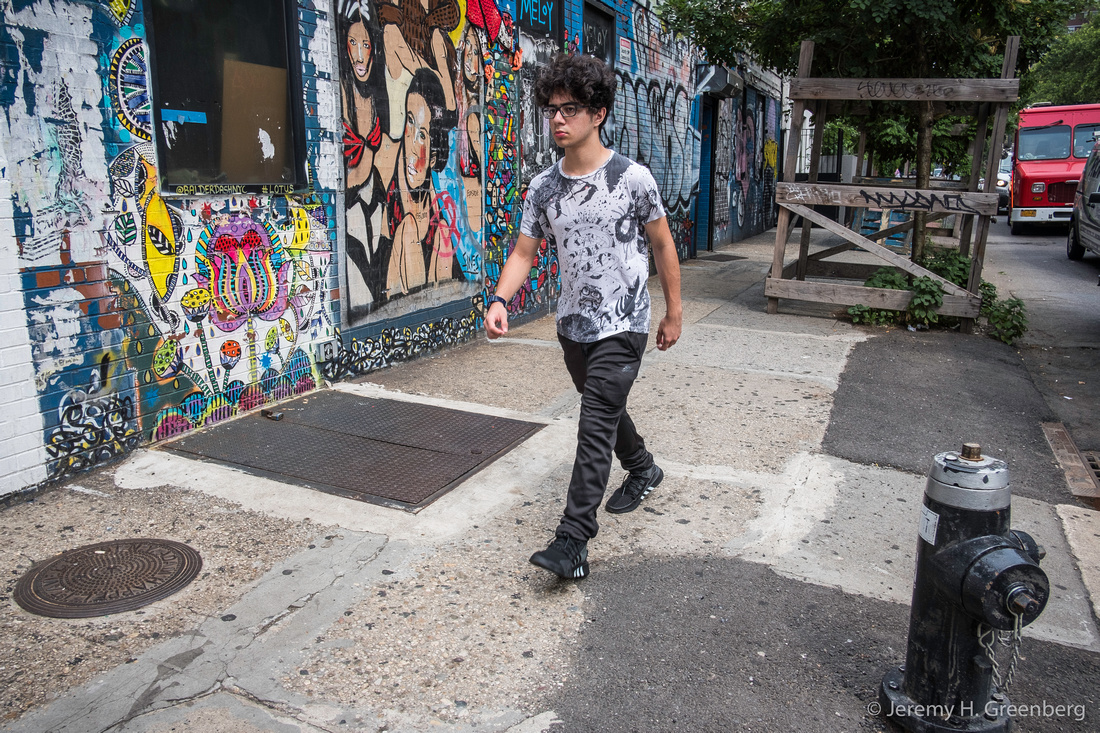
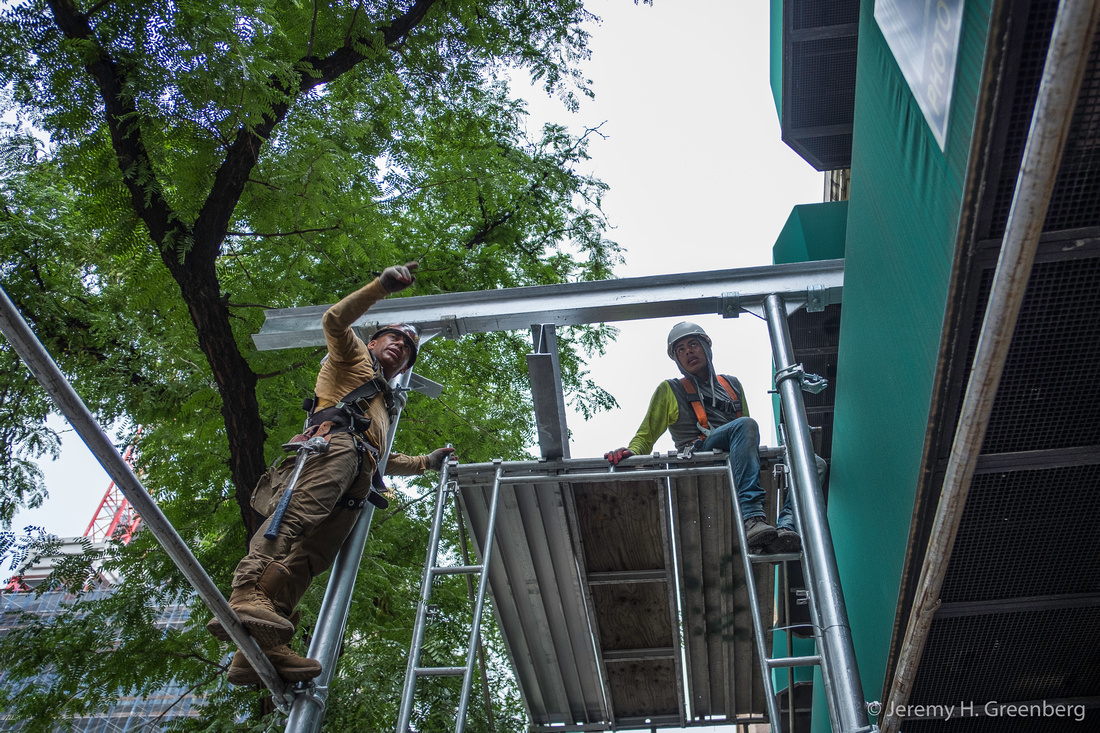
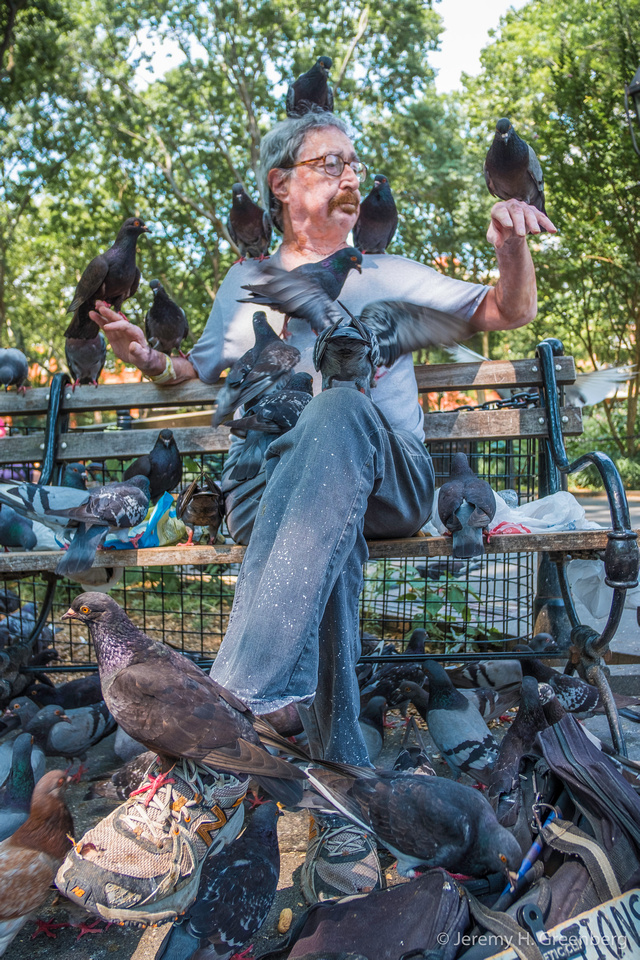
Where: New York City
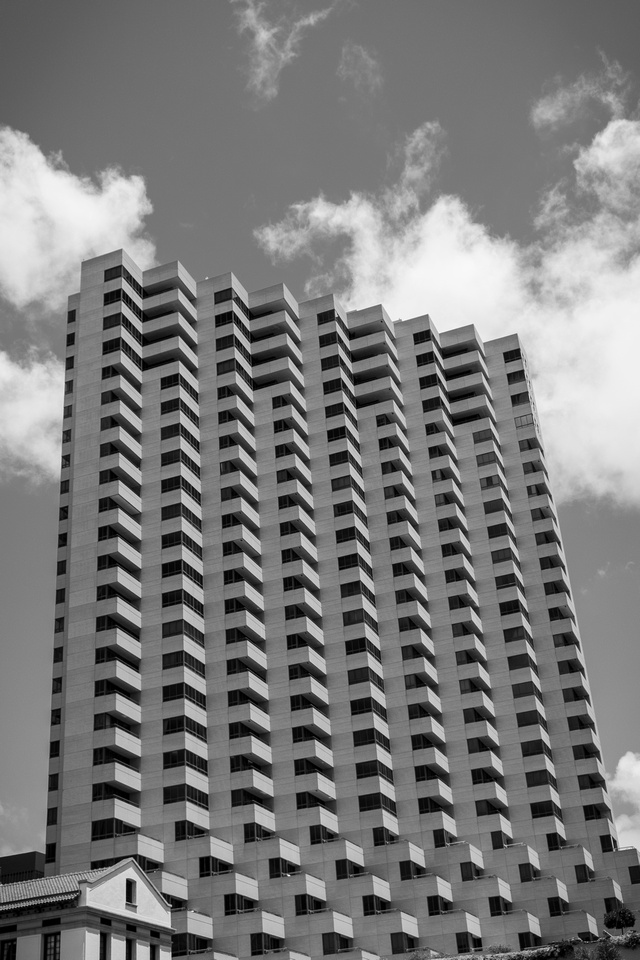
Subject: Architectural Photography
Gear: Fujifilm X-E3 + Fujifilm 18mm f/2.0 (an excellent combination)

National Geographic Travel Photographer of the Year 2017 Editor’s Favorite: Galleries: Week 4 Cities & People
Casual Photophile Tip & Techniques No. 001 The Subject is the Subject
The Inspired Eye Photography Magazine Issue #40 (full interview)
Hong Kong Free Press: HKFP Lens
Blog #18 Criticizing Photographs or Beyond the “like”
Blog #25 Don’t Be Afraid of the Dark[room].
Blog #47 Composition, Composition, and More Composition
Blog #65 Summer is for Travel (Hanoi)
Blog #67 Risks, Rules, & Restrictions
Blog #68 Photography is a Gift
Blog #72 Living the Creative Life
Blog #90 Restrictions, Revisited
Blog #93 Photographic Technique
Blog #105 Signs, Signs, Everywhere a Sign
Blog #118 Catching The Stars
Blog #118 Catching the Stars
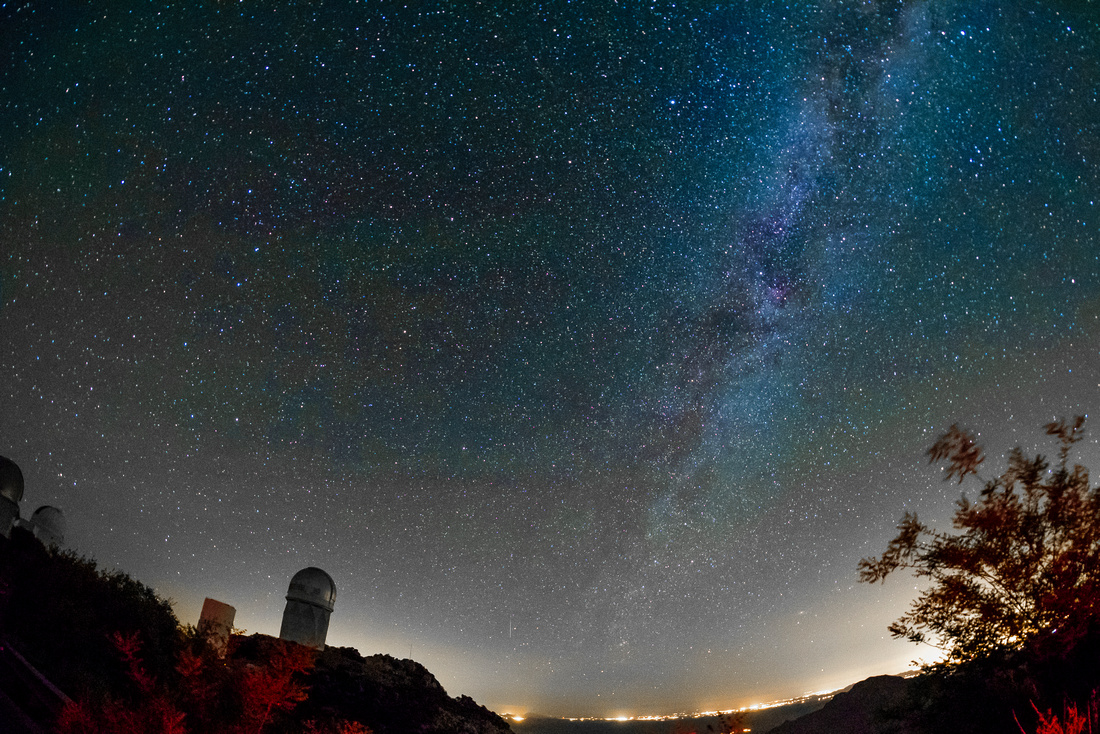
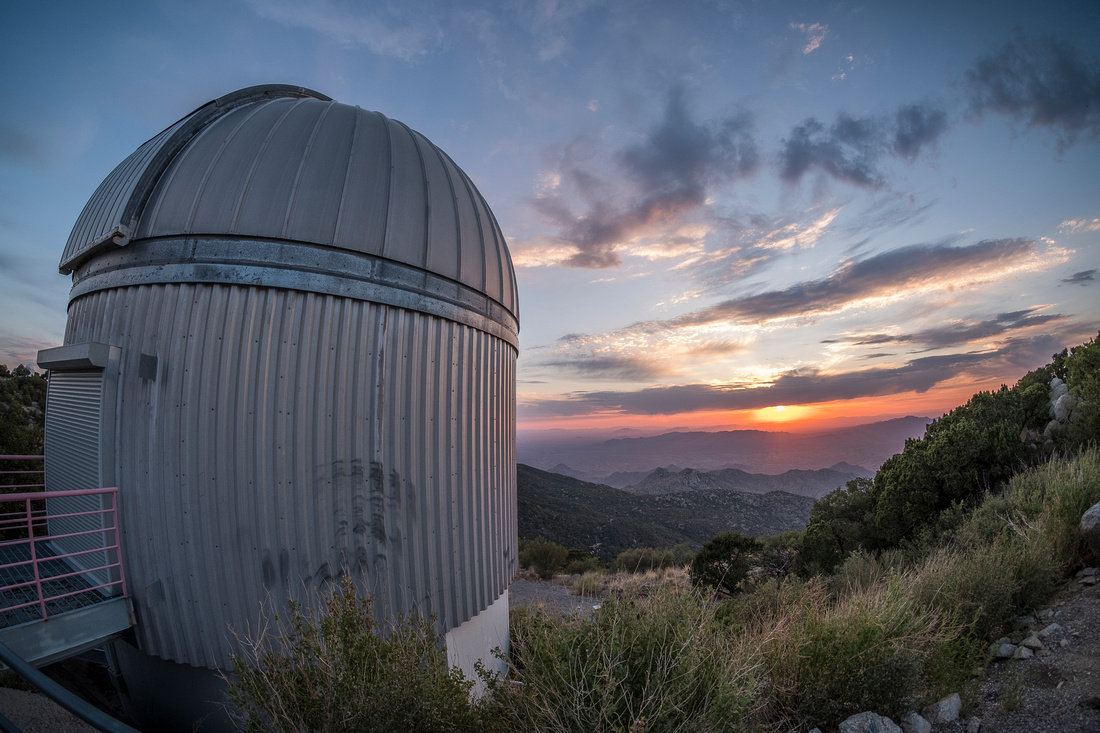
I’ve recently returned from an absolutely amazing trip to Kitt Peak National Observatory, in Tuscan, Arizona. There, along with The Harbour School students, and professional astronomer guides, we learned about the sun, the stars, and the telescopes used to capture the light from these and other distant objects. In preparation for the trip, I taught a one week crash course on digital photography to this group of about a dozen middle schoolers prior to leaving from Hong Kong.

Our mission was to capture the stars in the night sky. This was not going to be just any night sky mind you. Kitt Peak is about one 100 clicks west of Tucson in the middle of the desert on the top of a mountain 6875 feet high, to be exact. The light pollution is close to nil and the 12% relative air humidity makes for minimal light [photon] distortion between your eyes [camera sensor] and the stars emitting those photons.
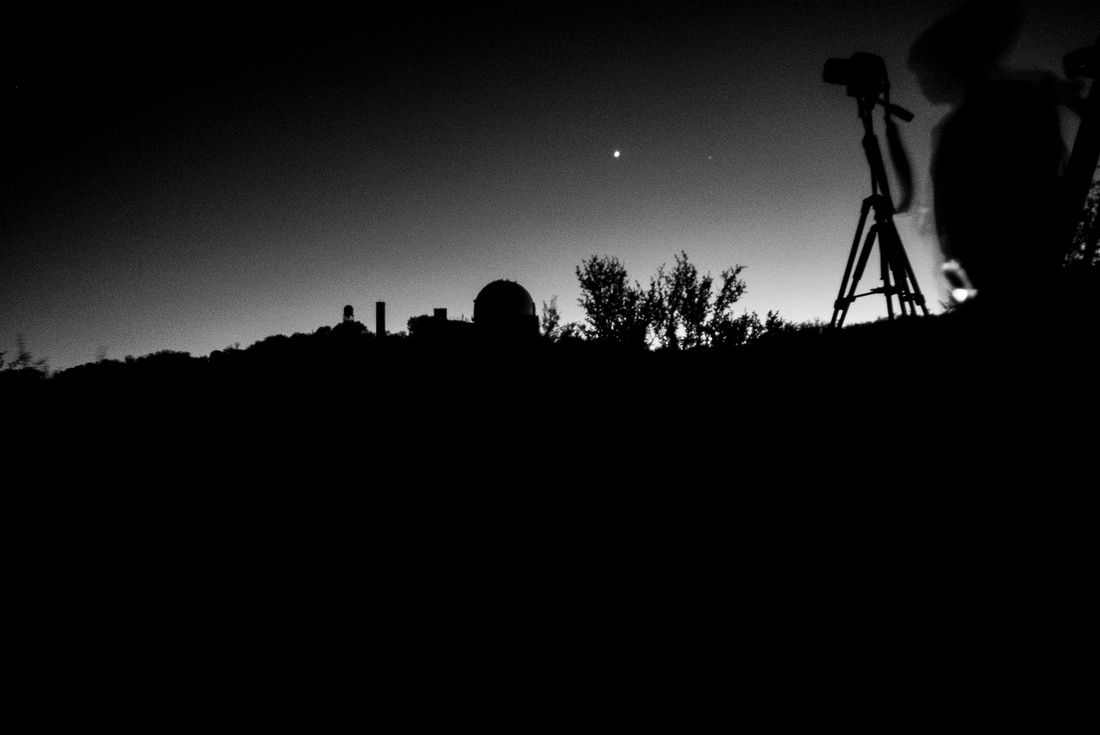
The settings would be relatively simple but specific for shooting the Milky Way:
- Place the camera on a tripod
- Aim upwards while keeping a sliver of the horizon in the lower section of the frame [for reference although this is optional and based on your compositional preferences].
- Focus to infinity
- Set the ISO to 800, 1600, or 3200. 1600 usually works well.
- Set the shutter speed to around 20 seconds. At longer shutter speeds, the stars will change from nice circular dots ( ● ) to dashes ( - ) as the rotation of the earth will move the camera [sensor] in relation to the stars. Star trails require longer exposure times [more on that later].
- Use the timer or remote shutter release cable to make the picture so that you do not bump or shake the camera for the sharpest image possible.
- Check the image, adjust as needed, and repeat.
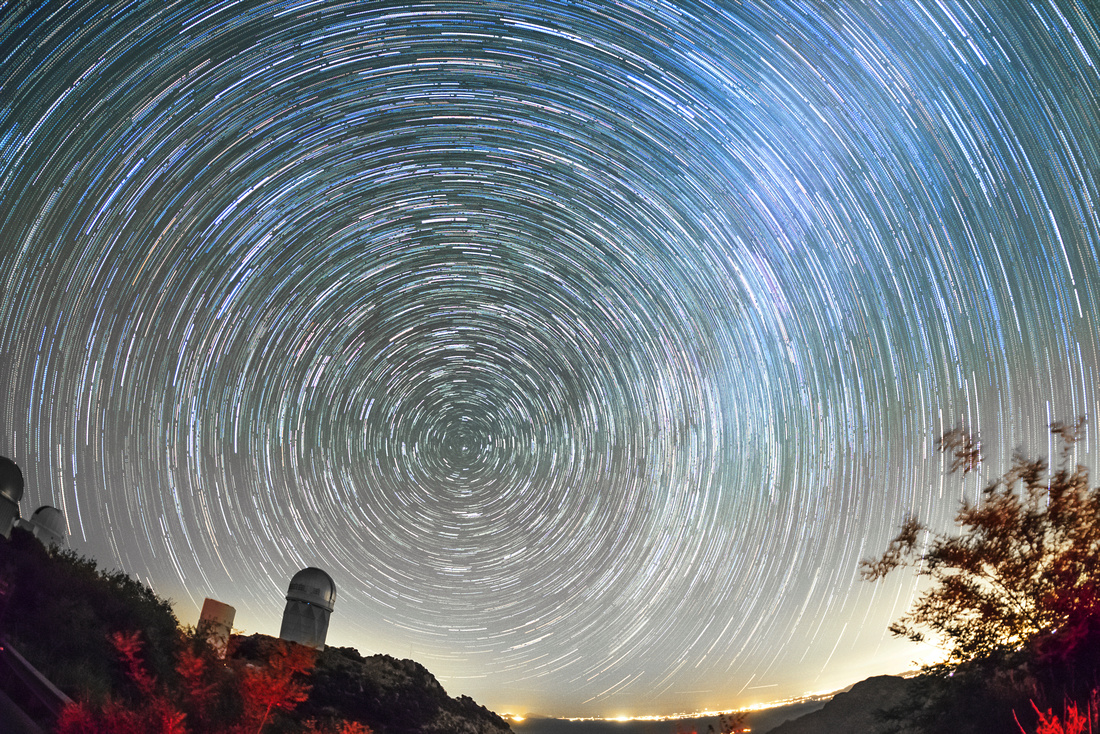
For Star Trails, there are a few ways to accomplish this and the results are super cool. You can follow the steps above until you get to #5. Instead of making a 20 second exposure time image, you can set the camera to “Bulb” mode and make a continuous image for as long as you like such as one hour or longer. Just leave it and the light from the stars will “burn” into your sensor as they travel around the sky in what looks like a circular “orbit” around Polaris, the North Star.
Another technique is to set the camera to “Continuous” burst mode, and using a remote shutter release [cable] and 30 second exposure time, release the shutter and make around 50 + images. The benefit to this technique is that you can remove a few of the 30 second frames if there is an airplane or cloud that enters your frame. You will need a software program such as StarStax to dump and stack the images into afterwards.
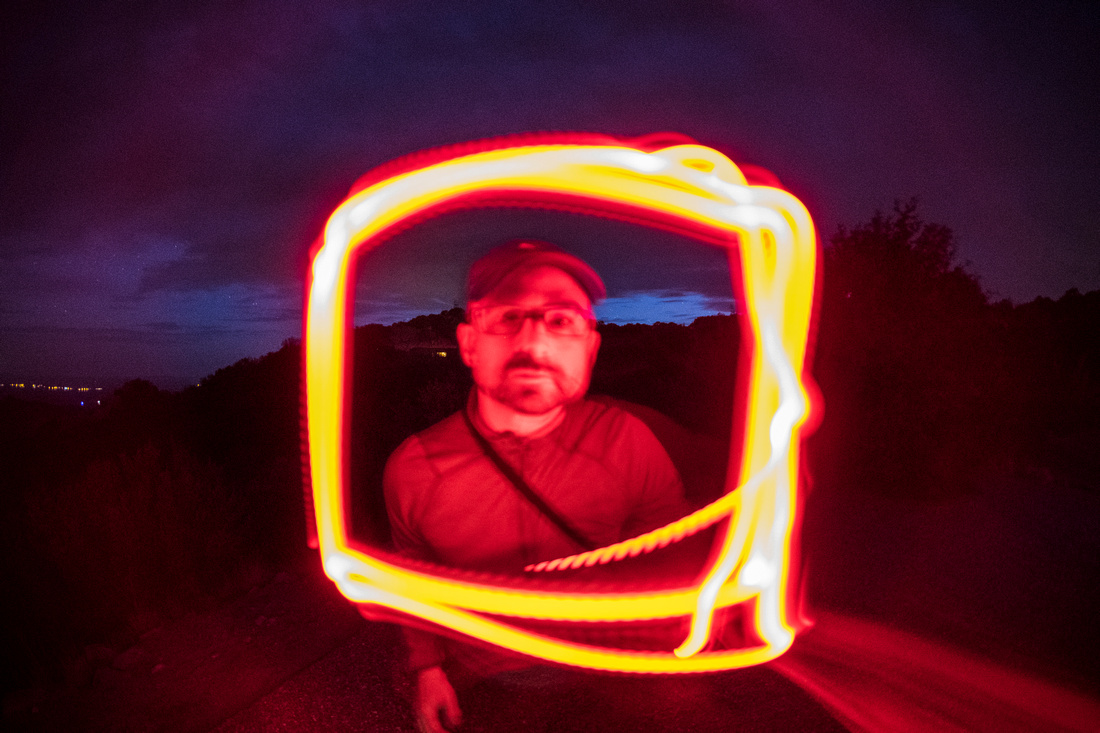
In summary, we had a blast, and the images speak for themselves. If you try this, remember to be safe, use a red light, and dress appropriately for the weather since it’s usually quite chilly, yes, even in the middle of the desert, in June!
The light is always right.
jhg
*Images: © Jeremy H. Greenberg
Where: The Known Universe, Milky Way Galaxy, viewed from Planet Earth, USA, Kitt Peak National Observatory, Tucson, Arizona
Subject: Milky Way Galaxy, and a slice of the sky containing billions of stars, galaxies, and various planets and other objects such as binary stars, quasars, red giants, super novas, and black holes,
Gear: Fujifilm X-E3 digital mirrorless camera, Fujifilm 18mm f/2.0 XF R WideAngle Lens, Samyang 8mm f/2.8 Fisheye II Lens, 180º Angle of View, Fujifilm RR-90


 Remote Release , MeFoto RoadTrip Air Travel Tripod
National Geographic Travel Photographer of the Year 2017 Editor’s Favorite: Galleries: Week 4 Cities & People
Casual Photophile Tip & Techniques No. 001 The Subject is the Subject
The Inspired Eye Photography Magazine Issue #40 (full interview)
Hong Kong Free Press: HKFP Lens
Blog #18 Criticizing Photographs or Beyond the “like”
Blog #25 Don’t Be Afraid of the Dark[room].
Blog #47 Composition, Composition, and More Composition
Blog #65 Summer is for Travel (Hanoi)
Blog #67 Risks, Rules, & Restrictions
Blog #68 Photography is a Gift
Blog #72 Living the Creative Life
Blog #90 Restrictions, Revisited
Blog #93 Photographic Technique
Blog #105 Signs, Signs, Everywhere a Sign
Blog #117 Infrared [IR Photography]
Blog #117 Infrared [IR Photography]
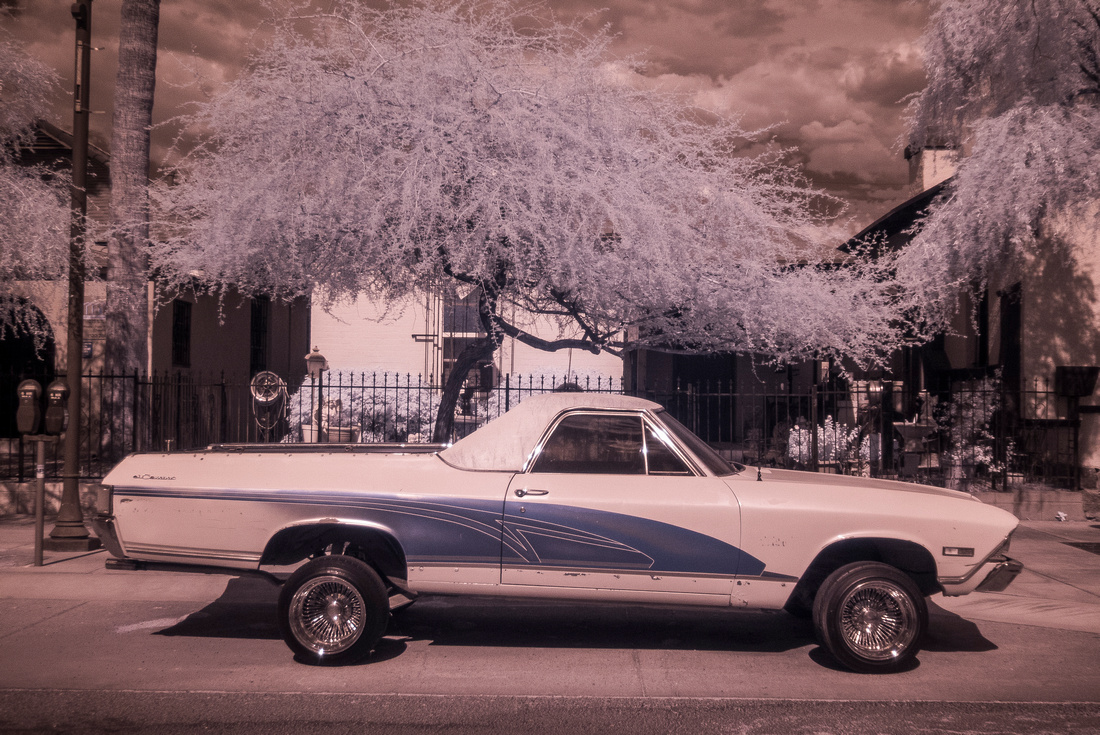
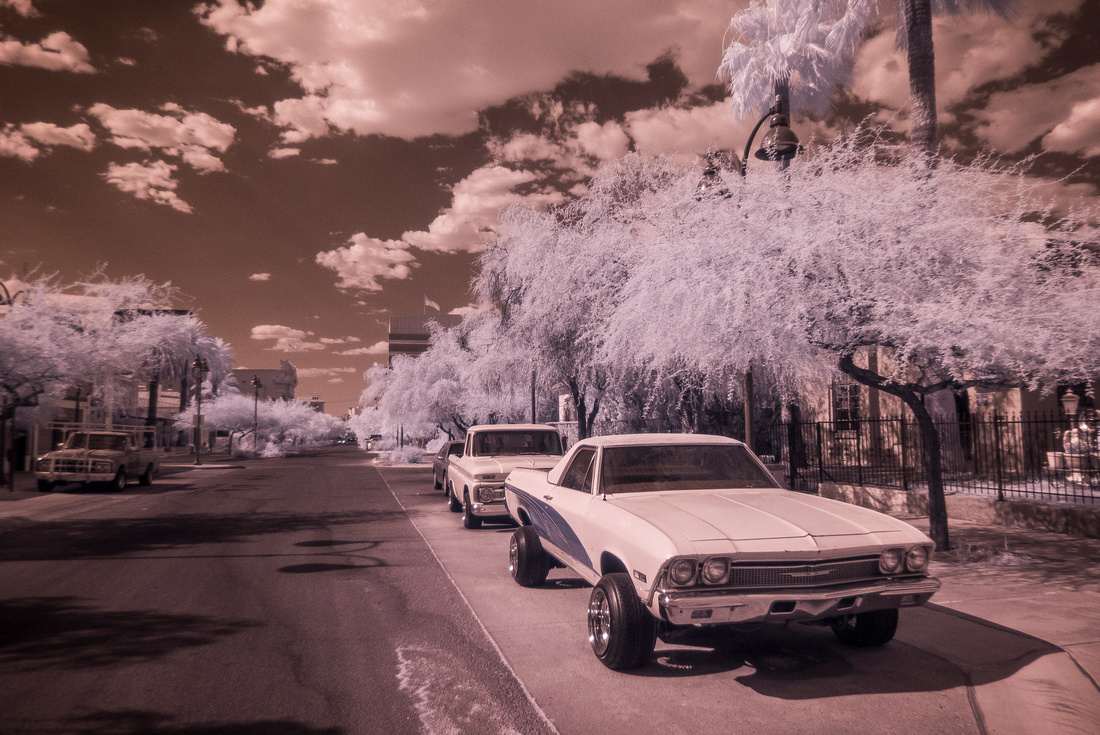
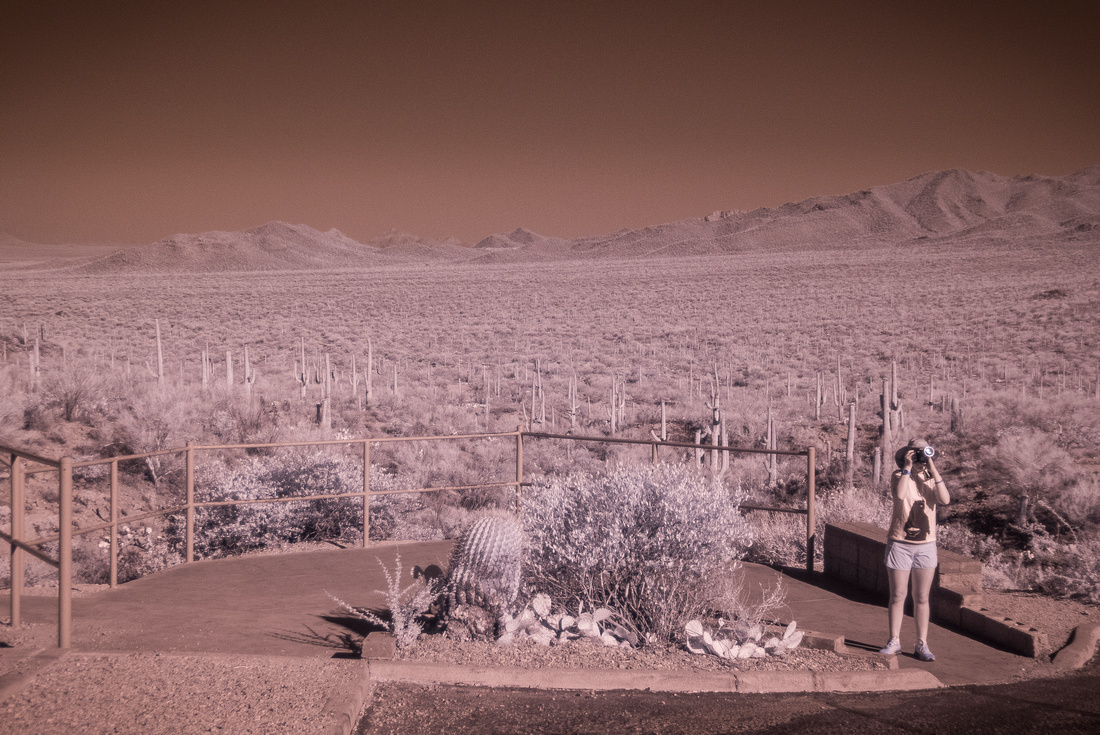
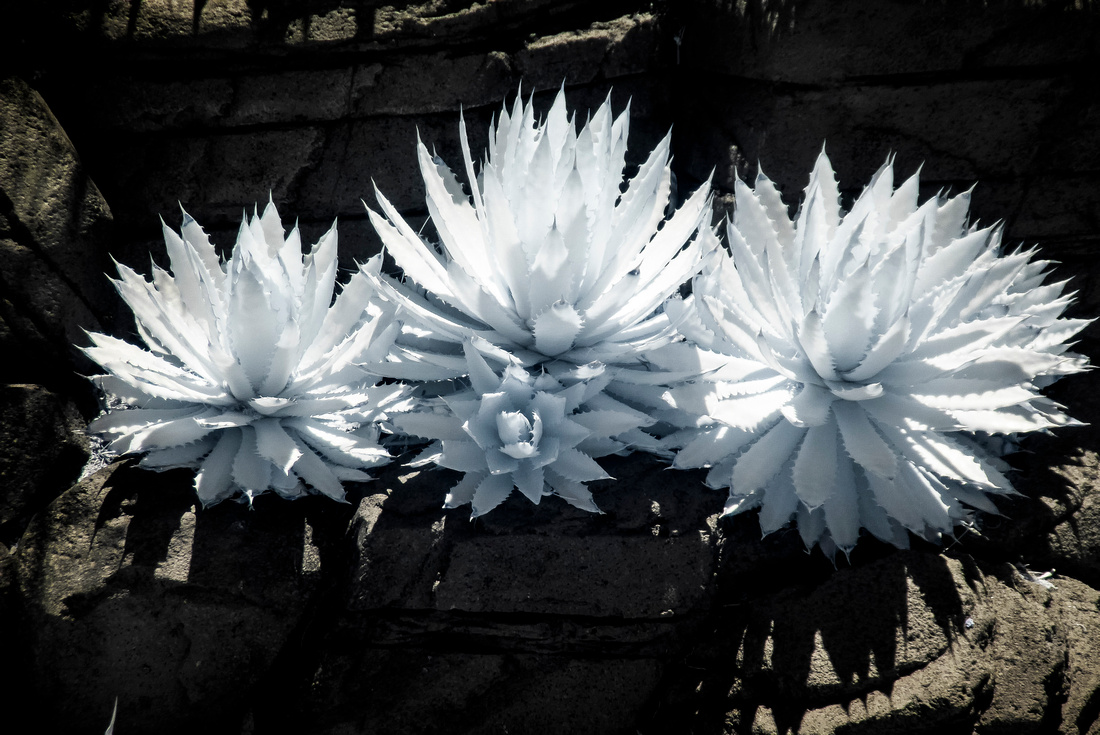
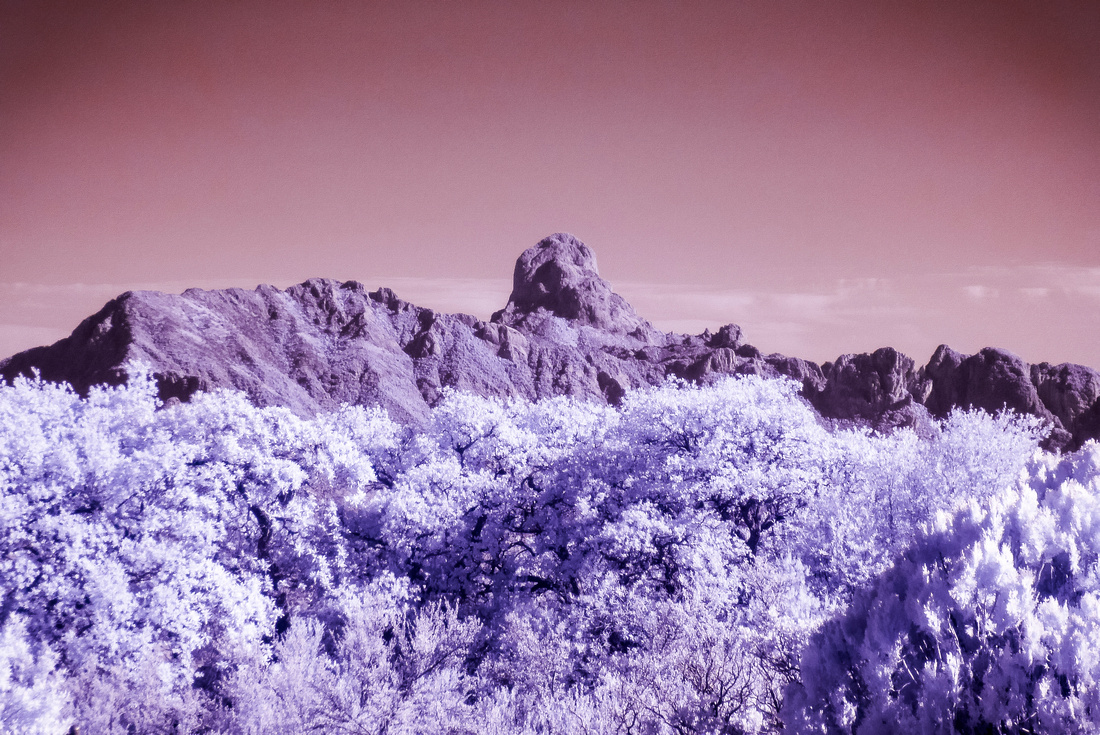
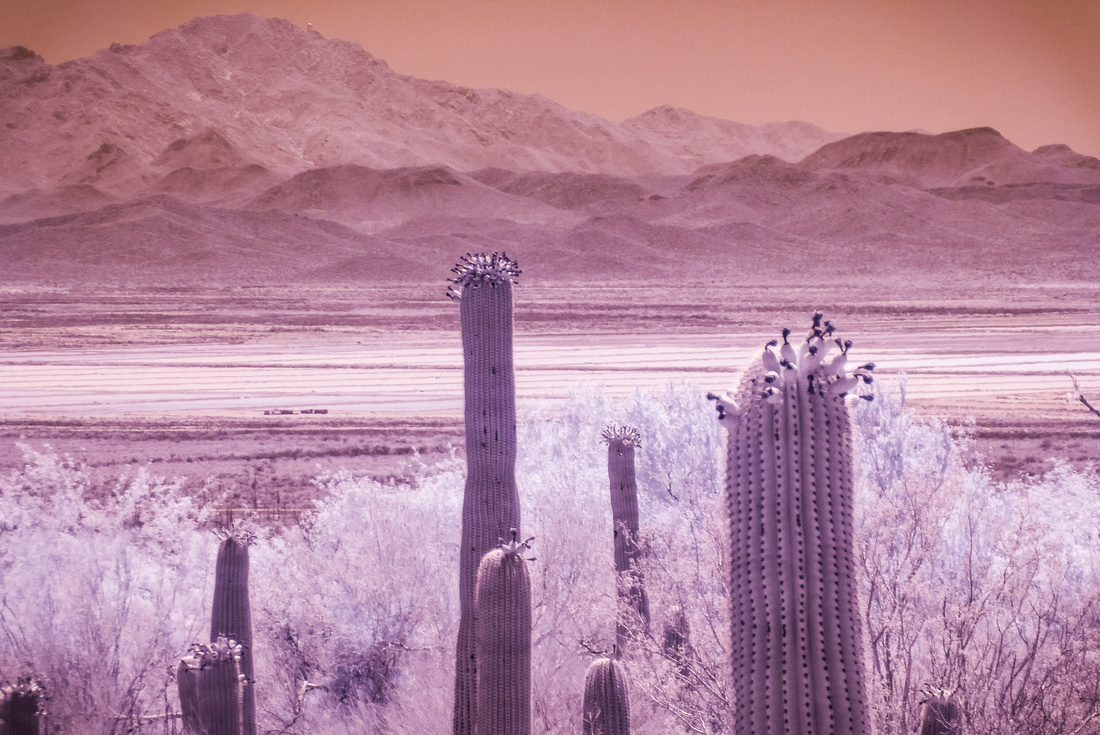
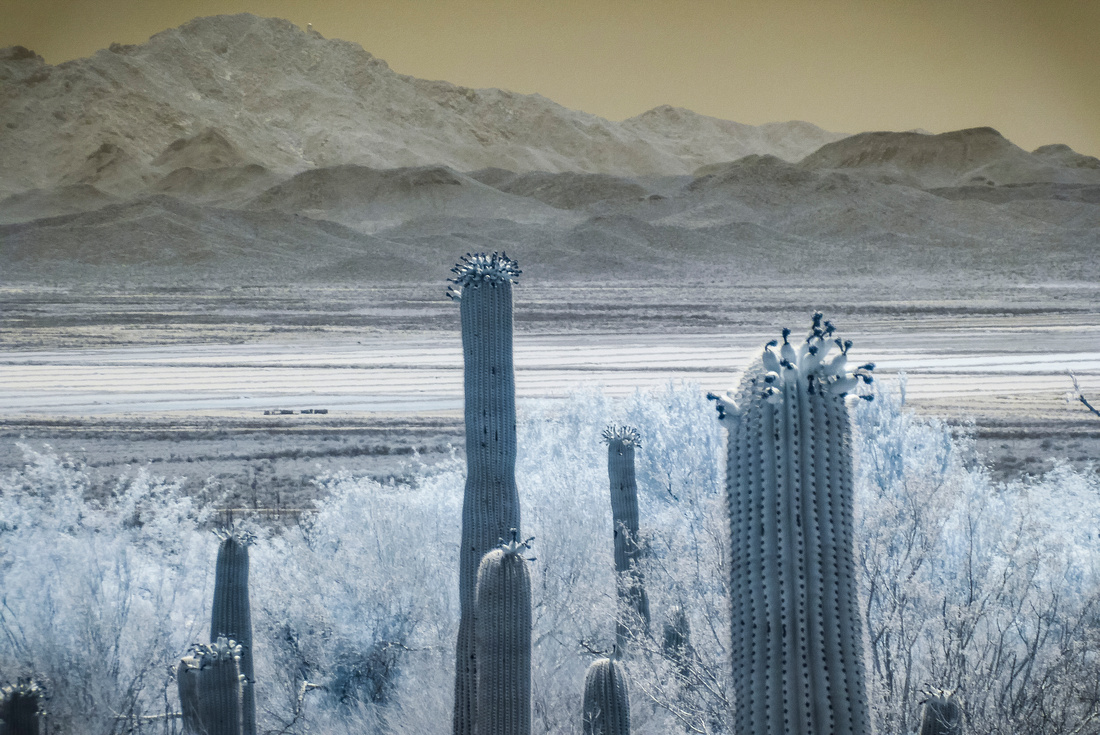
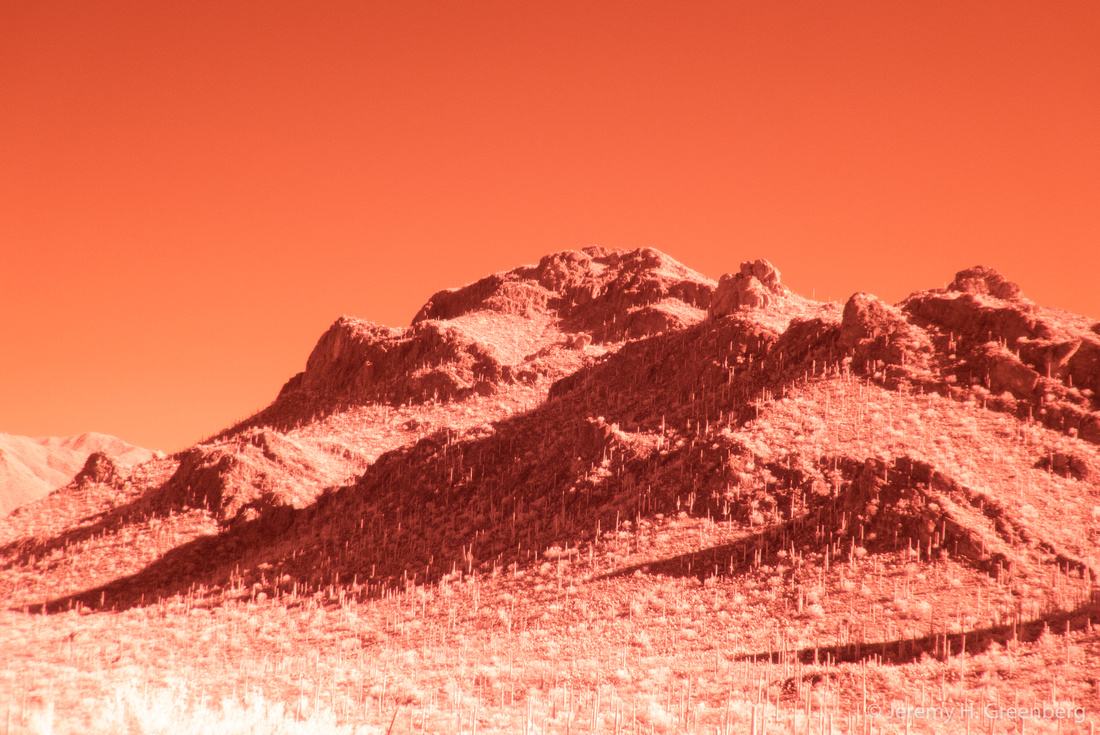
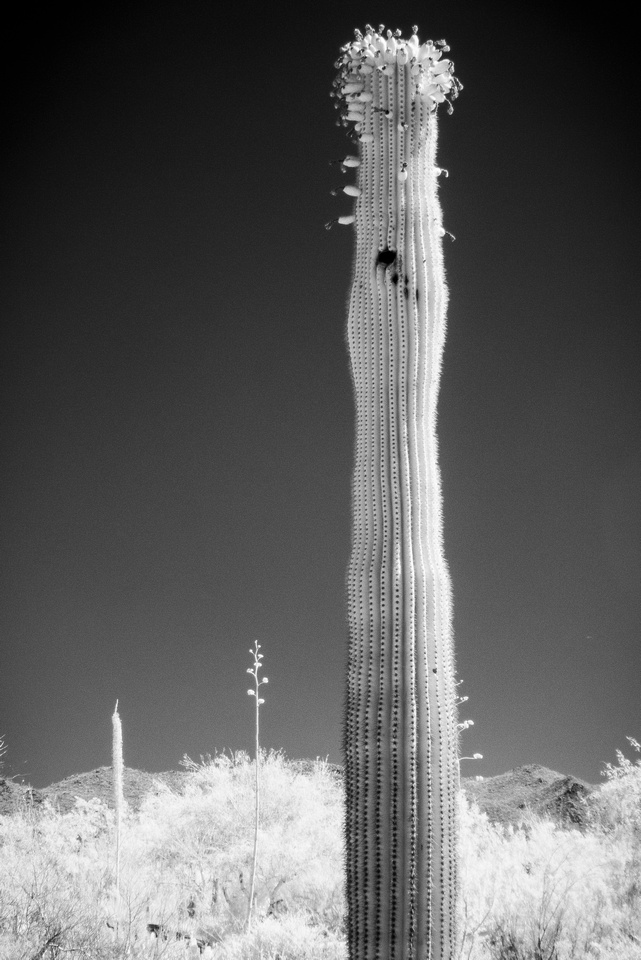
You might have heard of or even tried out infrared (IR) photography. There are three ways in which you can experiment with this technique. I will explain those below. First, I have blogged about or referenced this type of image making in previous blogs: Blog #29 & Blog #103. Let’s go back to Grade Seven Physics class for a moment. Electromagnetic radiation occurs naturally in the universe. The electromagnetic spectrum is measured in wavelengths of photons or light particles. The human eye can only detect a small portion of this spectrum (visible light such as the colours of the rainbow). Shorter wavelengths, not visual to humans (but are visual to some animals such as the mantis shrimp) include Ultraviolet, X-rays, Radio Waves, and Gamma Rays. Longer wavelengths include near and far field infrared light. These measure around 720nm (nanometers) or longer wavelengths. Some film and most camera sensors can see the IR wavelengths. A hot mirror is type of filter placed on your camera sensor that blocks UV & IR wavelengths and allows the visible (to our eyes) wavelengths pass through to hit the R/B/G circuits on the camera’s sensor.
- Buy some IR film. Rollei still makes this stuff in various sizes and can be purchased at CameraFilmPhoto. Originally created for surveillance and scientific applications, IR film is sensitive to some of the near field IR light wavelengths. You might need a Red #25 Filter over your lens to help the film work its magic. However, the film will work without it. You will not need a tripod.
- Use an IR filter over your normal lens on your DSLR. This will allow the IR light through the hot mirror and will not permanently affect your camera in any way. You will need a tripod since the filter will decrease a couple of stops of light and cause longer exposure times.
- Buy or send your camera off to have the hot mirror shaved off. Do not try this yourself. You need speciality equipment that is capable of cutting only 1mm of filter off of your lens after it is removed from the camera. There is a company that sells pre-fab cameras or will modify your camera if you send it in. They also have information about the process. The benefit here is that you can shoot IR images, handheld, and will not need a filter. The images will come out better as well as you will have more shooting options unencumbered by the need fro a tripod.
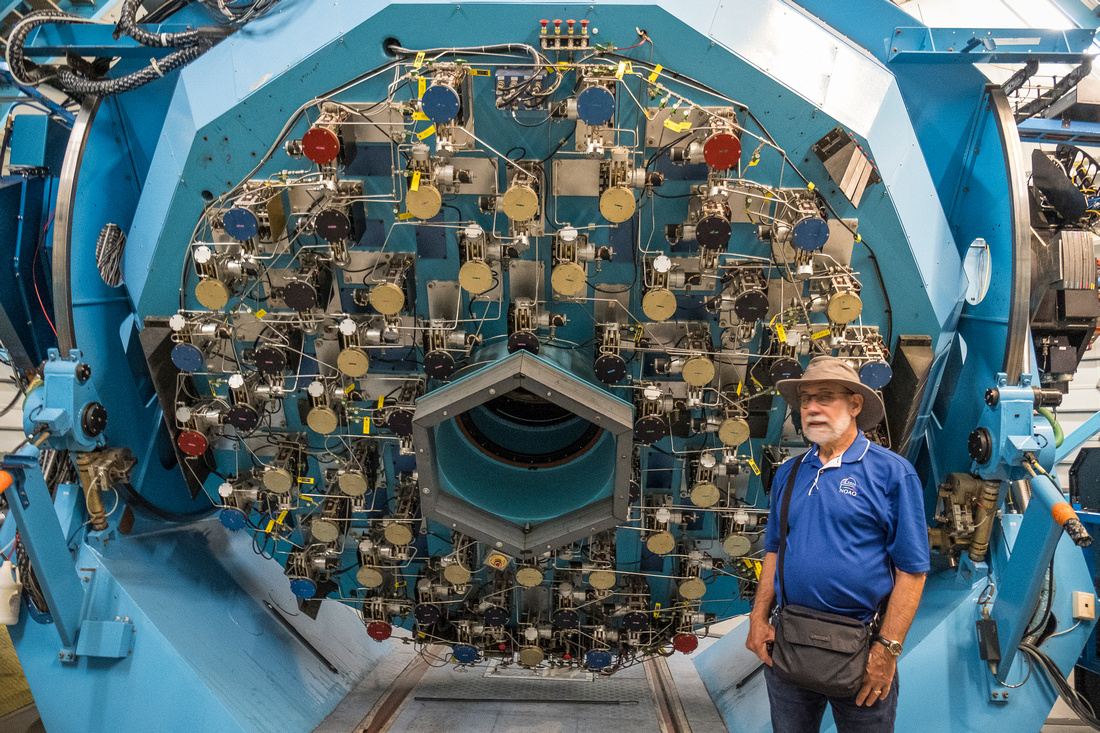
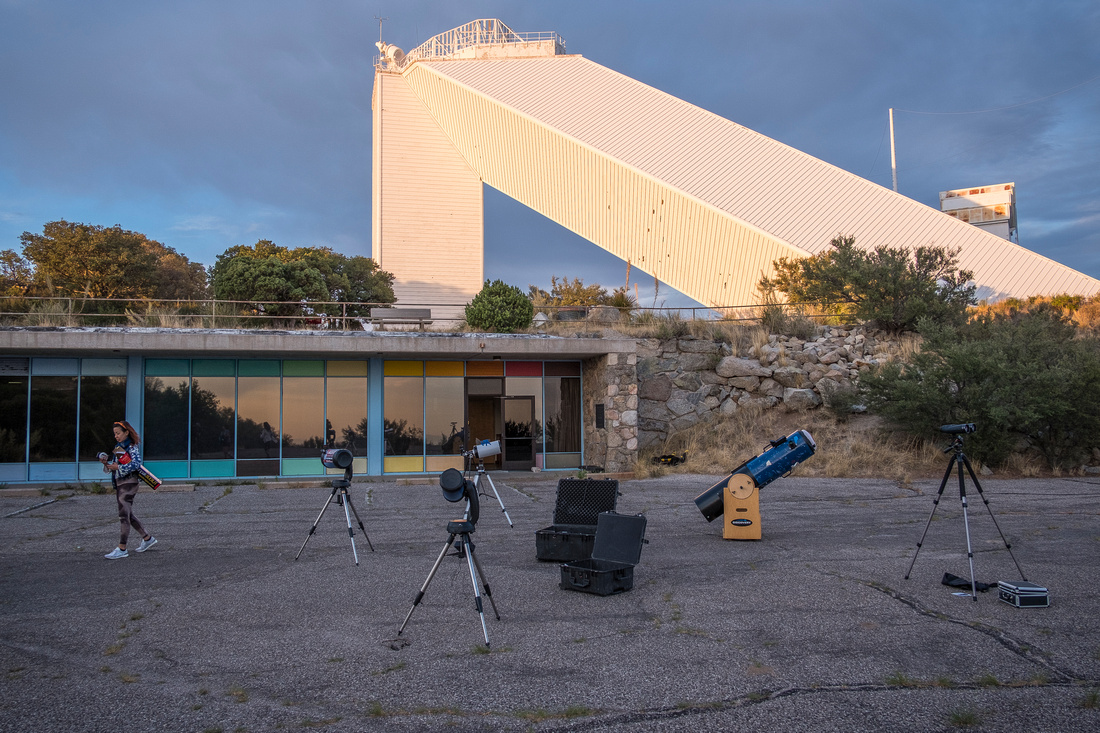
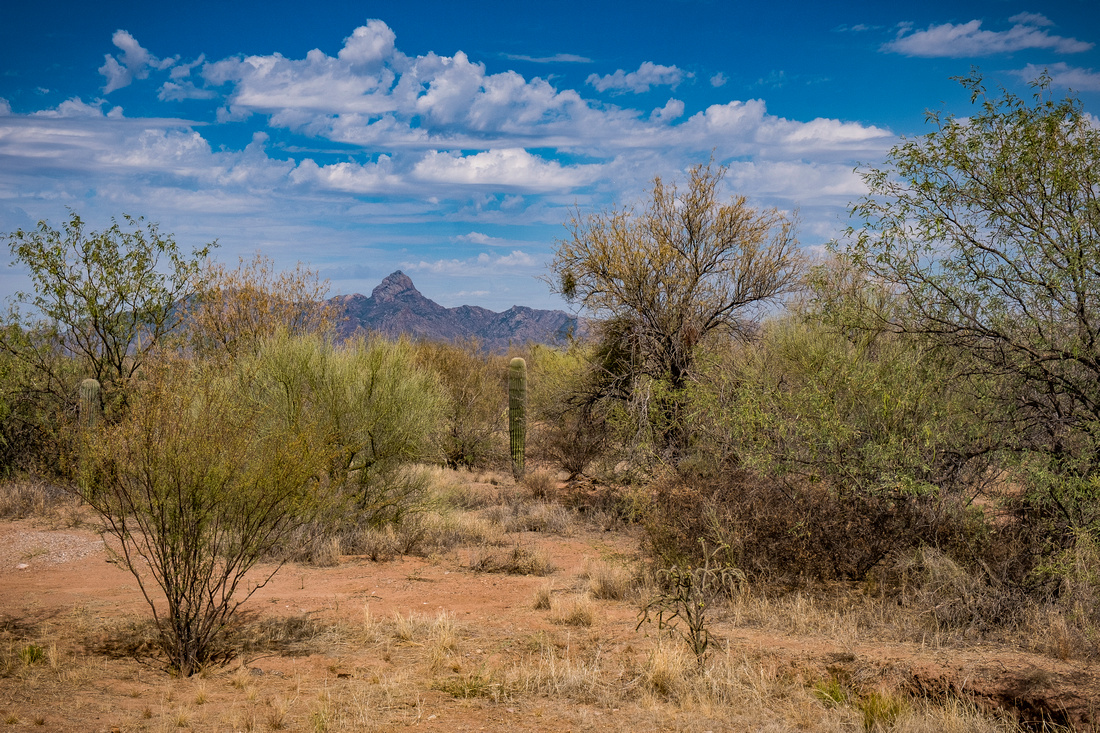
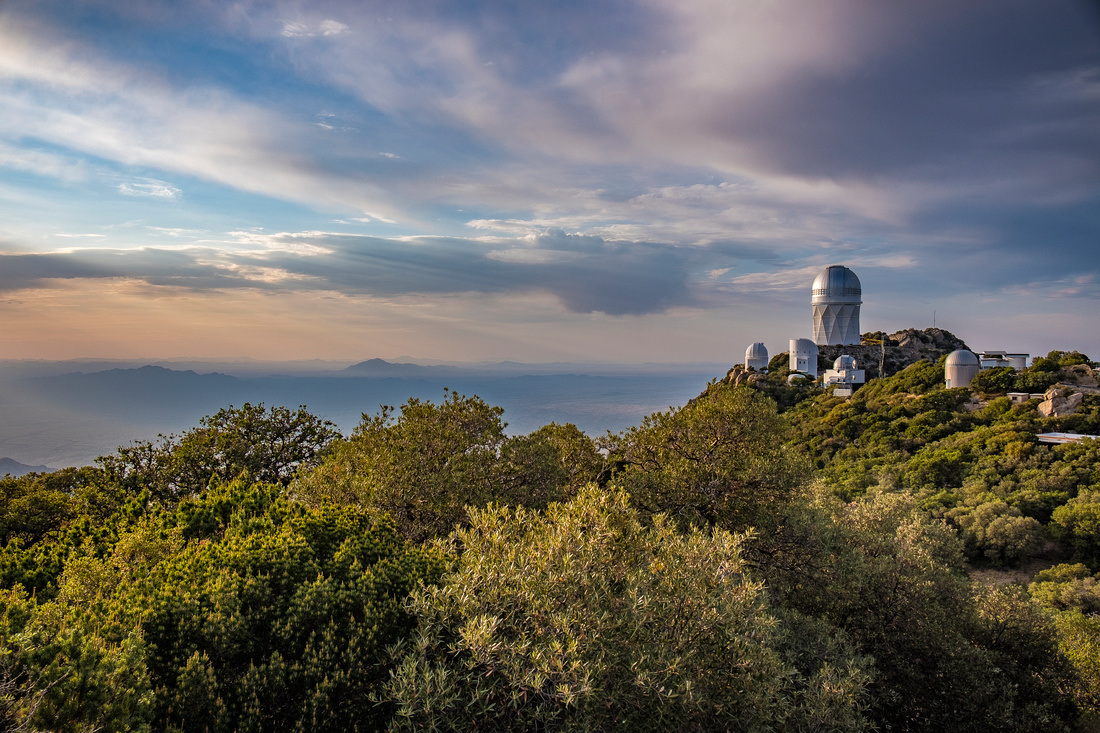
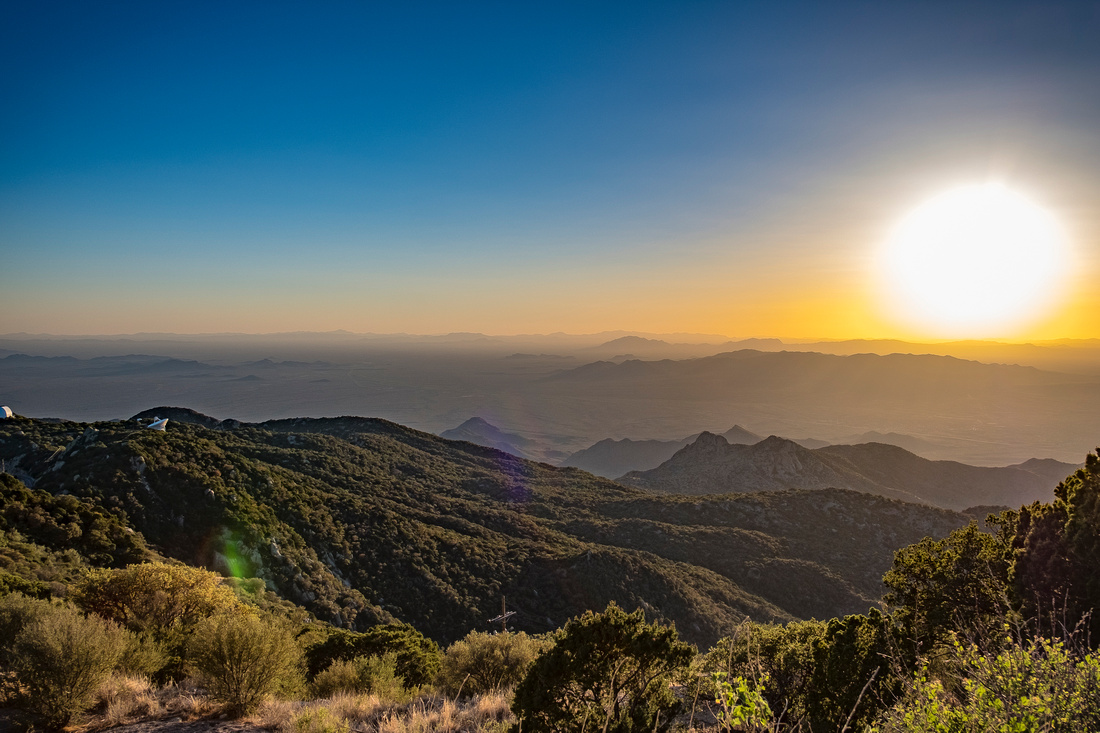
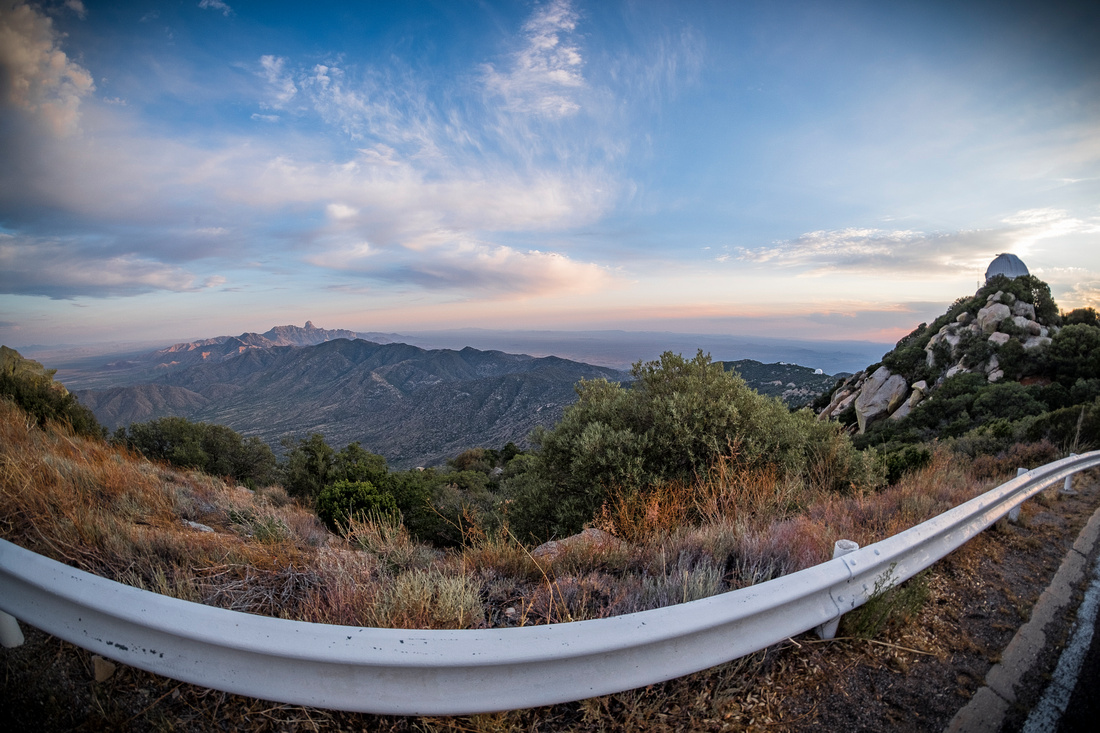
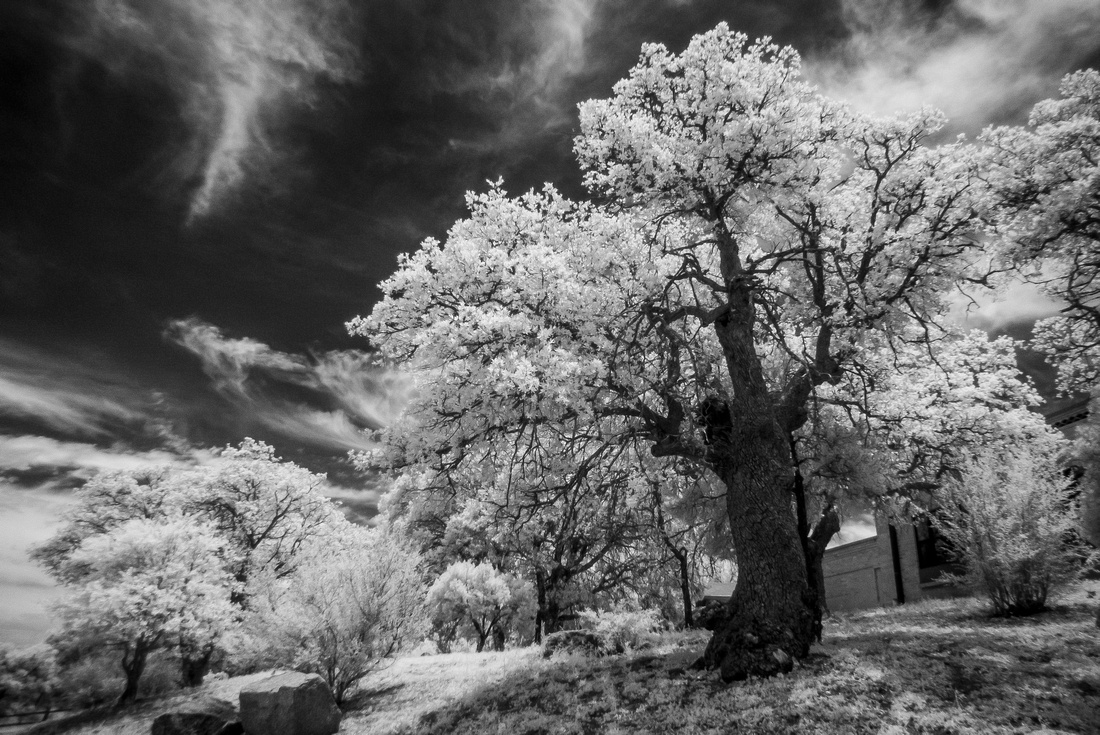
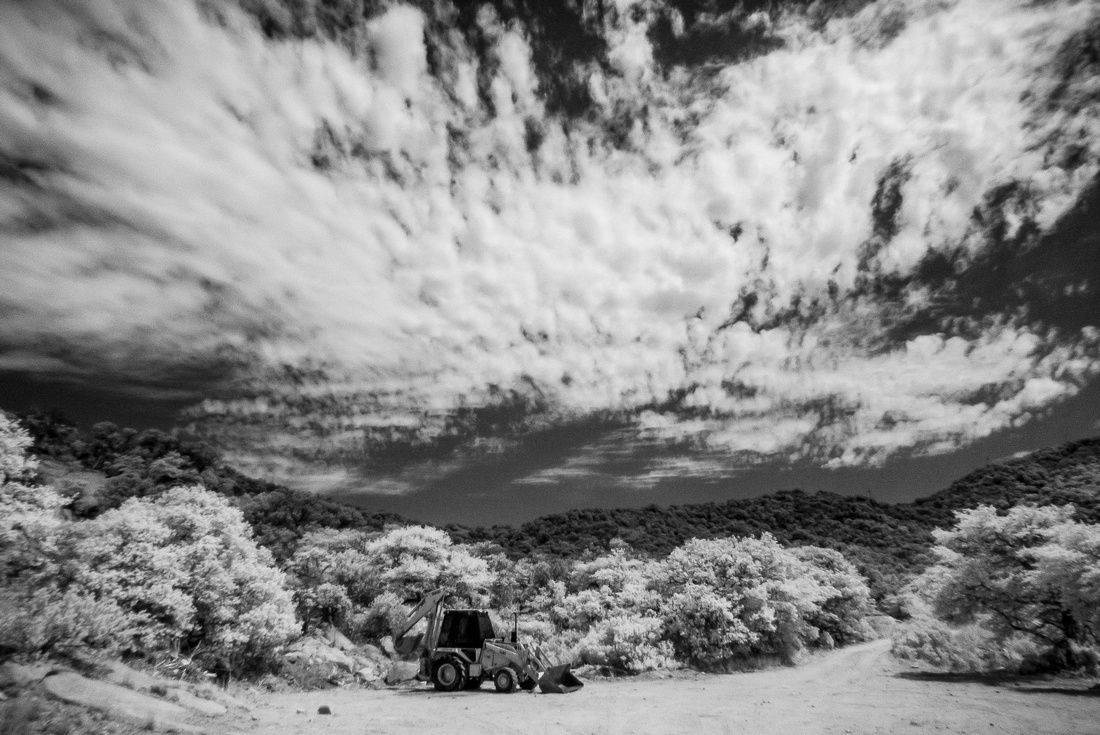
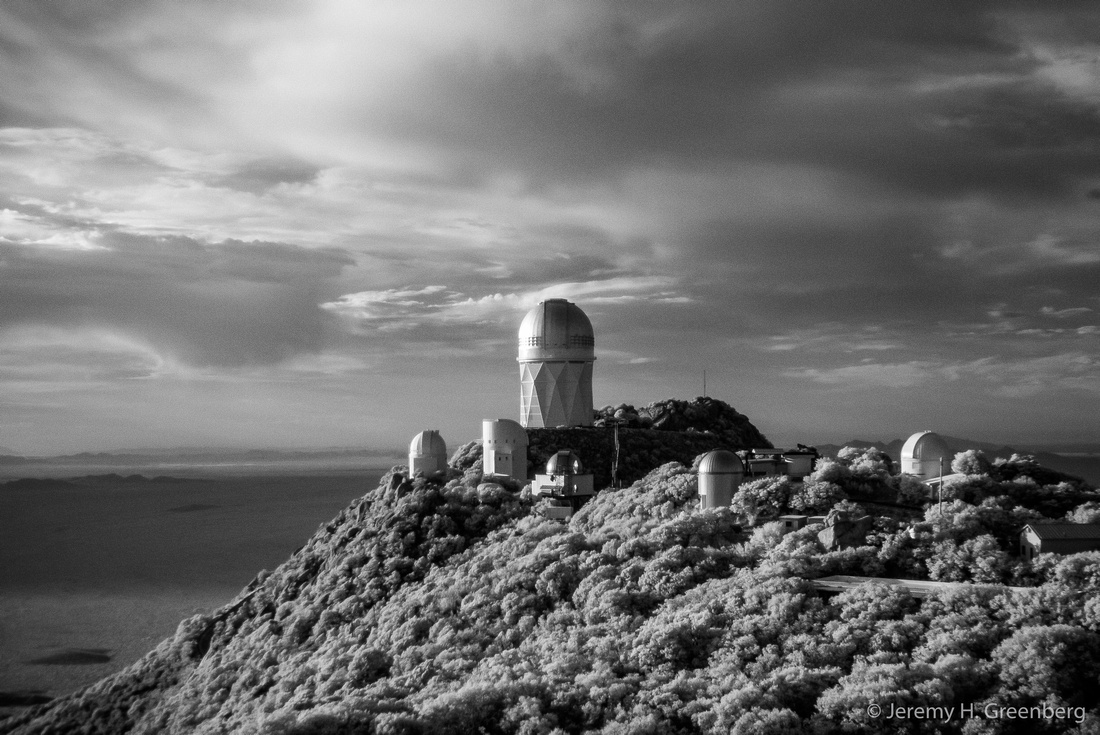
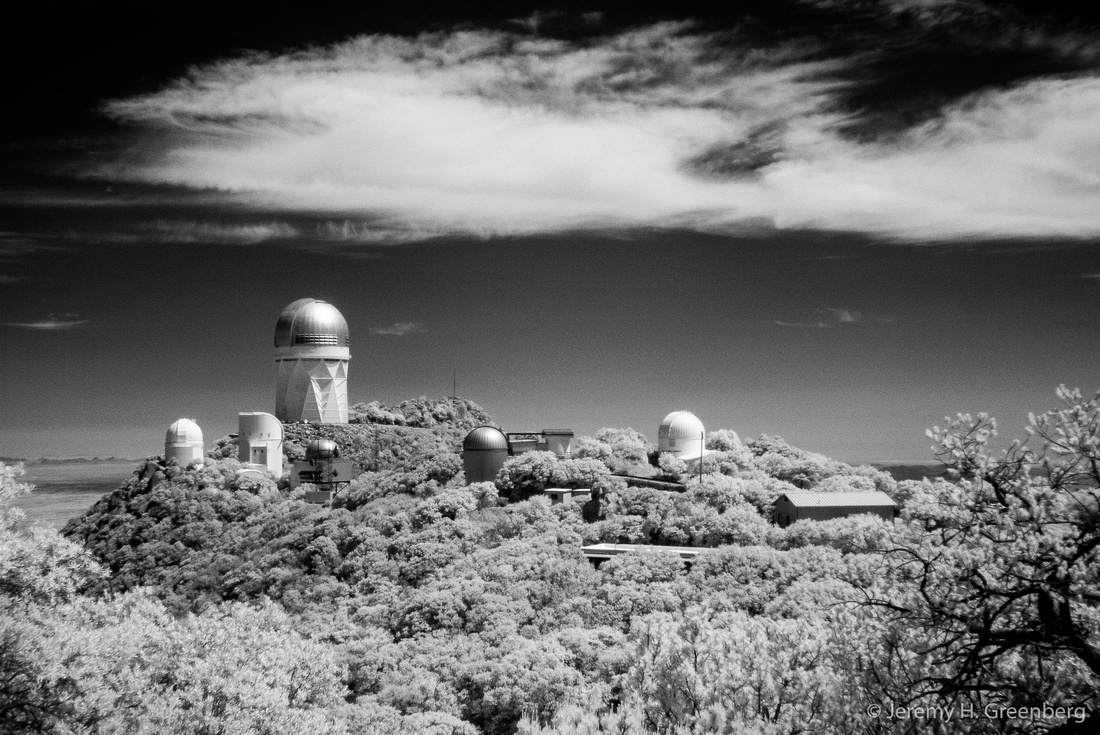
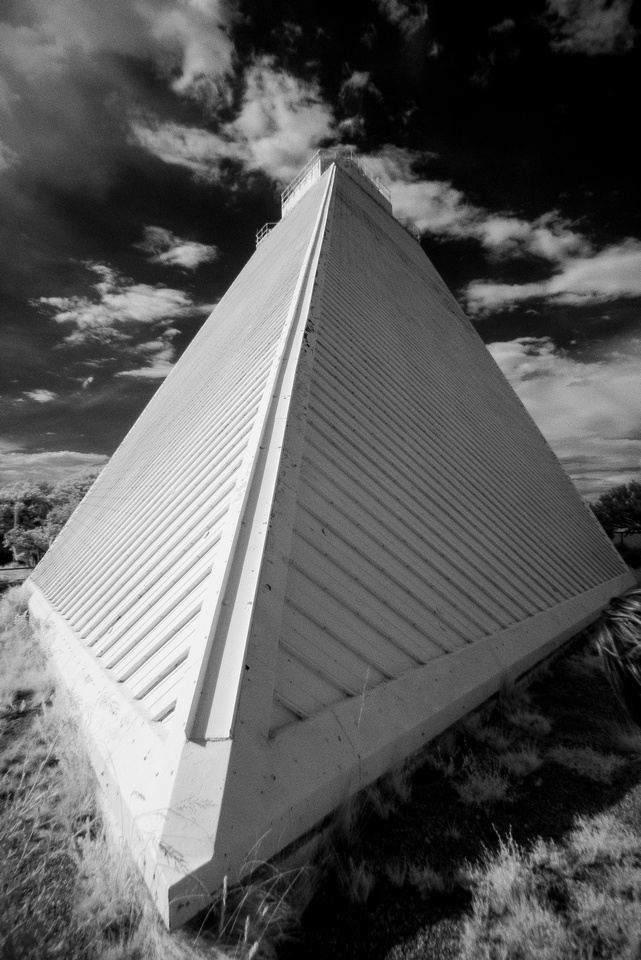
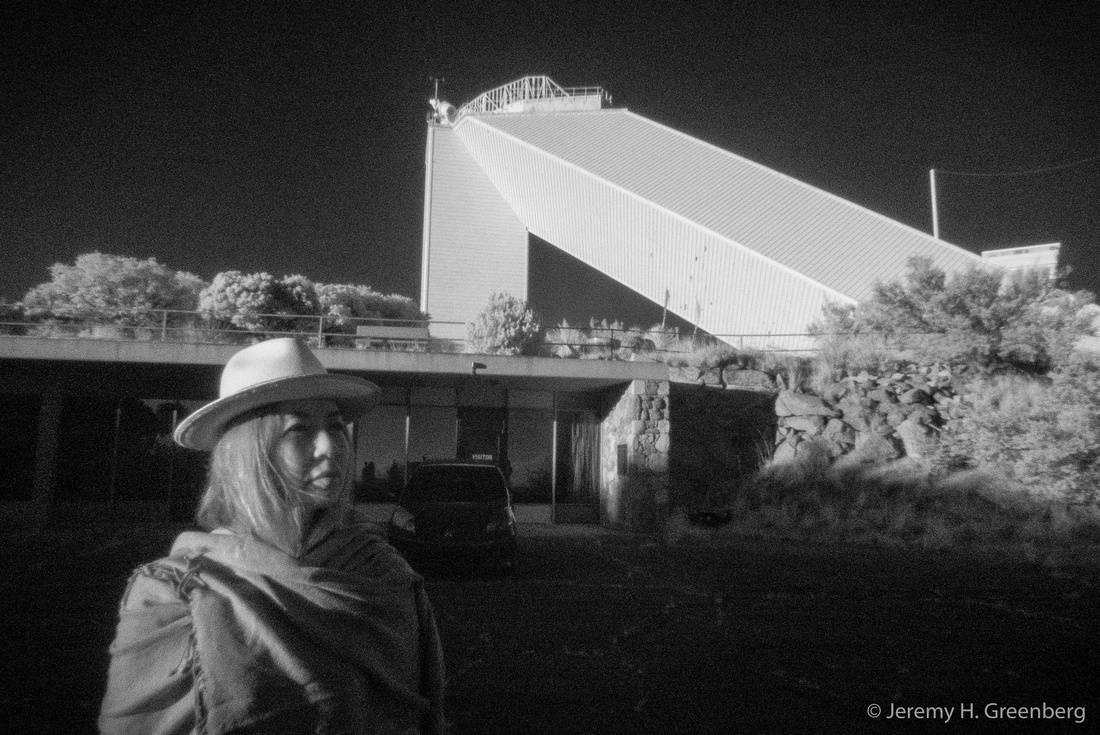
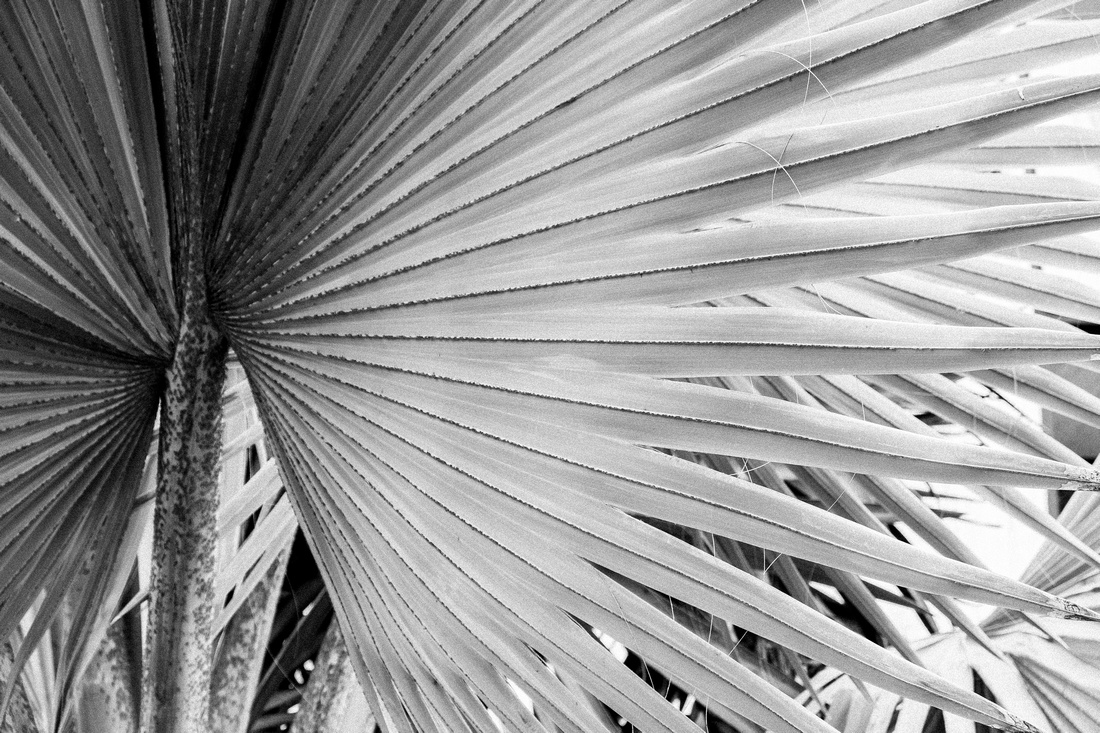
If you like making black and white images and/or landscapes, you will love IR photography. The images below were made with a small 12mp Lumix converted by Kolarivision on a recent trip to Kitt Peak National Observatory in Tucson, Arizona, USA.
The light is always right.
jhg
*Images: © Jeremy H. Greenberg
Where: Kitt Peak National Observatory, Tucson, Arizona, USA
Subject: People & Landscapes around Kitt Peak National Observatory
Gear: Panasonic Lumix 12mp Point & Shoot with IR Near Field 720nm sensor conversion.


National Geographic Travel Photographer of the Year 2017 Editor’s Favorite: Galleries: Week 4 Cities & People
Casual Photophile Tip & Techniques No. 001 The Subject is the Subject
The Inspired Eye Photography Magazine Issue #40 (full interview)
Hong Kong Free Press: HKFP Lens
Blog #18 Criticizing Photographs or Beyond the “like”
Blog #25 Don’t Be Afraid of the Dark[room].
Blog #47 Composition, Composition, and More Composition
Blog #65 Summer is for Travel (Hanoi)
Blog #67 Risks, Rules, & Restrictions
Blog #68 Photography is a Gift
Blog #72 Living the Creative Life
Blog #90 Restrictions, Revisited
Blog #93 Photographic Technique
Blog #105 Signs, Signs, Everywhere a Sign
Blog #116 Shoot For Your Health
Blog #116 Shoot For Your Health
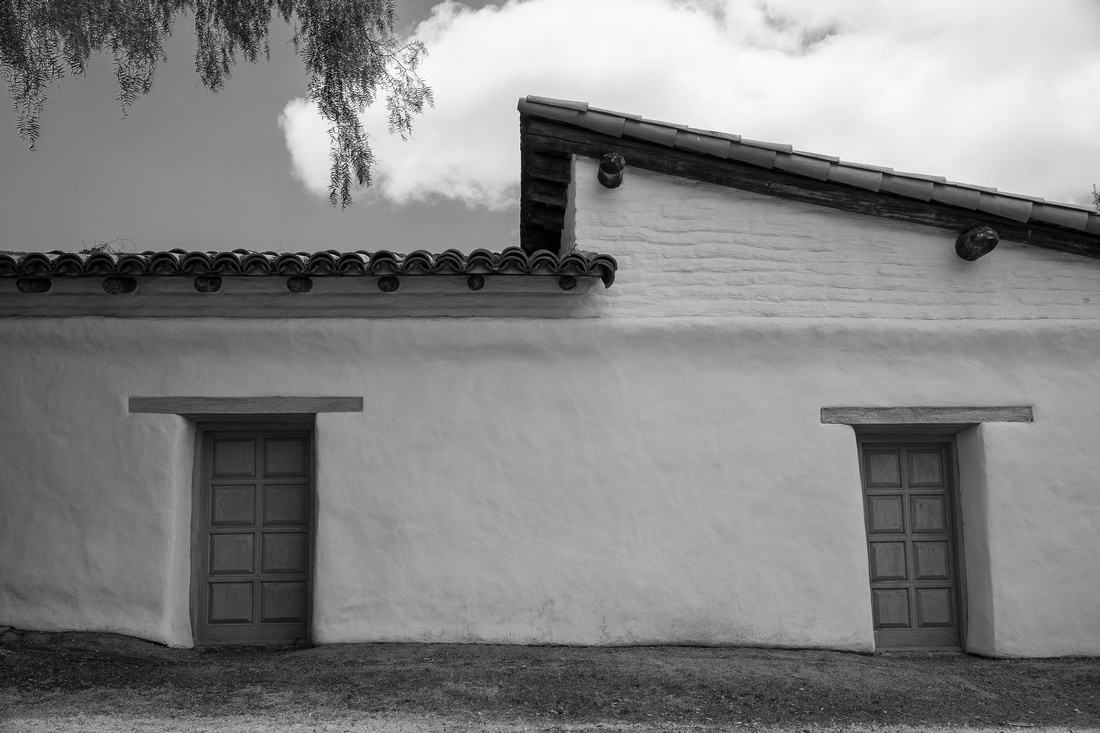
Our beloved passion and preferred art form has its risks. The lure and expense of that new body or lens can cause stress and financial hardship. The physical risks of making images in the midst of a busy street in an urban environment should be abundantly clear. Exposure to the great outdoors through adverse weather such as heat stroke or frostbite while pursuing that must-see landscape on that ultra-high mountain peak can literally hurt you. Underwater photography is downright risky business.
Nevertheless, there are health benefits to regular interaction with making arts when practiced with a certain level of rigour. In a recent article by Jane Brody in Health Times titled Using the Arts to Promote Healthy Aging, the author reports on various mental as well as physical health benefits to the elderly that have been found and reported in recent years.
It’s reassuring to know we may be drawing with light well into old age. While pursuing perfection might not be a reasonable objective, that shouldn’t stop us from the pursuit of what the Japanese call Kaizen (改善).
There are social and creative muscles that we may exercise well into our later years and that “keeper” image might be just around the next corner or in that undeveloped roll of film. So buy that camera, buy that lens, start that project, print that book. Get the work done and know that it’s good for you and will continue to be good for you in the coming years. The benefits of making art are not always apparent or tangible but somehow we feel them, we know that they are there.
We’ve all heard the old adage, An apple a day keeps the doctor away.
How about we update that to, Shoot a roll a day to keep the doctor away?
I don’t know about you, but I’ll start tomorrow and see how it goes. I know one thing, and that is that it couldn’t hurt.
The light is always right.
jhg
*Images: © Jeremy H. Greenberg
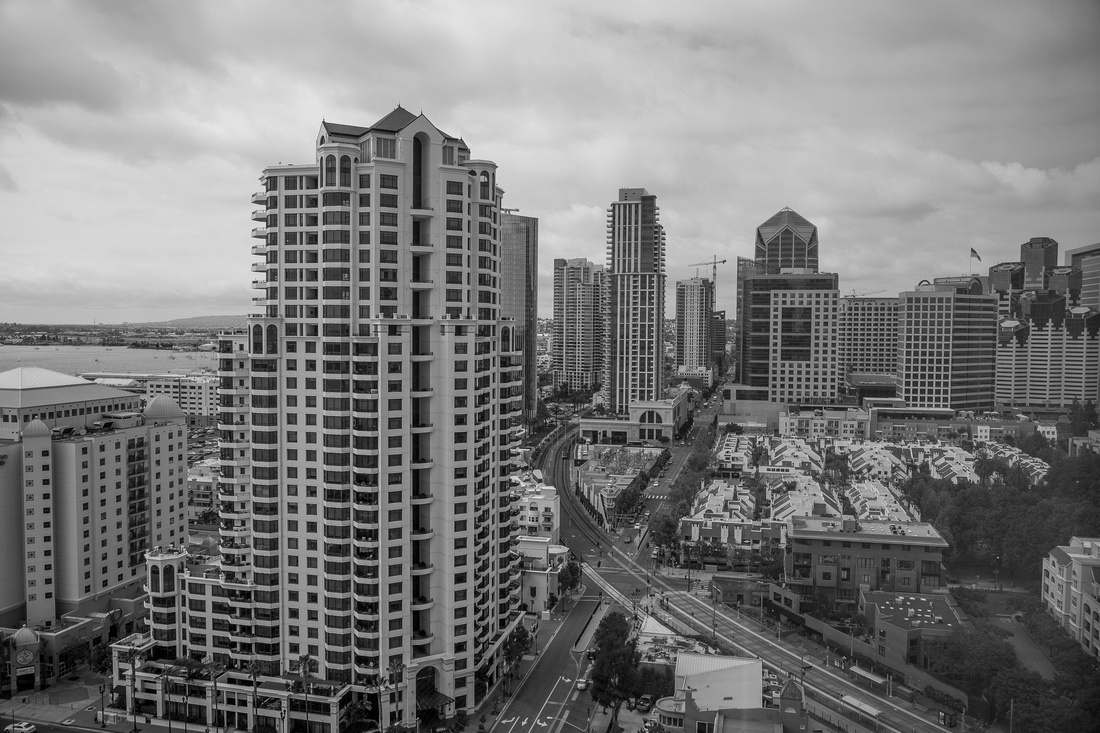
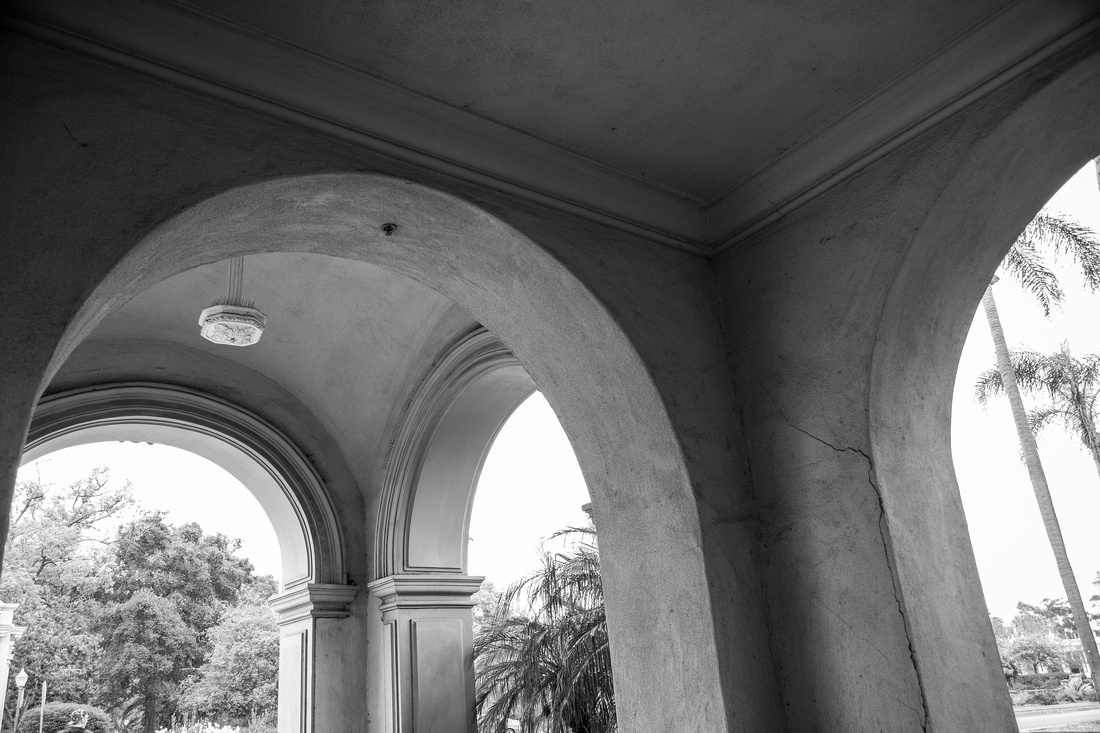
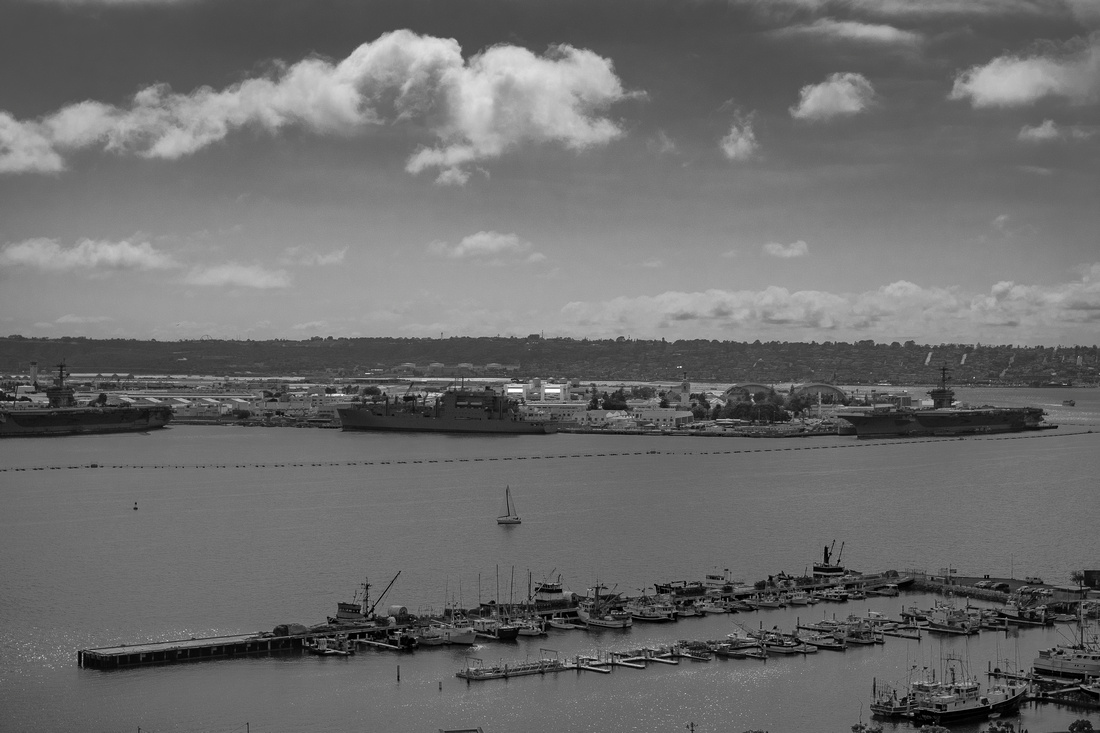
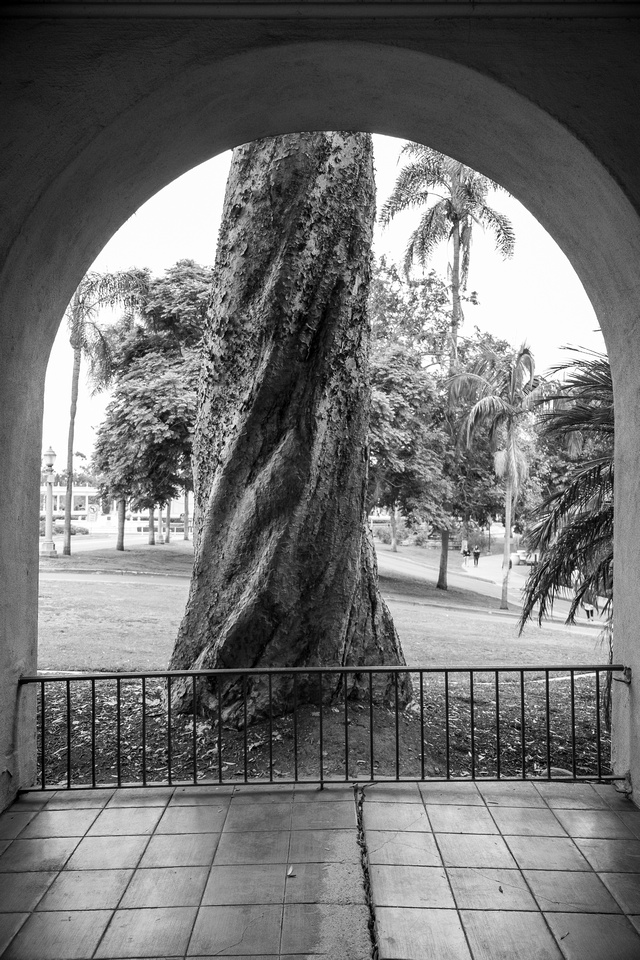
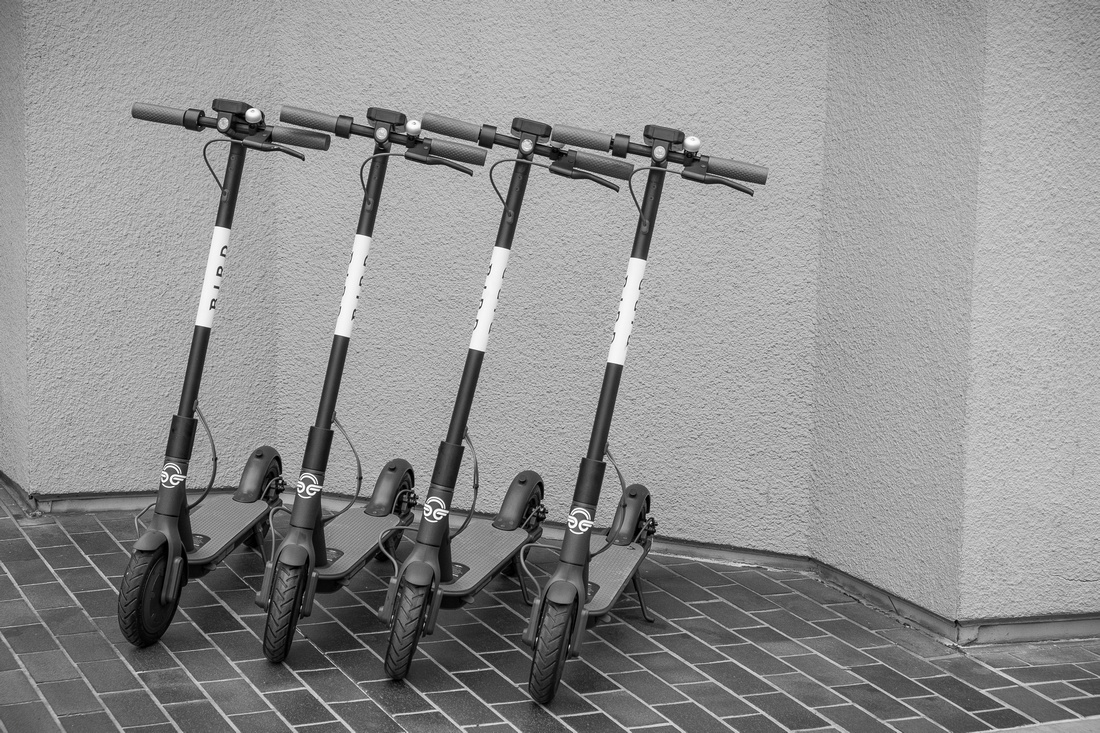
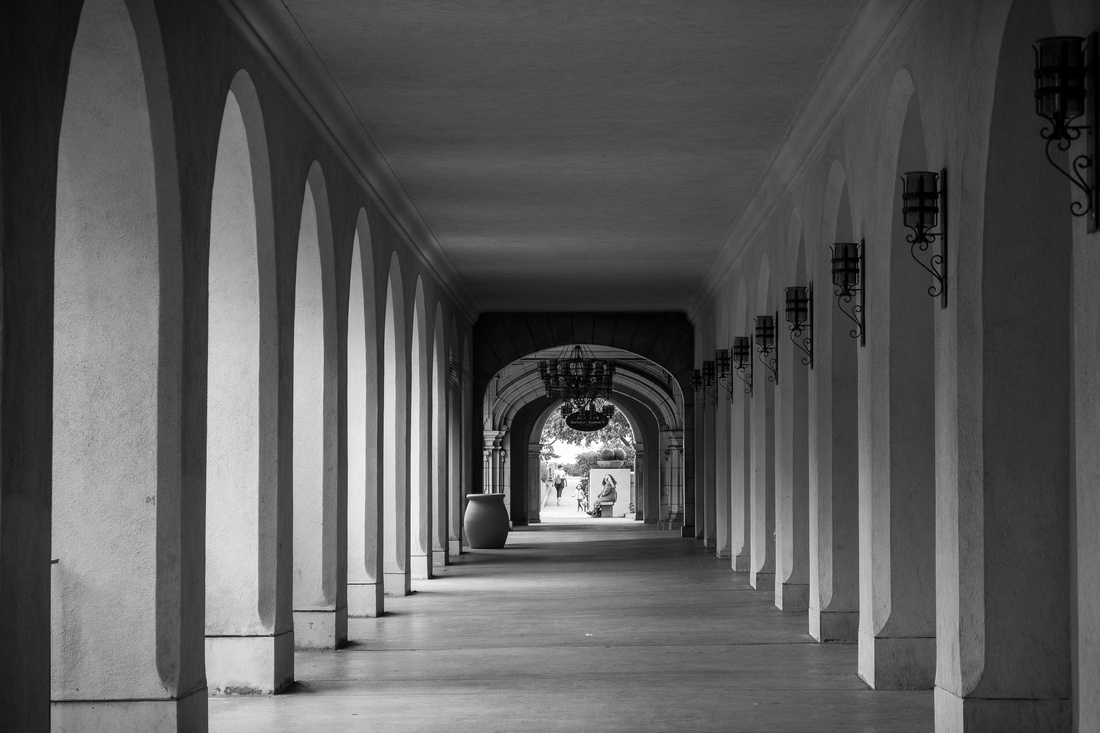
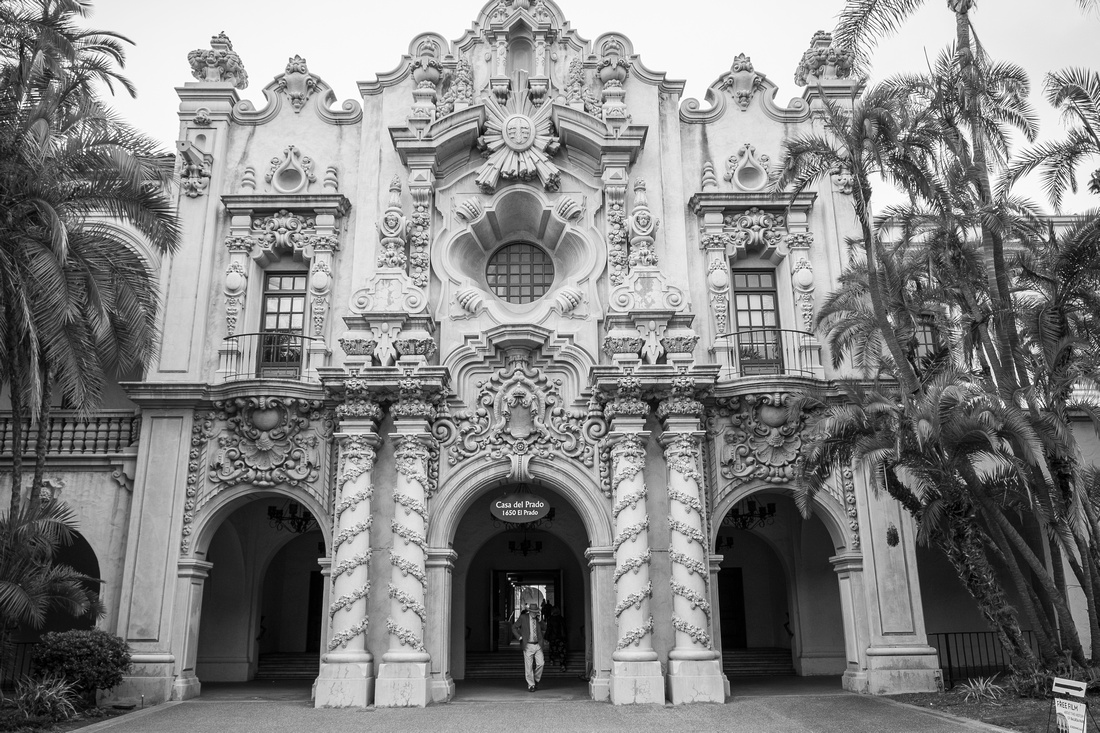
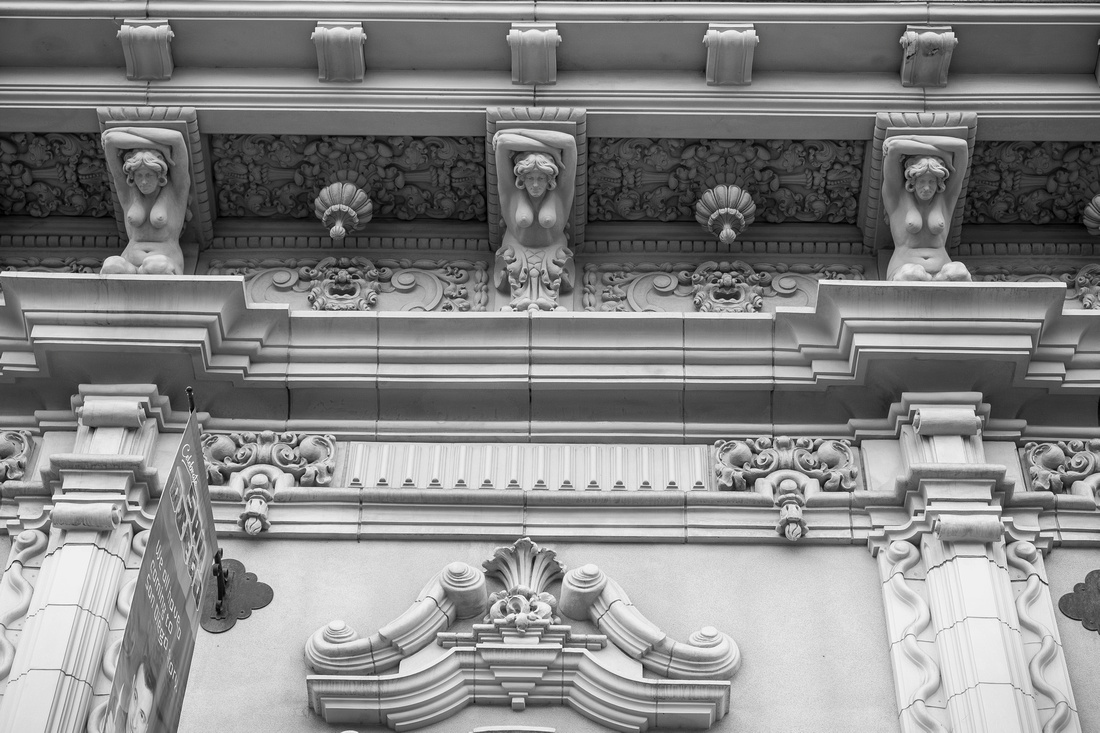
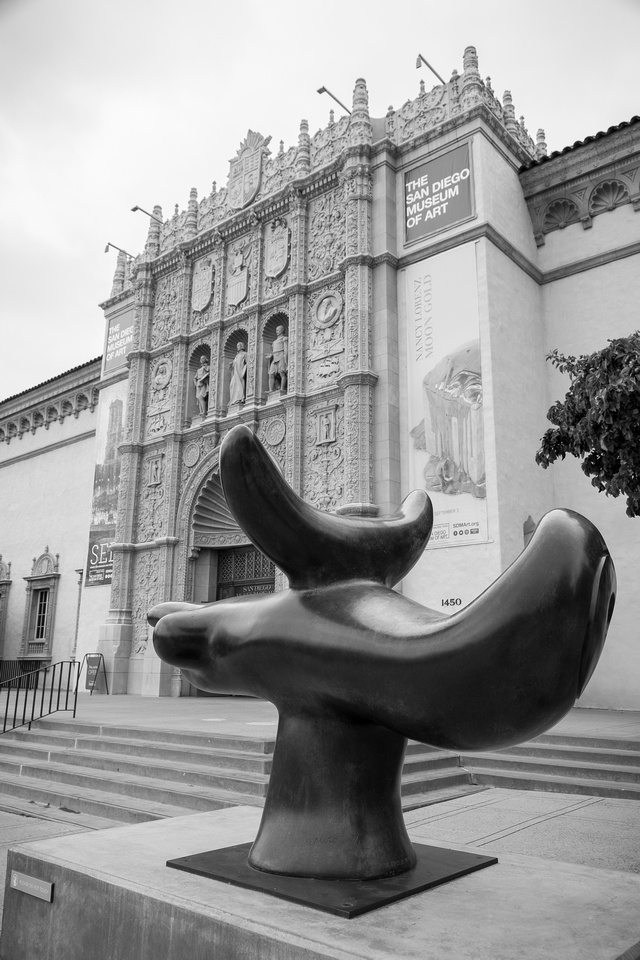
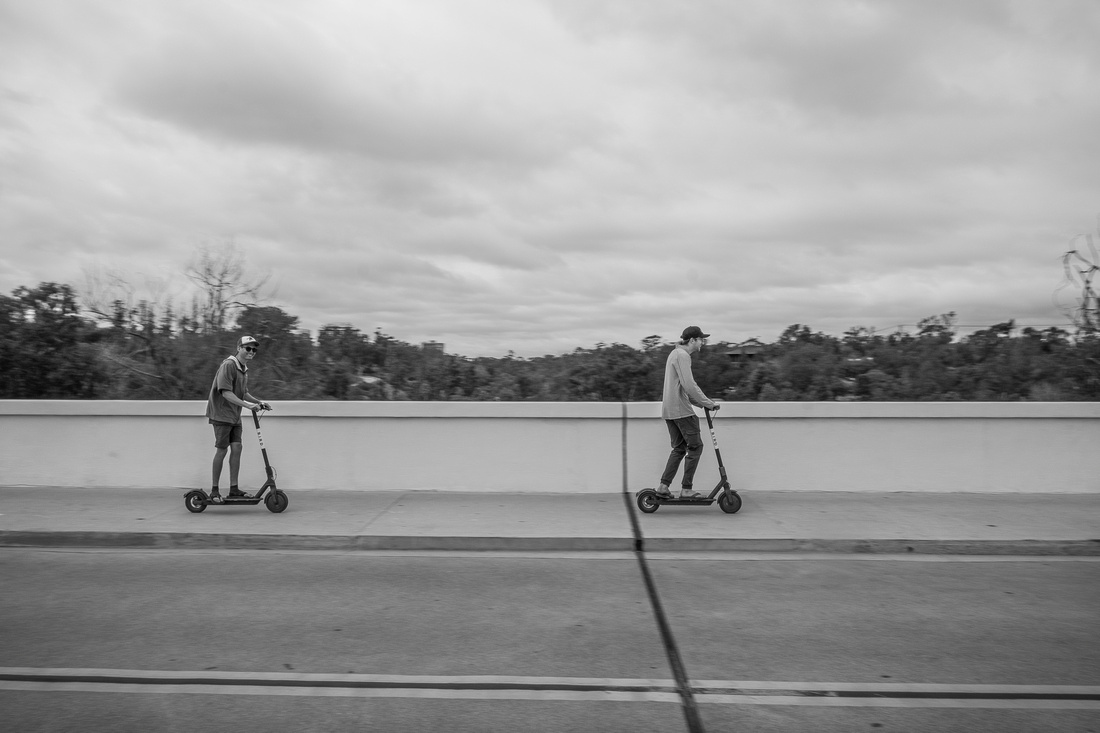
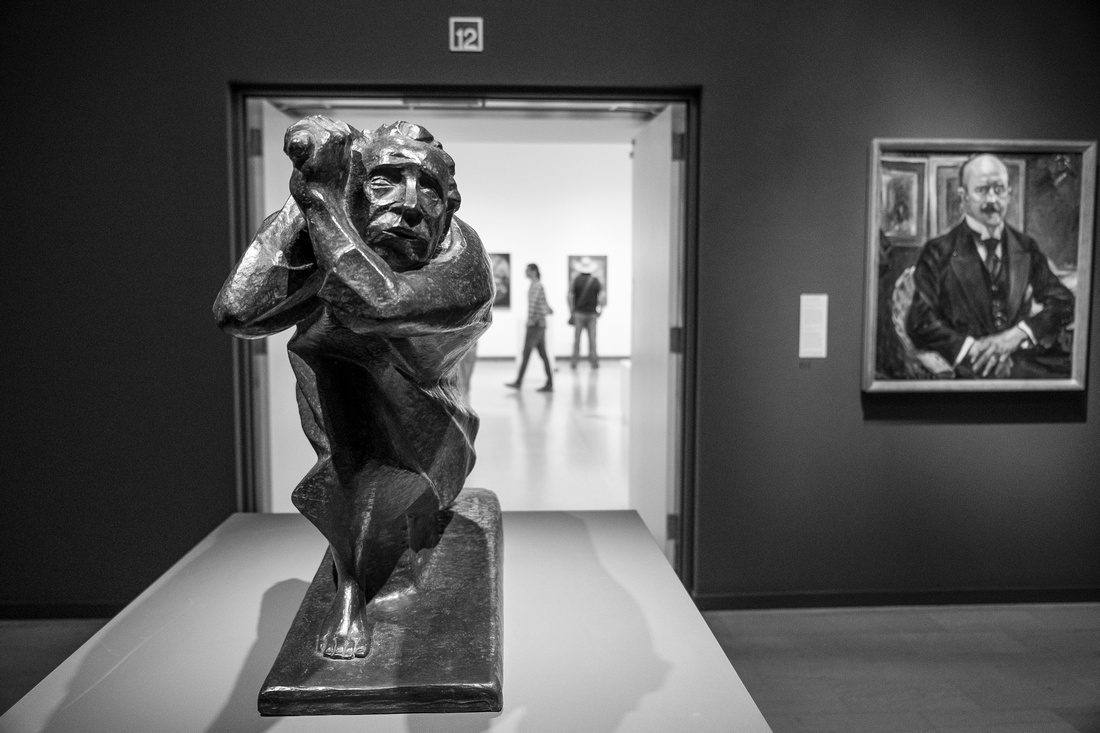
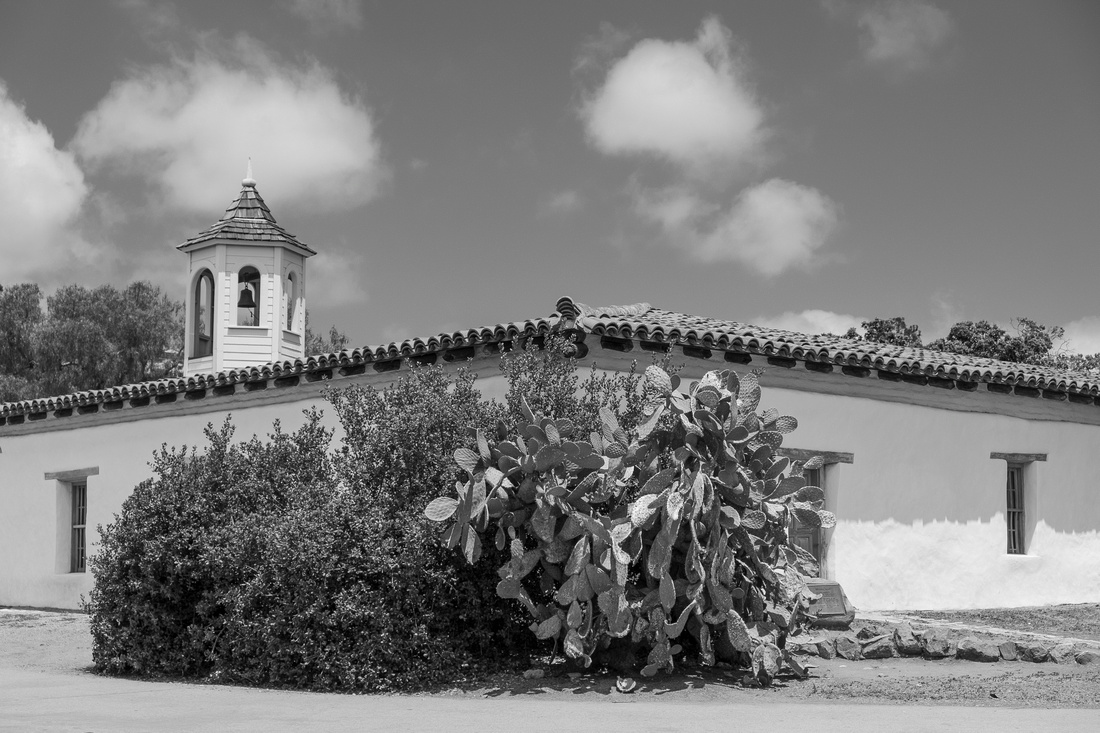
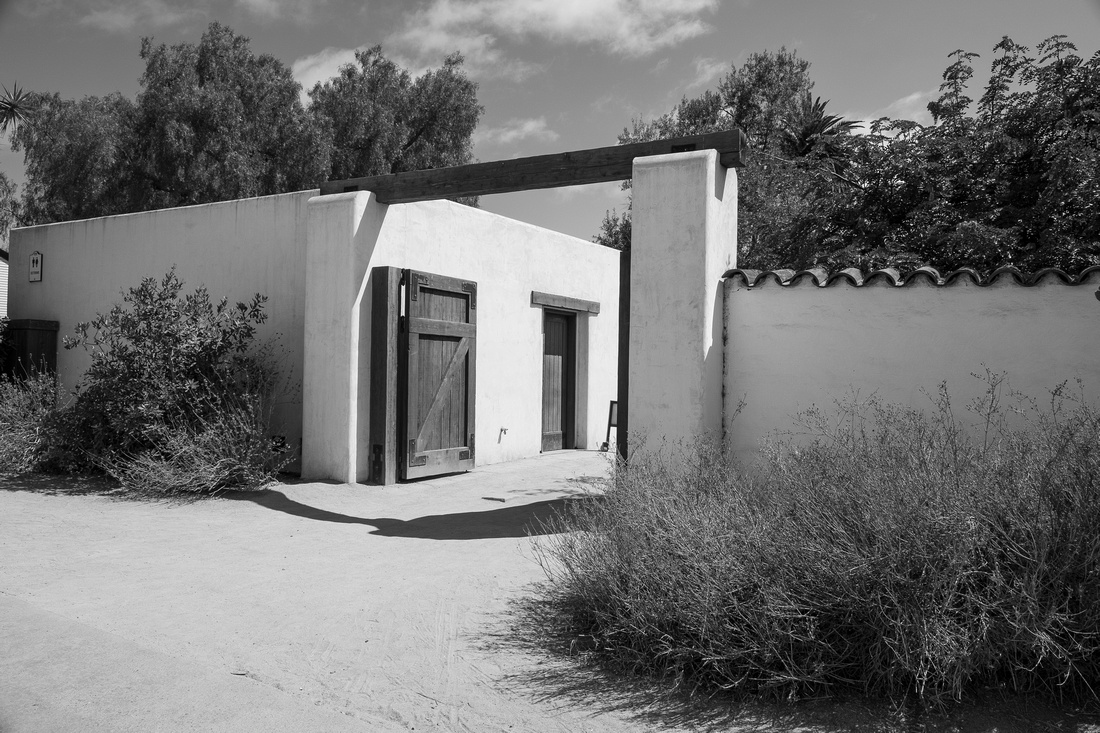
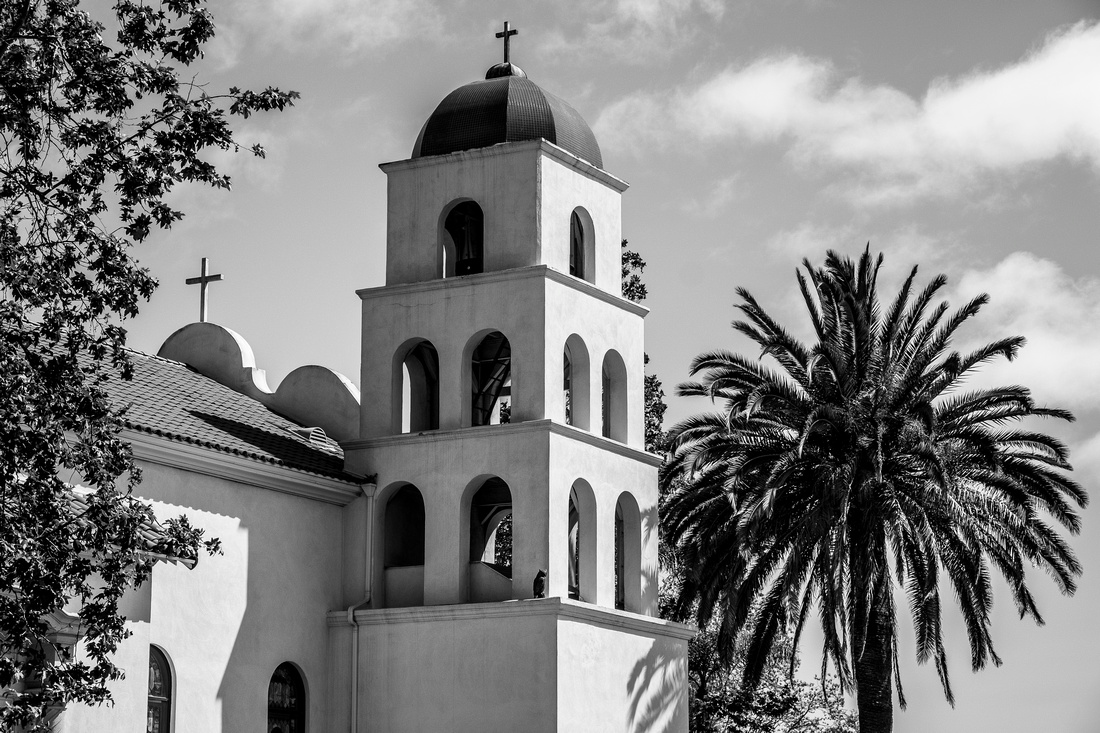
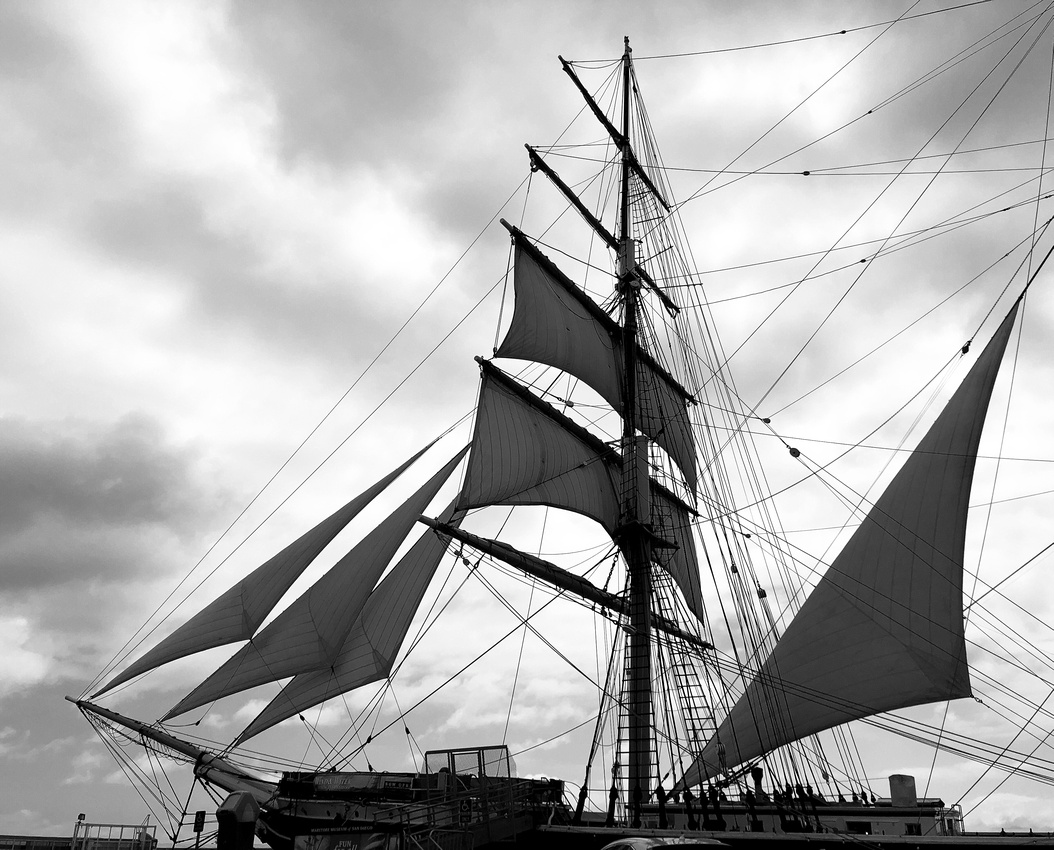
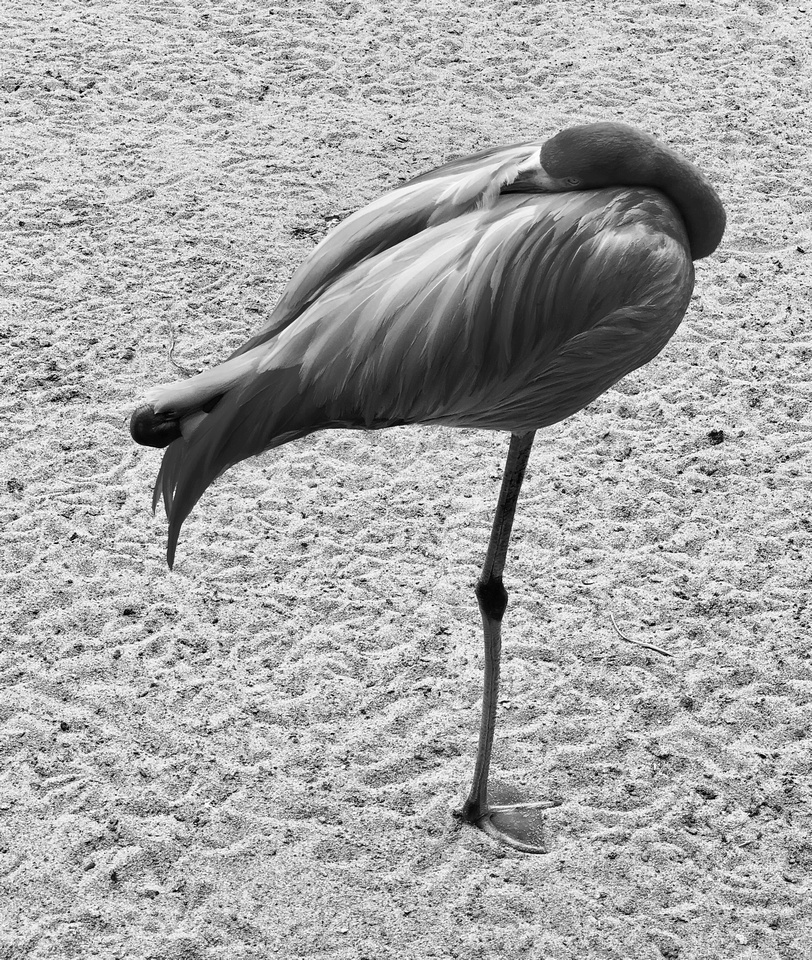
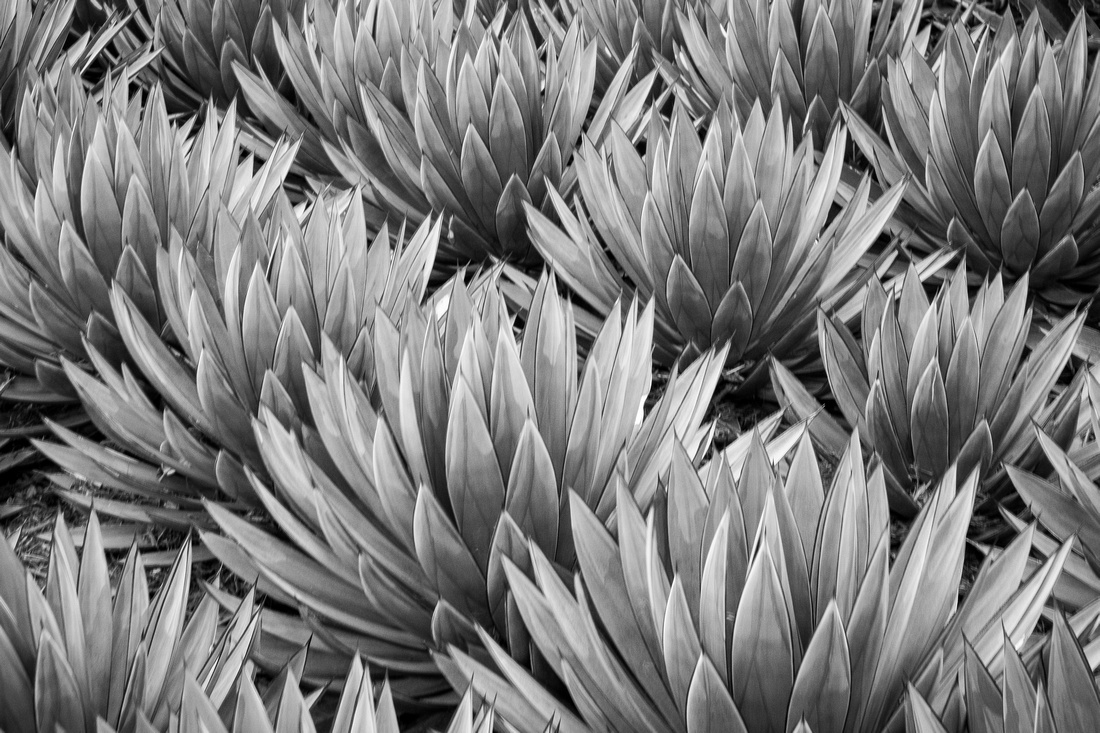
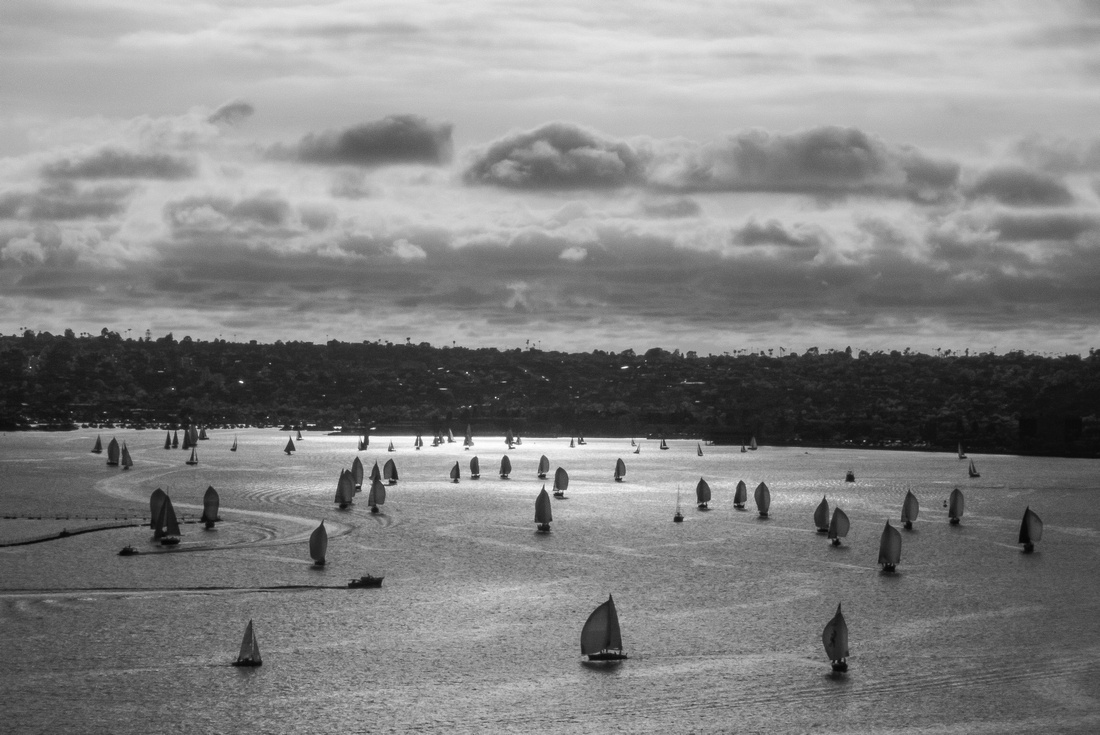
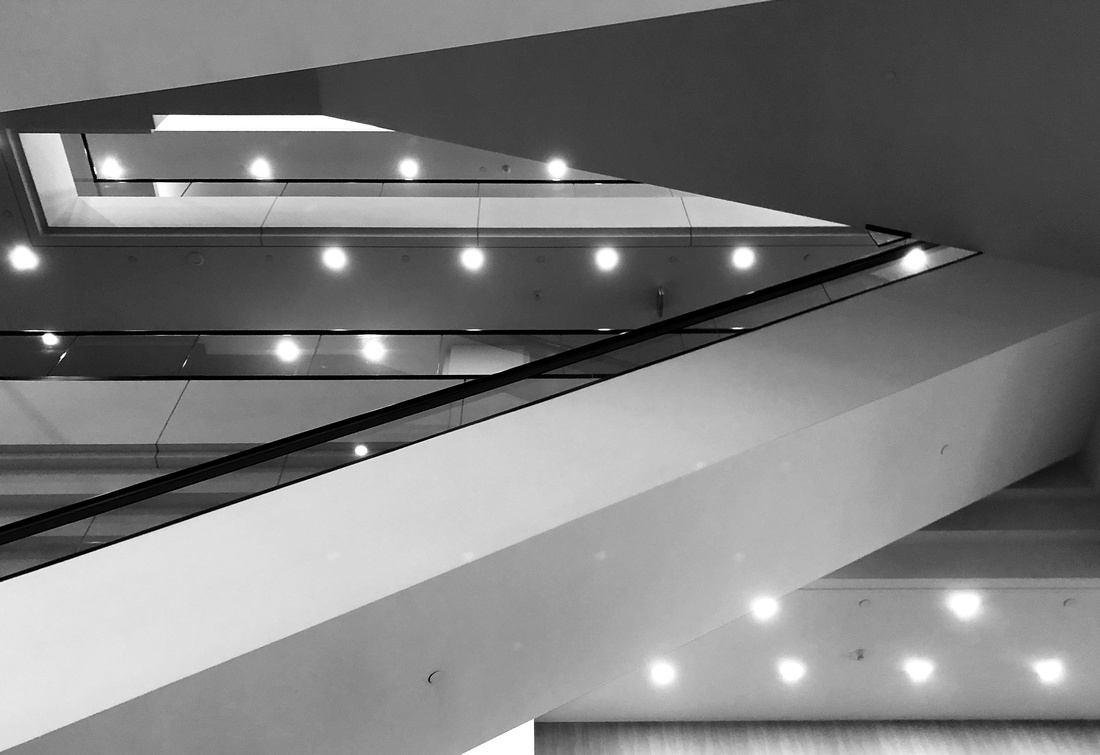
Where: San Diego, CA, USA
Subject: All B&W Travel and Street Photography Images from recent trip to SoCal.
Gear: iPhone & Fujifilm X-E3 Mirrorless Digital Camera [Zoom Lens]


National Geographic Travel Photographer of the Year 2017 Editor’s Favorite: Galleries: Week 4 Cities & People
Casual Photophile Tip & Techniques No. 001 The Subject is the Subject
The Inspired Eye Photography Magazine Issue #40 (full interview)
Hong Kong Free Press: HKFP Lens
Blog #18 Criticizing Photographs or Beyond the “like”
Blog #25 Don’t Be Afraid of the Dark[room].
Blog #47 Composition, Composition, and More Composition
Blog #65 Summer is for Travel (Hanoi)
Blog #67 Risks, Rules, & Restrictions
Blog #68 Photography is a Gift
Blog #72 Living the Creative Life
Blog #90 Restrictions, Revisited
Blog #93 Photographic Technique
Blog #105 Signs, Signs, Everywhere a Sign
Blog #115 High Contrast
Blog #115 High Contrast
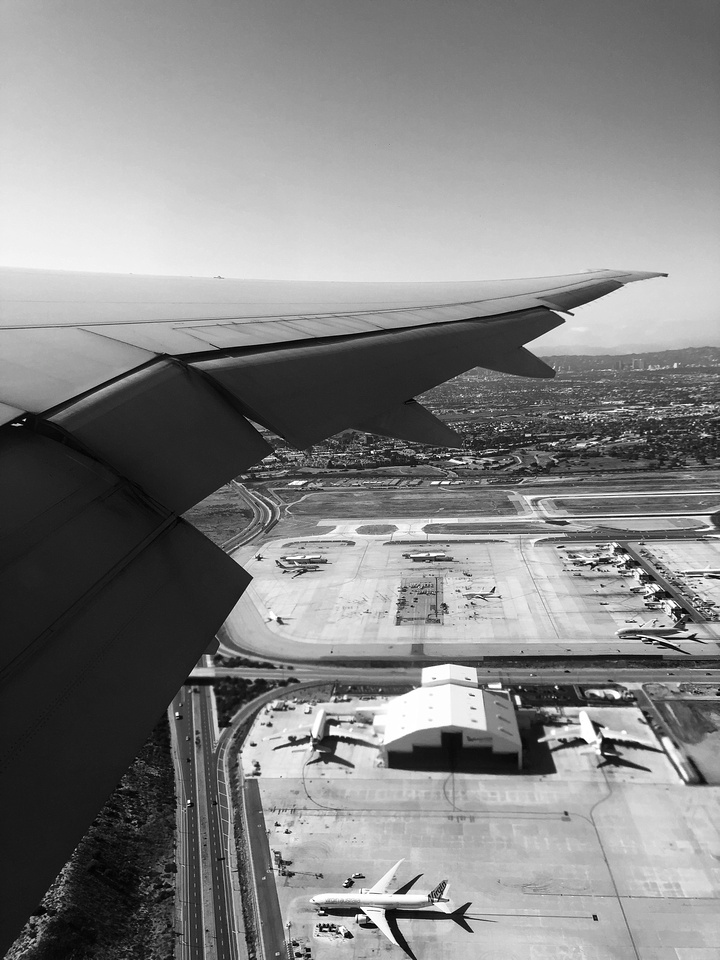
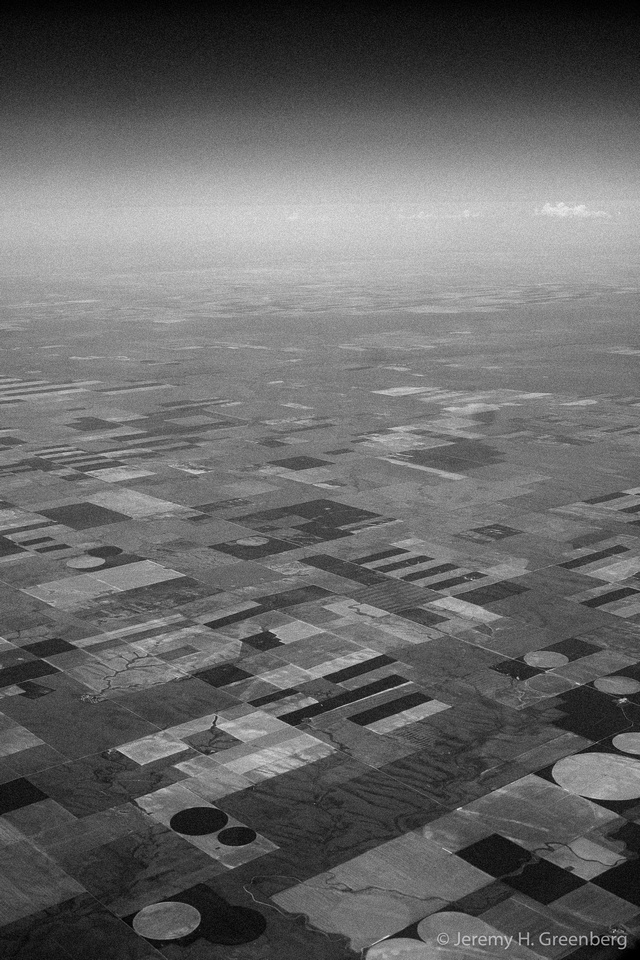
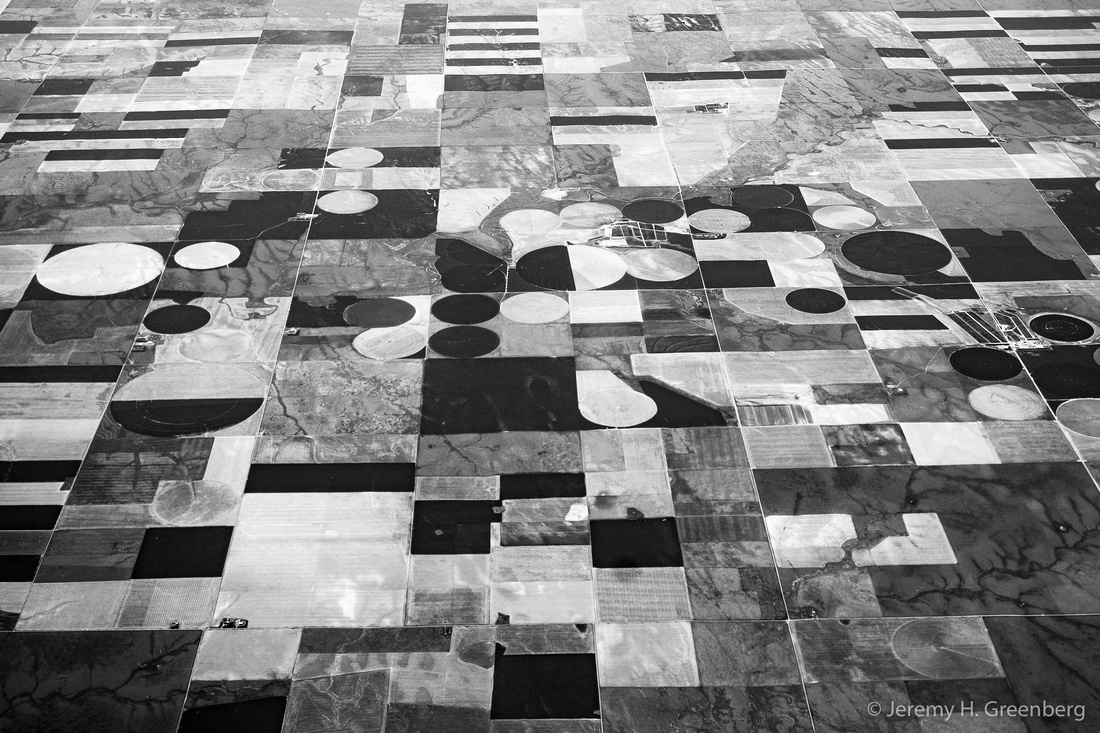
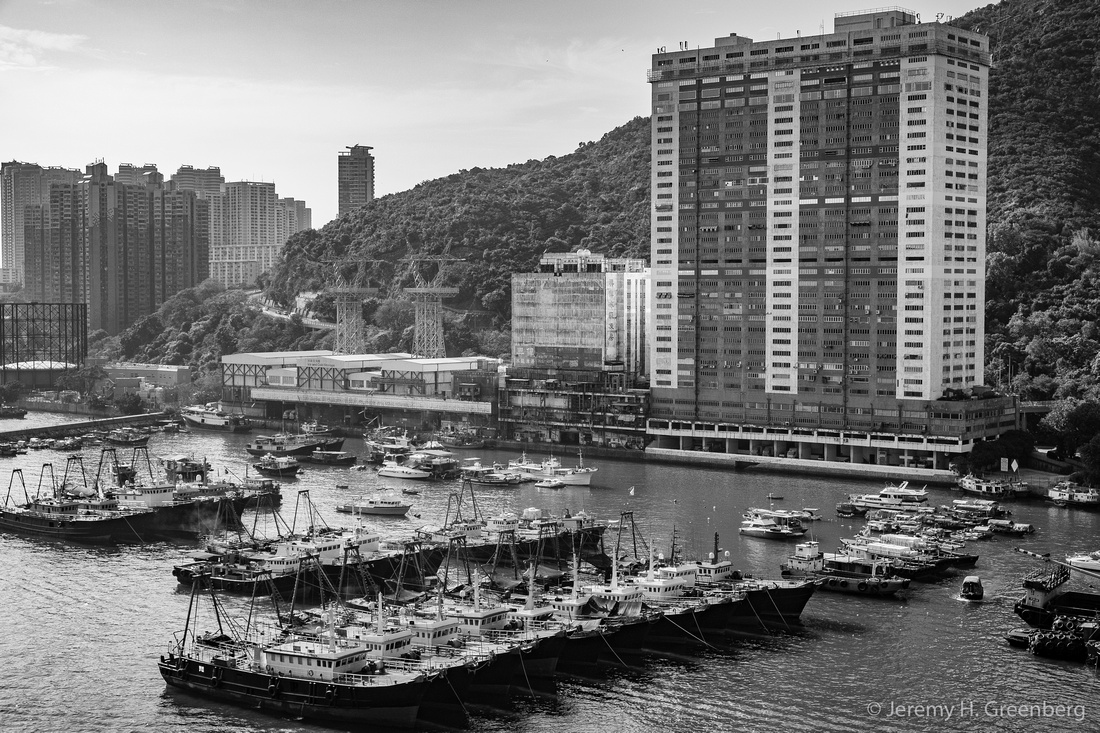
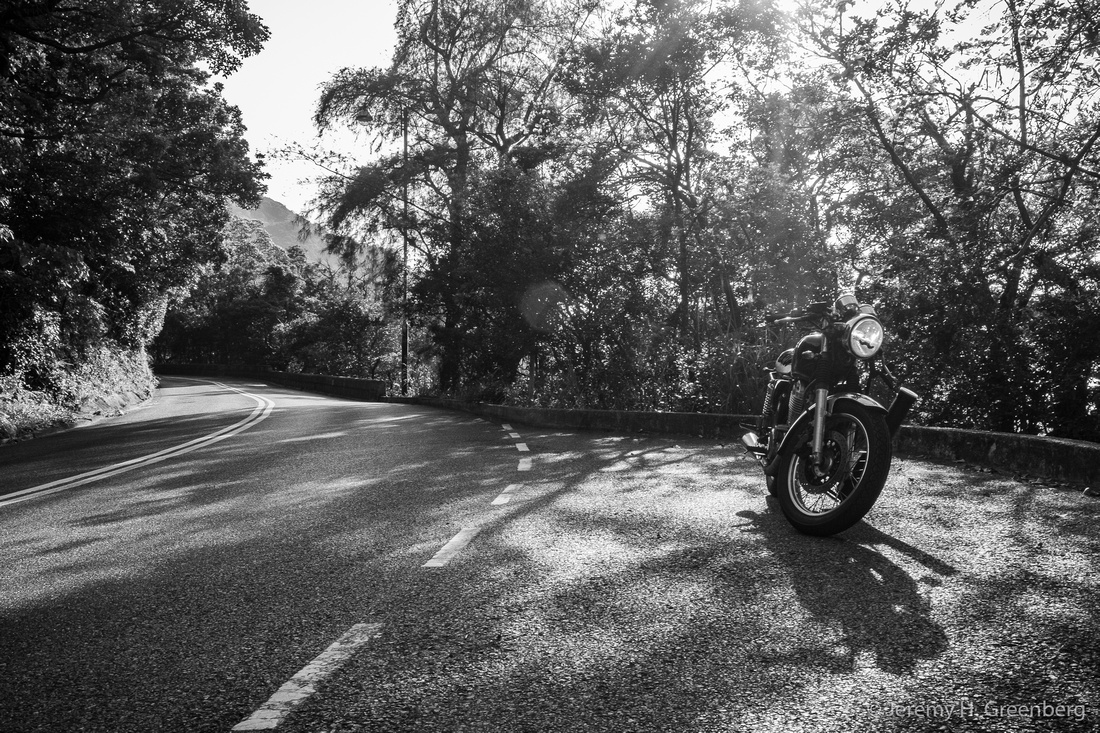
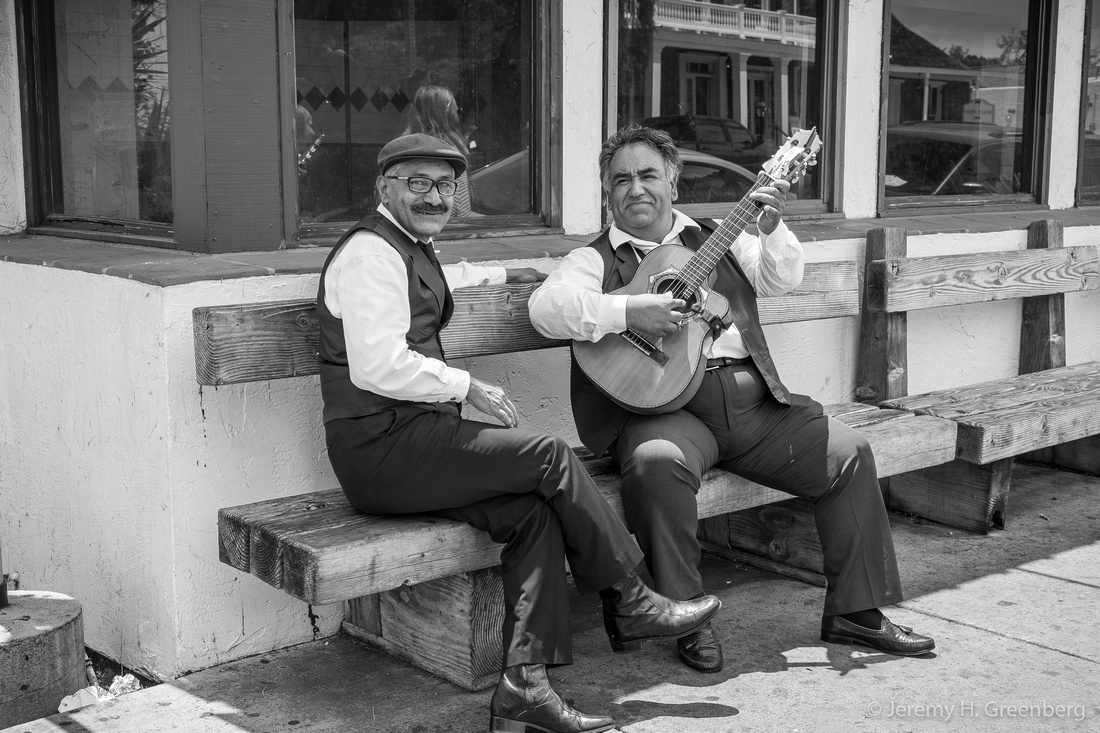
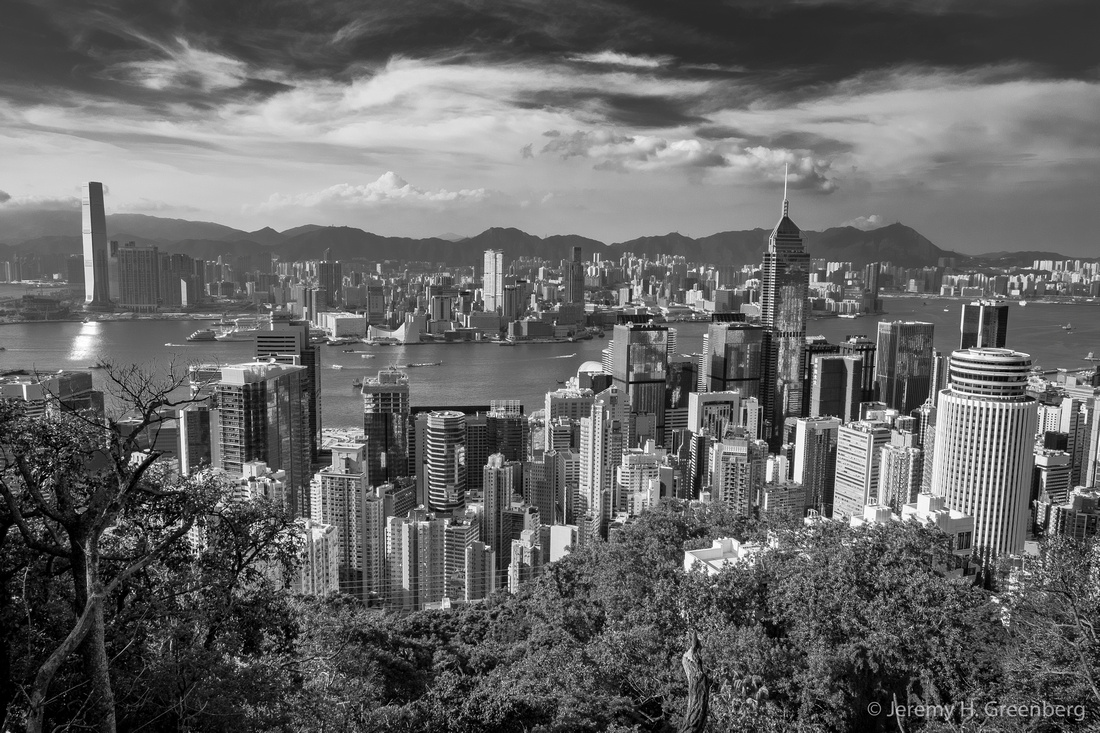
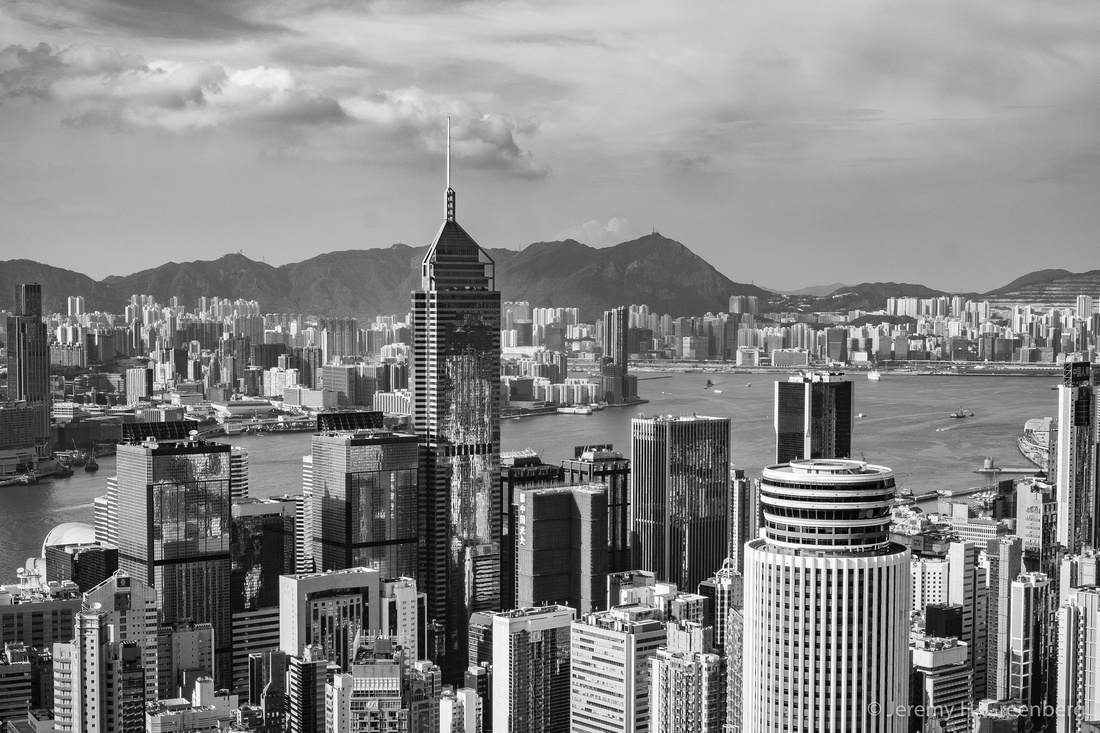
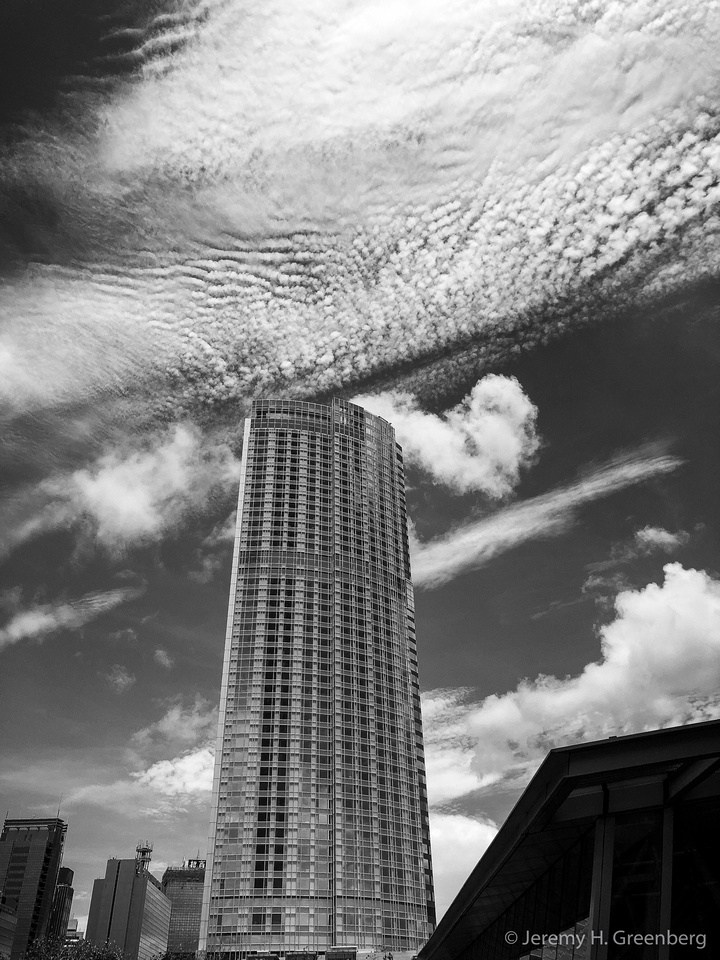
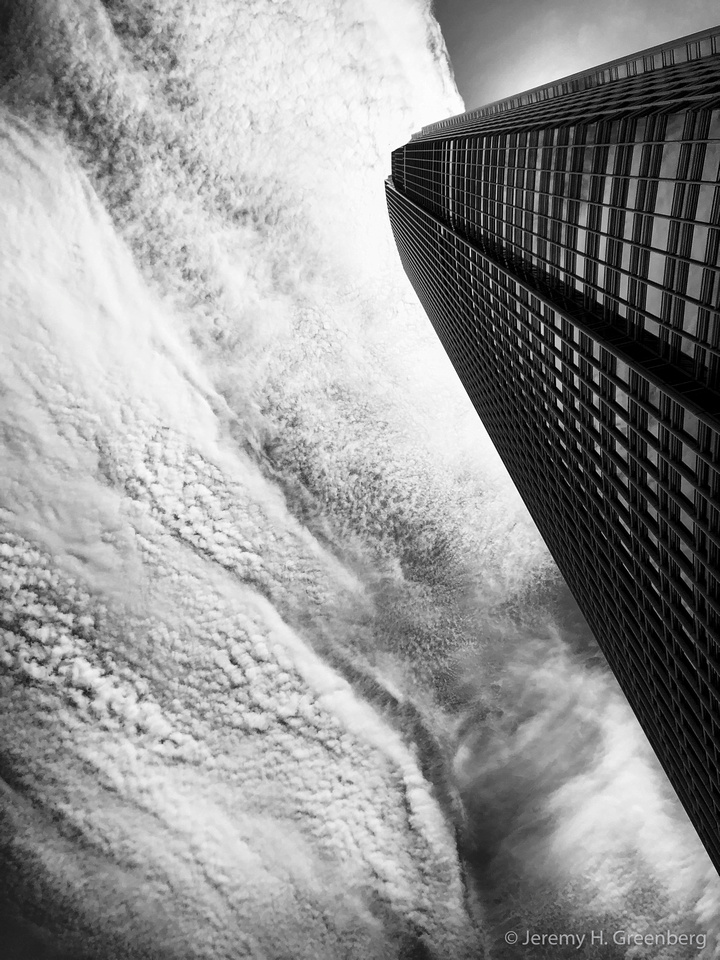
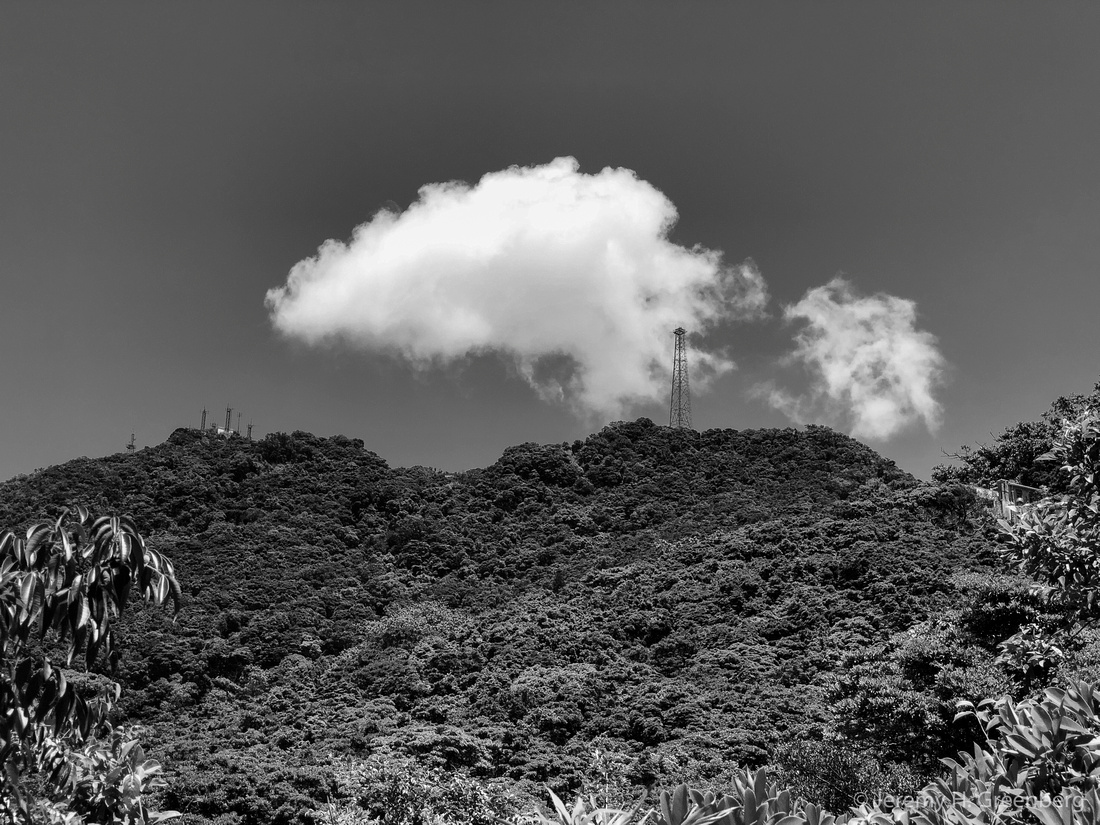
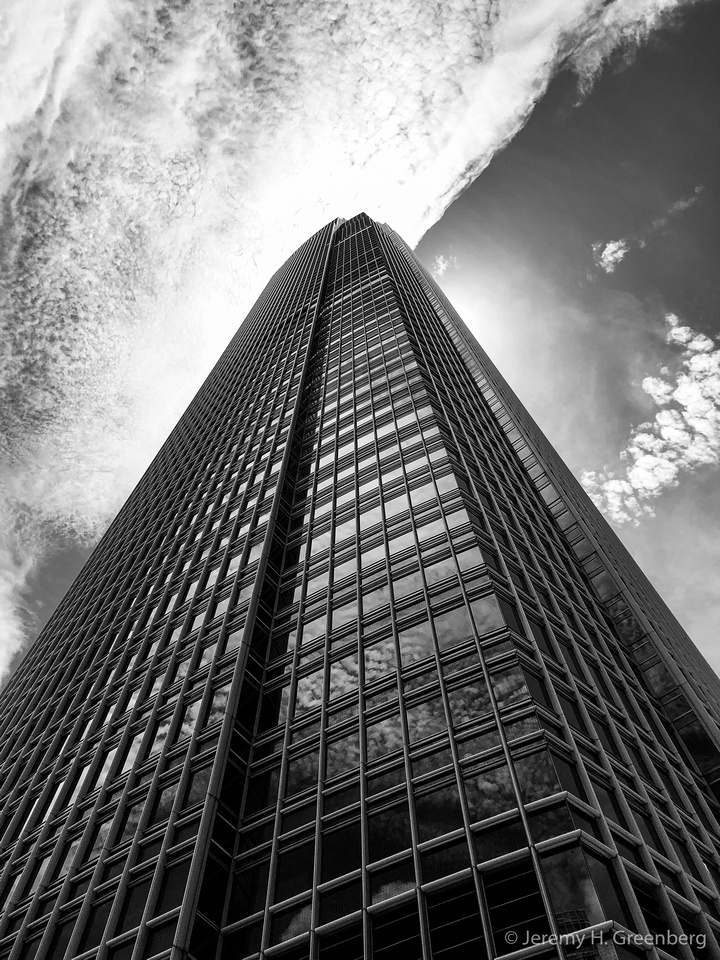
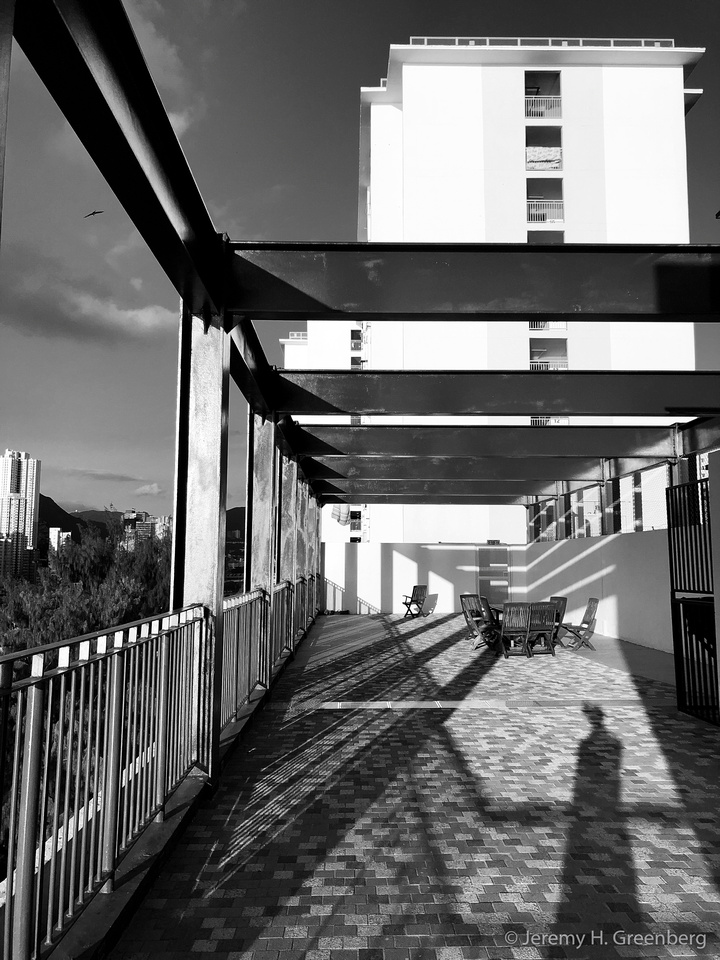
In this week’s blog post I want to share some thoughts about contrast in image making, namely high contrast.
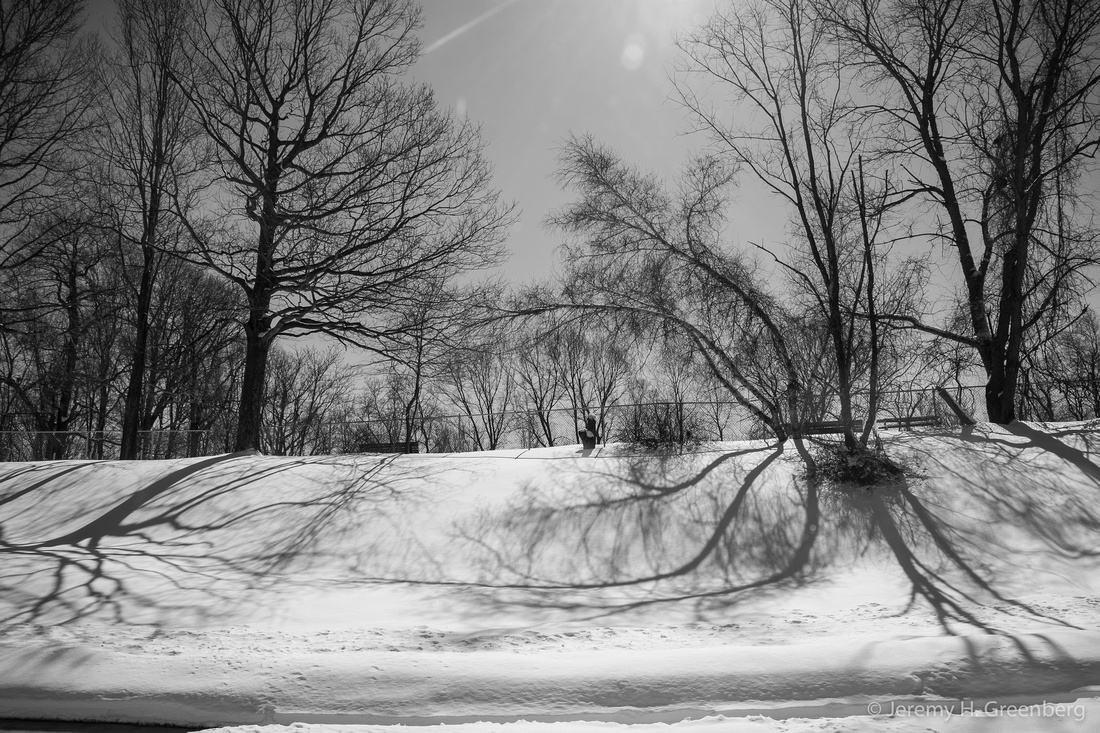
There was a time, not long ago, when images were faint and the band of dynamic range across the whites and blacks [tones] was as narrow. Of course it was perfectly legal to smoke indoors around this time as well. Is there a connection here? Perhaps. Somewhere along the way, the smoke cleared and ours eyes developed an insatiable appetite for high contrast. “Crush your blacks” became a desirable aesthetic along with blown highlights, and punchy detail characteristic of high contrast images.
This affect was not restricted to black and white images by any means, color image making was far from impervious to this trend in photography. Colors became saturated and rich. Ah, the days of Kodachrome! By the way, if you haven’t seen the movie by the that name, it’s terrific and stars Ed Harris .
Fast Forward to HDR image making, a trend, or fad more likely that has all but faded into that over-saturated sunset. Black and white and color image making, film, and digital have all seen their days of increasing contrast over the decades.
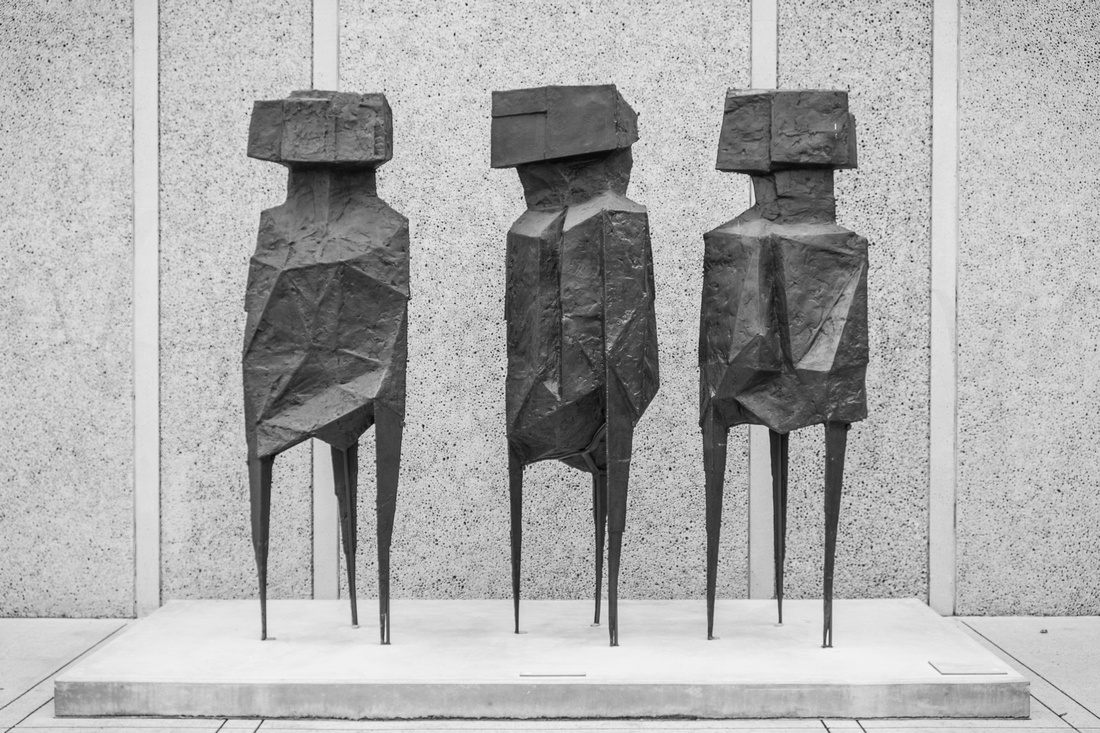
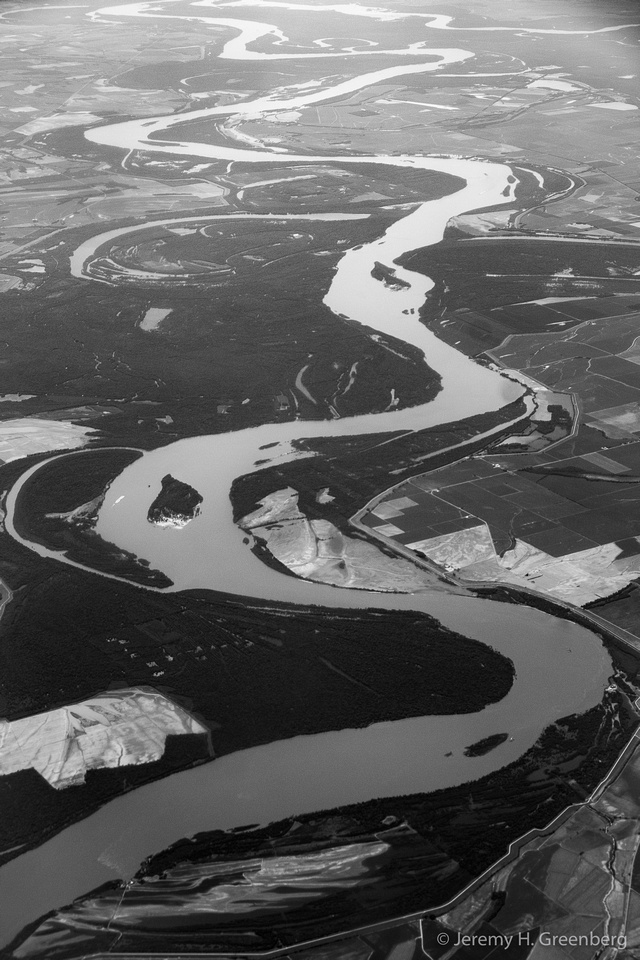
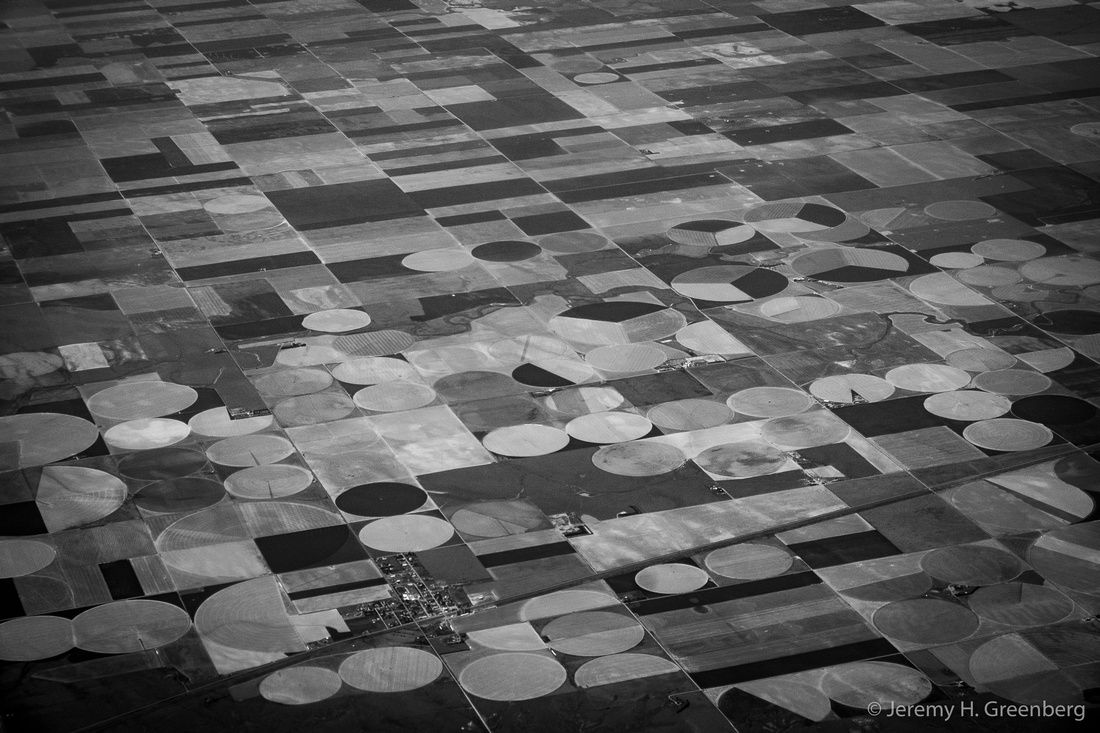
Now, there is high contrast and there is HIGH contrast. We all have our own tastes, preferences, and styles and thank goodness for it. High contrast need not include only those images from Daido and his Provoke buddies that were ultra high contrast. The images below could be described as high contrast but in a subtle, tasteful, manner as I have attempted to represent. Most presets and filters on image editing aps and software contain at least one high contrast option illustrating our modern day taste for blacker blacks and whiter whites.
Love it or hate it, high contrast is here to stay. Regardless, It’s the content that counts, the emotional connection, and the story or message that you share that really matters. High contrast is simply a tool that you can use to tell your story in the manner in which you want to share it.
Good luck!
The light is always right.
jhg
*Images: © Jeremy H. Greenberg
Where: Hong Kong & USA
Subject: Various Aerial, Landscape, and Street Photography Images
Gear: iPhone & Fujifilm X-E3 Mirrorless Digital Camera


National Geographic Travel Photographer of the Year 2017 Editor’s Favorite: Galleries: Week 4 Cities & People
Casual Photophile Tip & Techniques No. 001 The Subject is the Subject
The Inspired Eye Photography Magazine Issue #40 (full interview)
Hong Kong Free Press: HKFP Lens
Blog #18 Criticizing Photographs or Beyond the “like”
Blog #25 Don’t Be Afraid of the Dark[room].
Blog #47 Composition, Composition, and More Composition
Blog #65 Summer is for Travel (Hanoi)
Blog #67 Risks, Rules, & Restrictions
Blog #68 Photography is a Gift
Blog #72 Living the Creative Life
Blog #90 Restrictions, Revisited
Blog #93 Photographic Technique
Blog #105 Signs, Signs, Everywhere a Sign