Blog #35 Extreme [Extremity] Photography Part 1
Blog #53 Extreme [Extremity] Photography Part 1
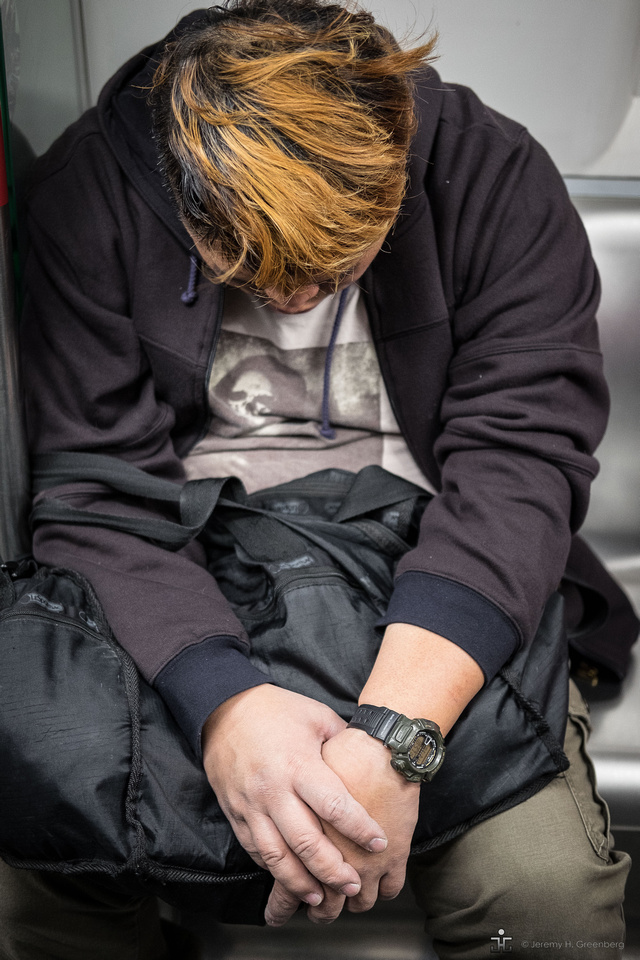
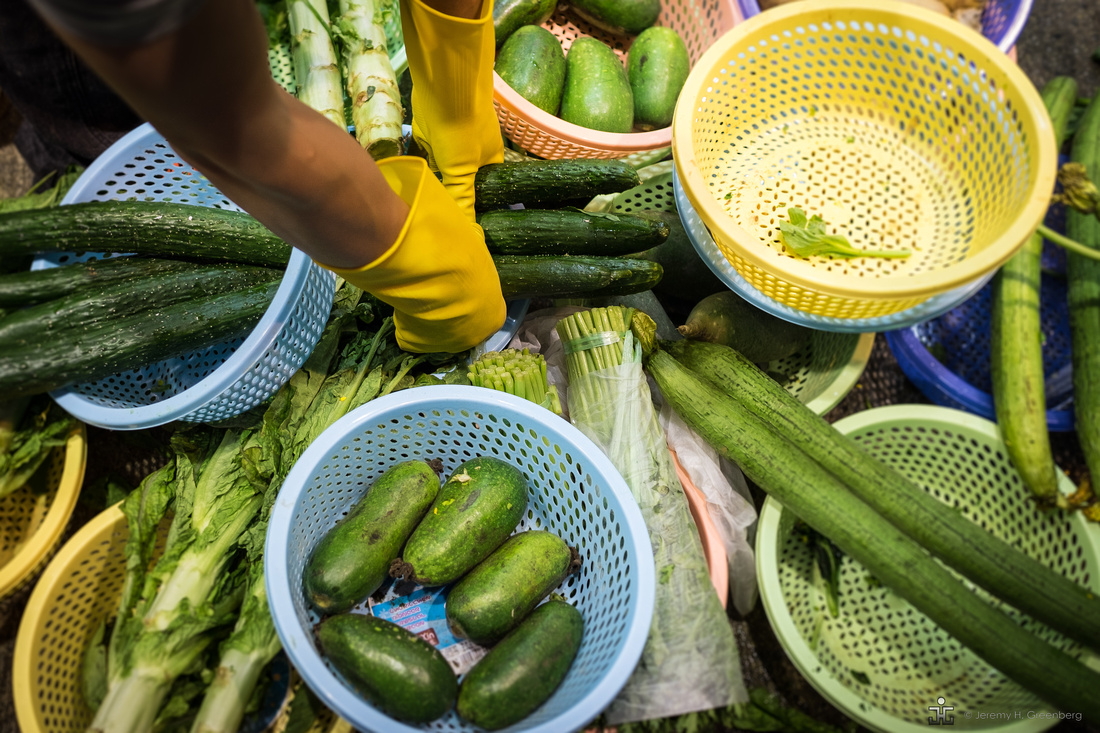
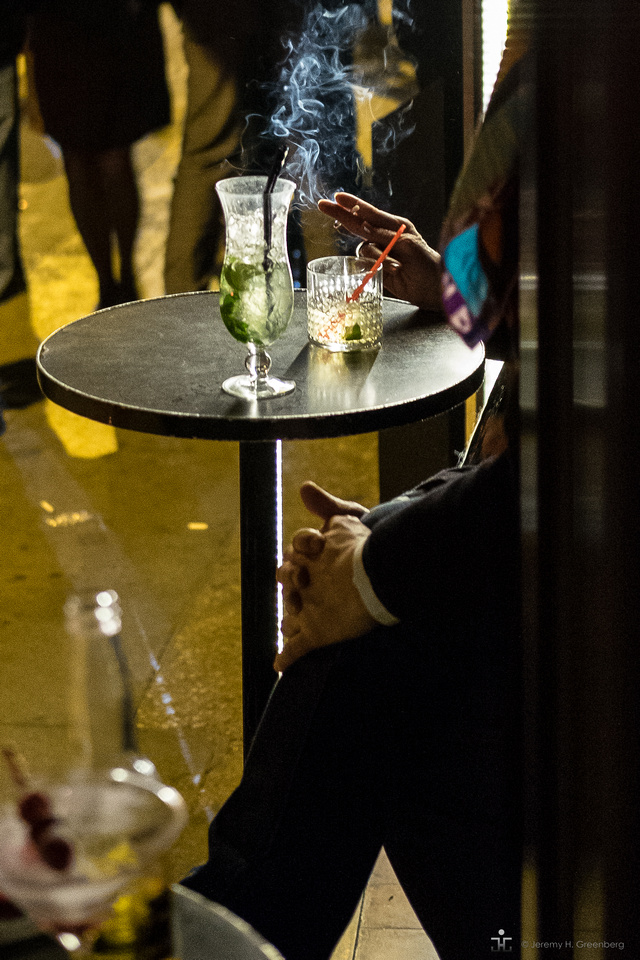
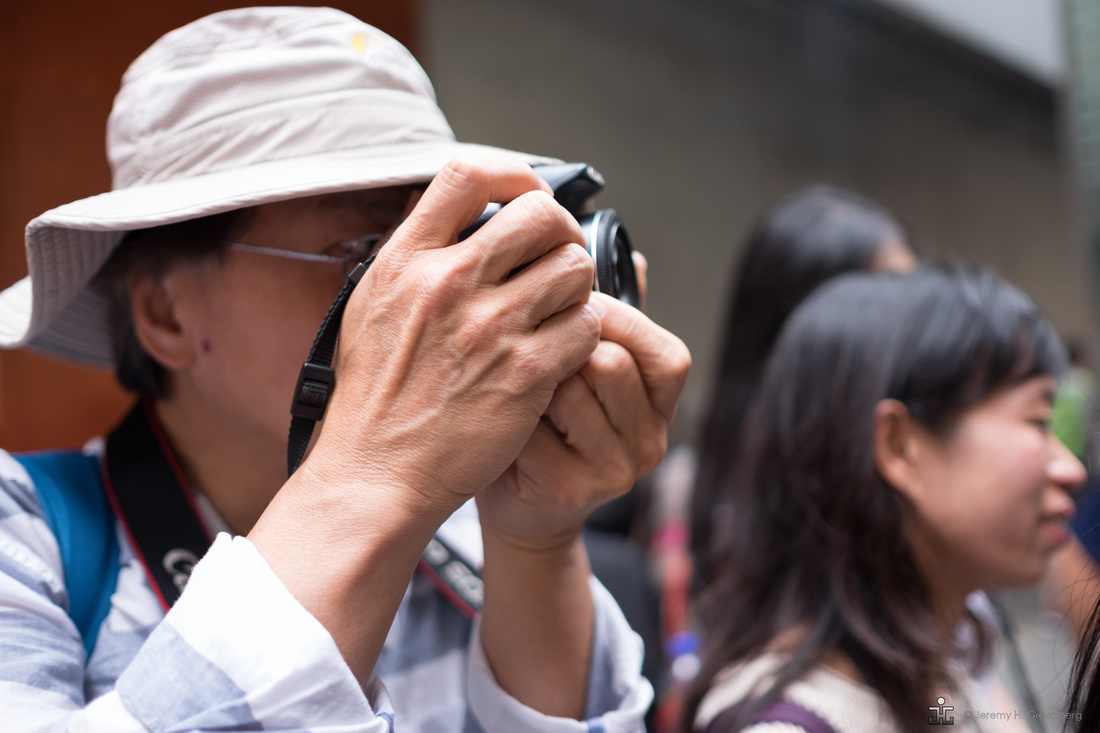
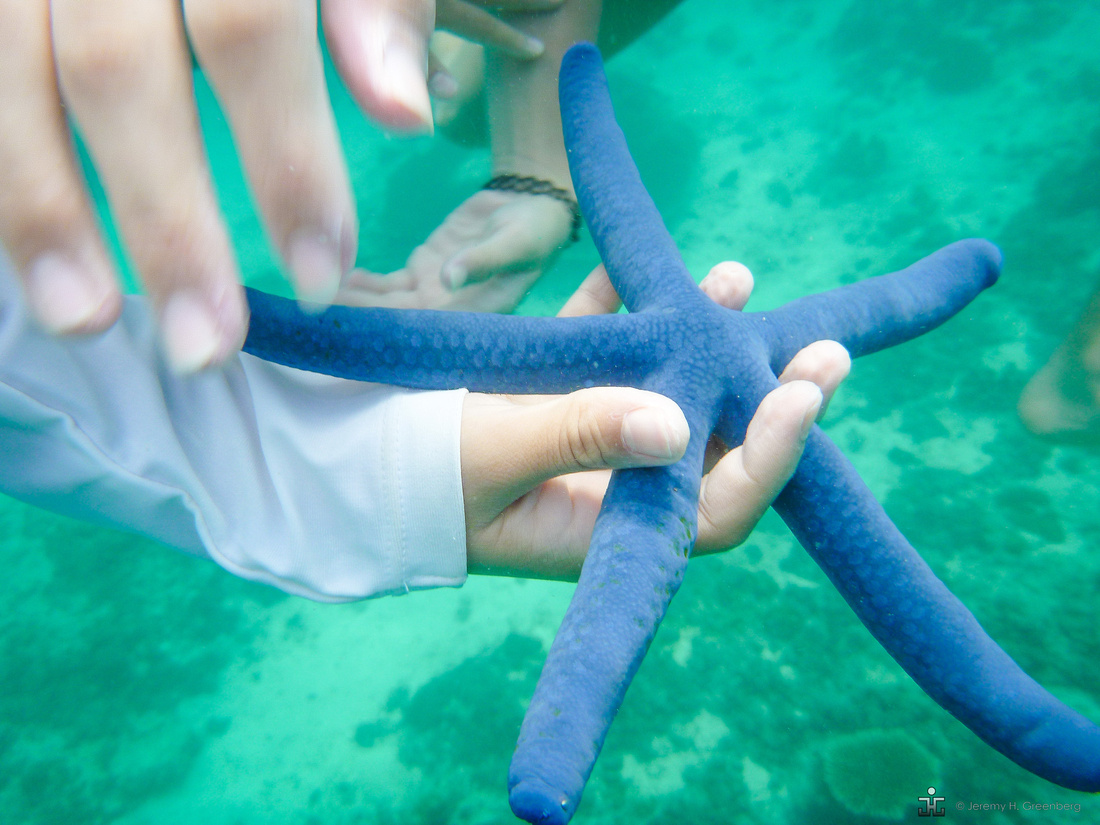
According to Cig Harvey, pictures can work well when they are about things rather than of things. Everyone can easily relate to photos of people that include all of most of the subject. However, images can be composed such that the subject is a body part such as hands or feet [shoes]. When the photographer intentionally omits information from an image, the result can be interesting or conceptual, in other words something if left to the imagination.


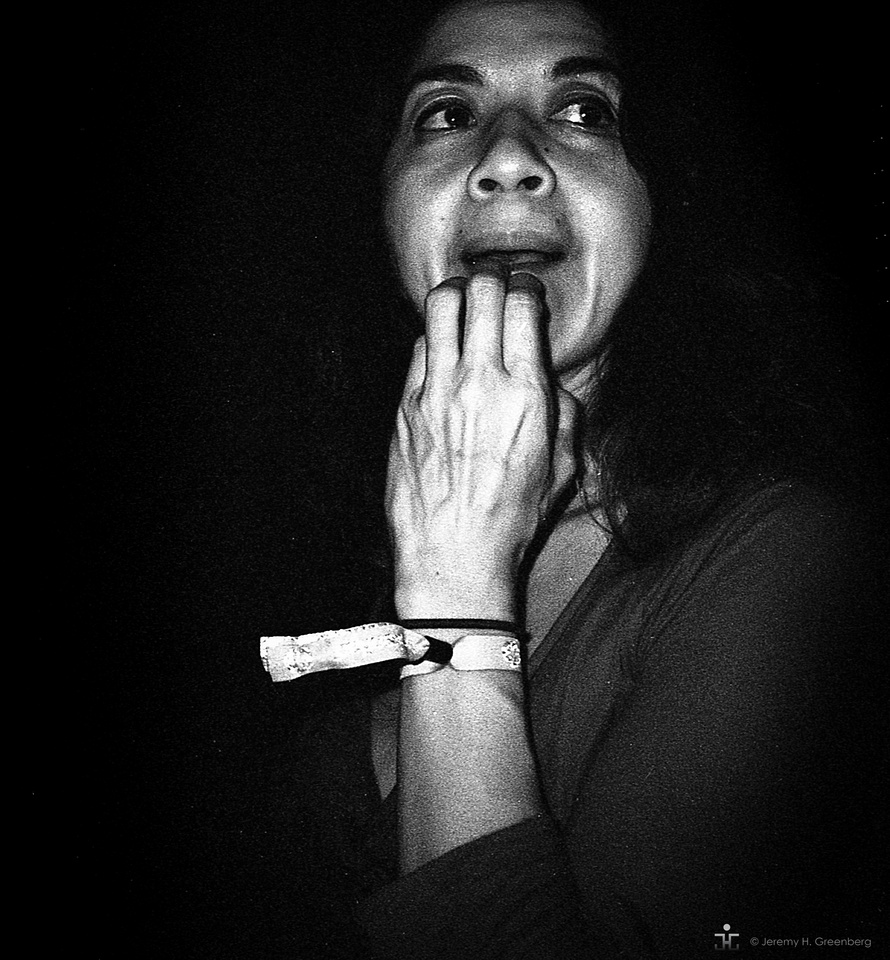

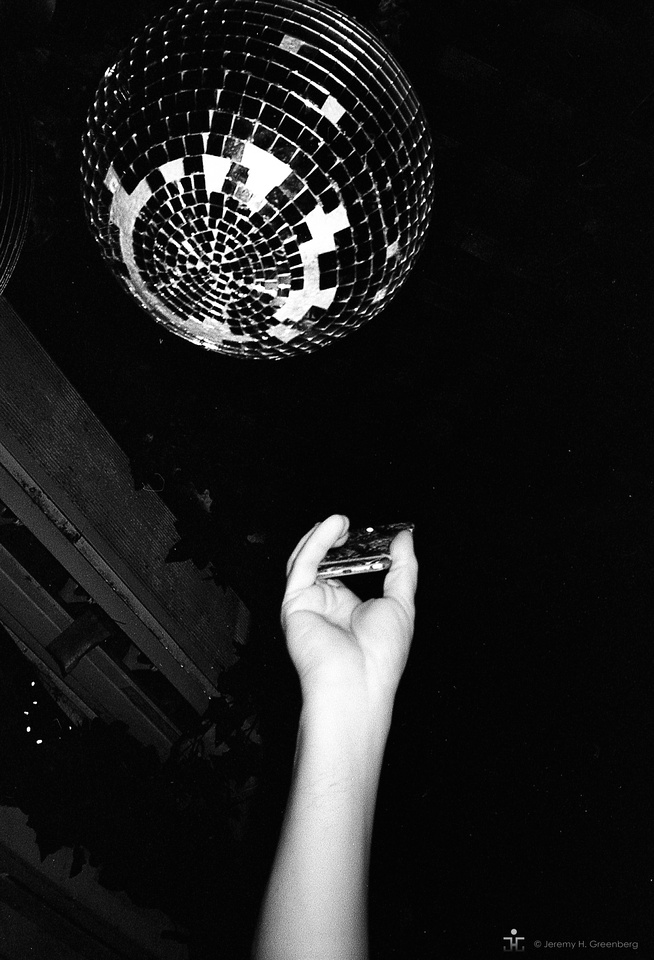

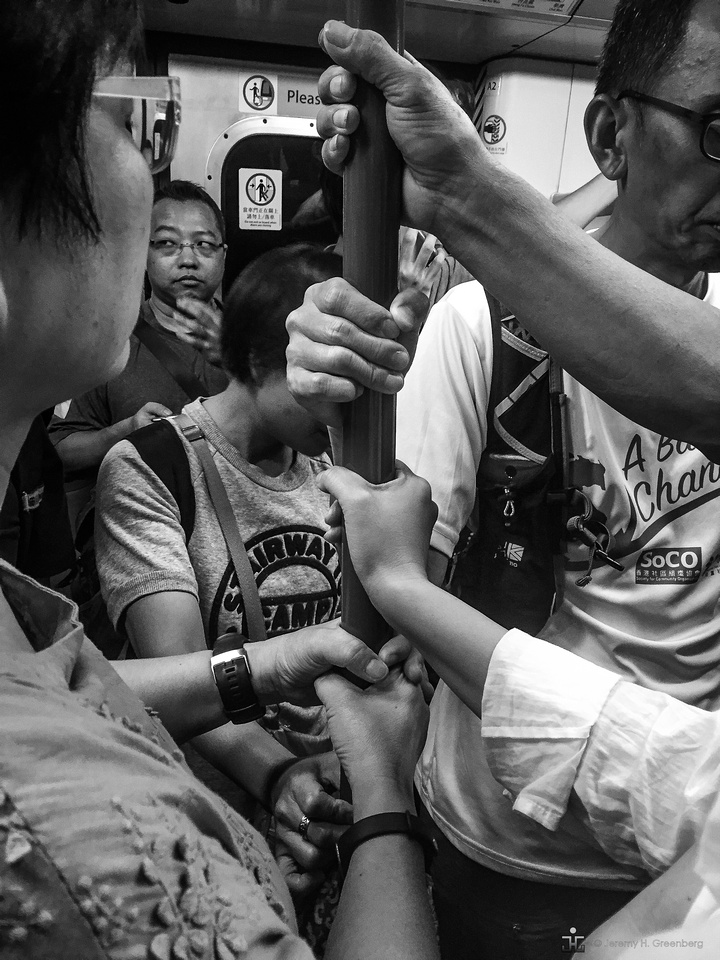

Photos of hands or feet allow the viewer to place themselves in the image, so to speak, and to generalise the scene to their own experience. In this blog post, Part 1 will be all about hands. The next blog post, Part 2 will be all about shoes and I will share my attempt to tell a story only through shoes.
Photographer Jason Eskenazi said it well.
“As a photographer if your photos are too obvious then you’re missing the point. Photos are about mystery, about not knowing, about dreams, and the more you know about that—then you can recognize them on the street.”
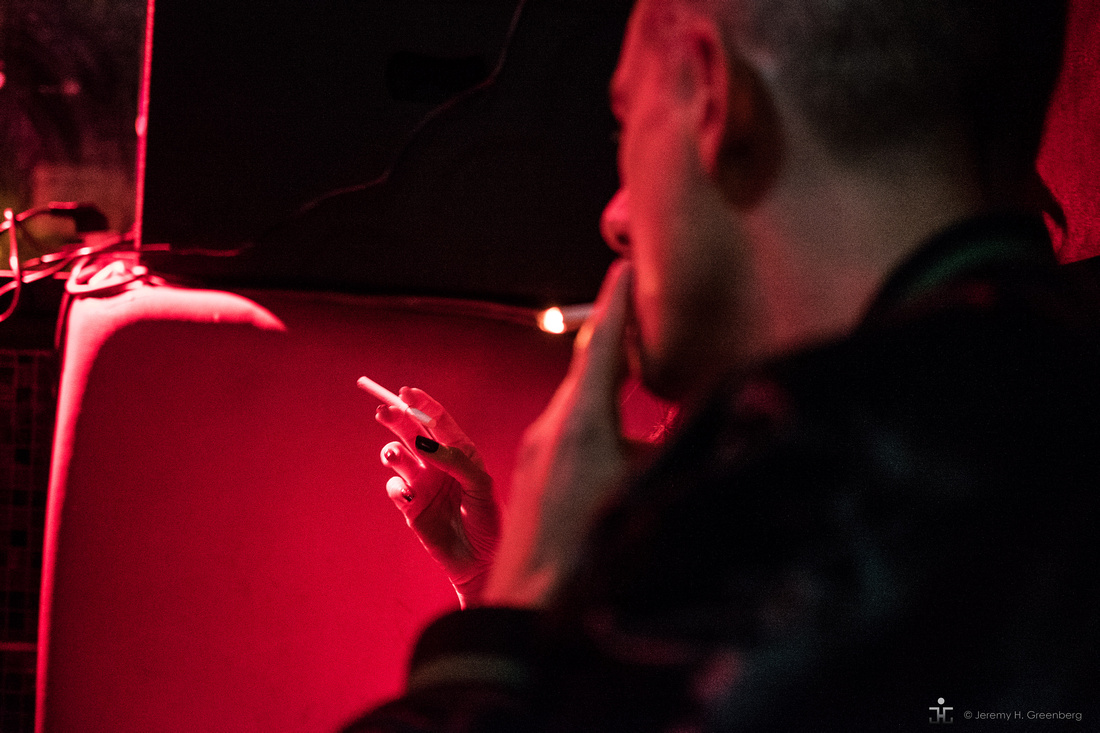

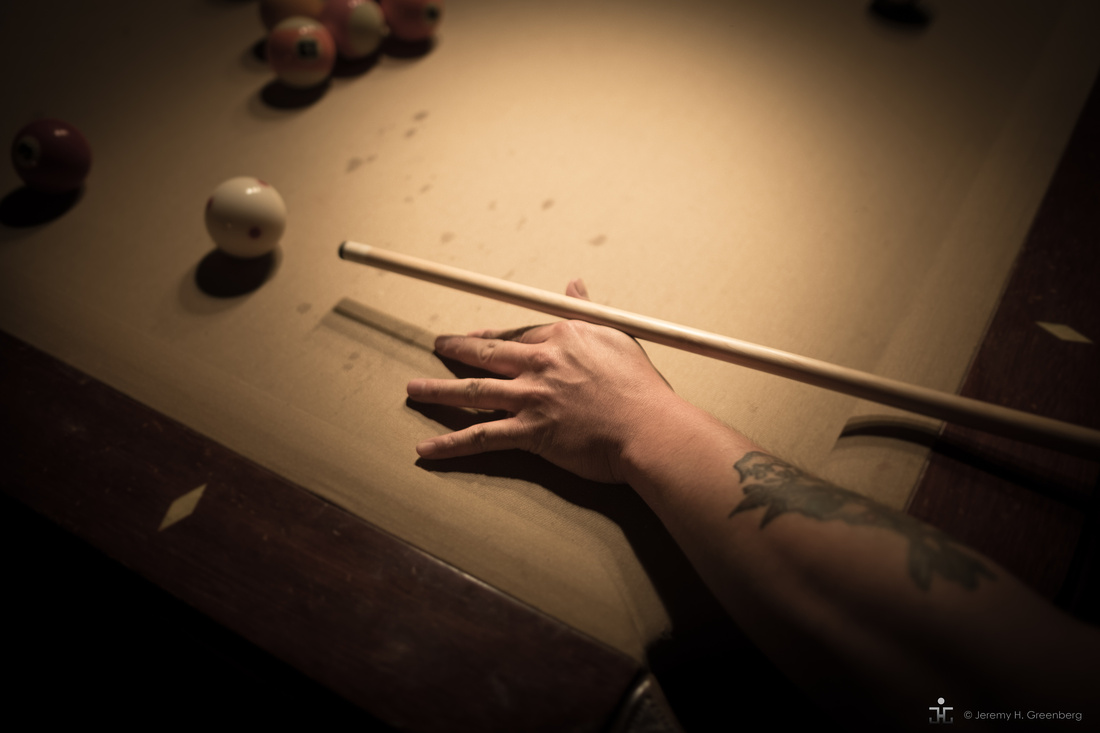

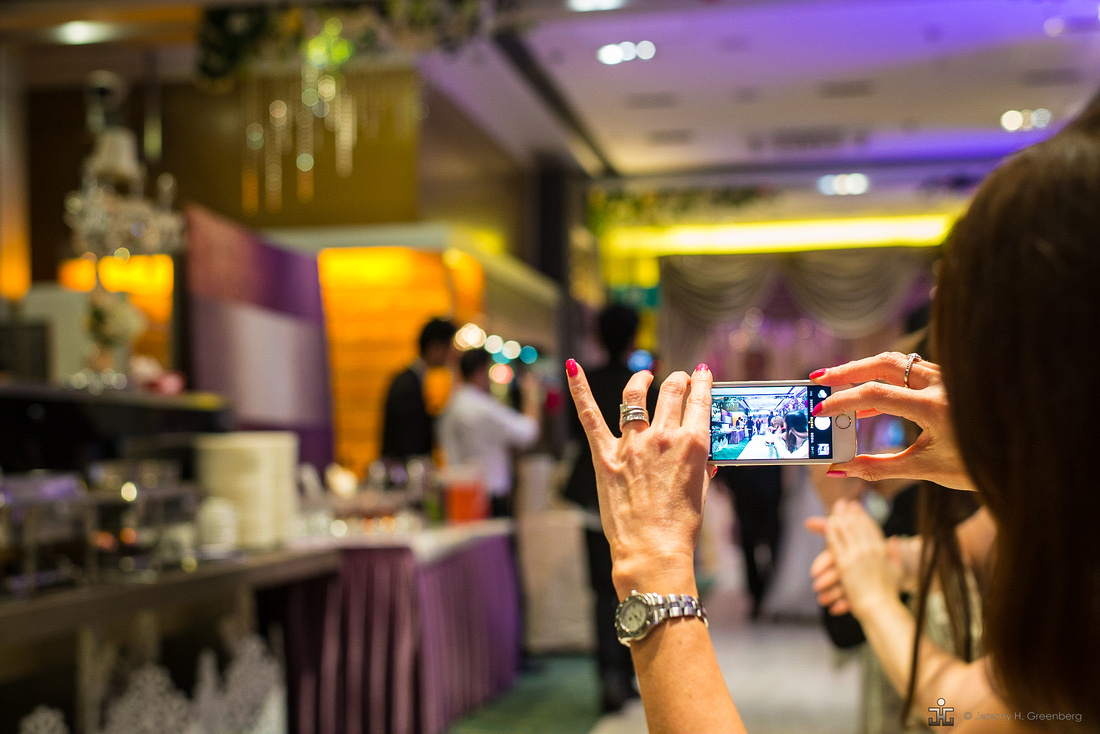

My aim here is to inspire you to get off your beaten path, so to speak. If you are not used to making images of this type, go make 36 to experience a fresh perspective or specific type of image. Why 36? Because that’s how many frames you get in a 35mm roll of film! Try to make the viewer pause and have to work for the meaning in the image.
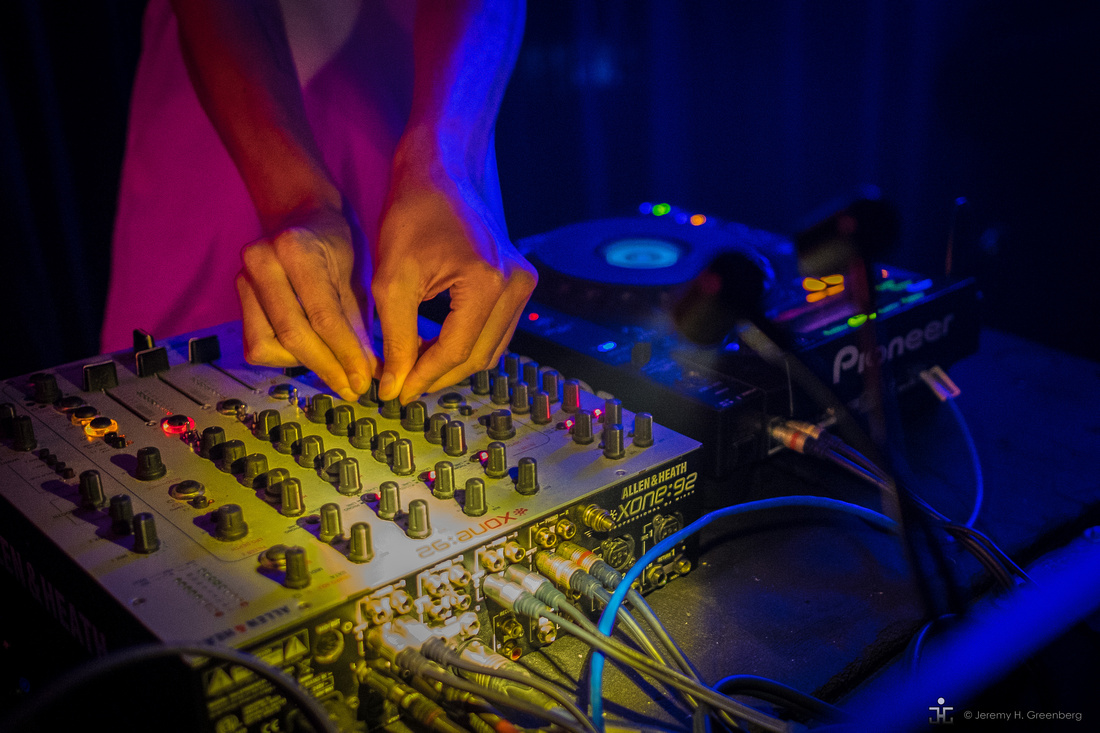

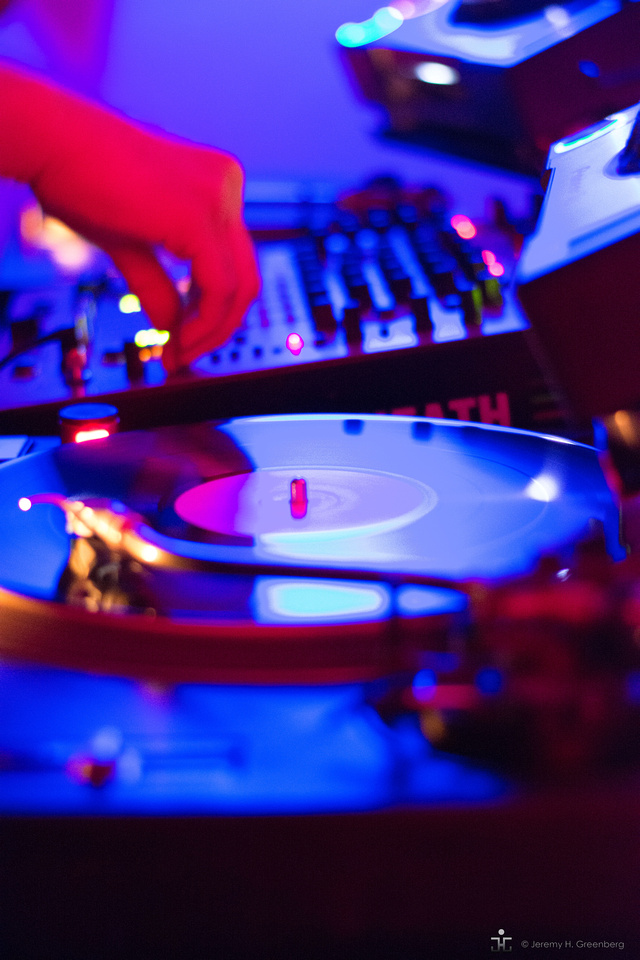

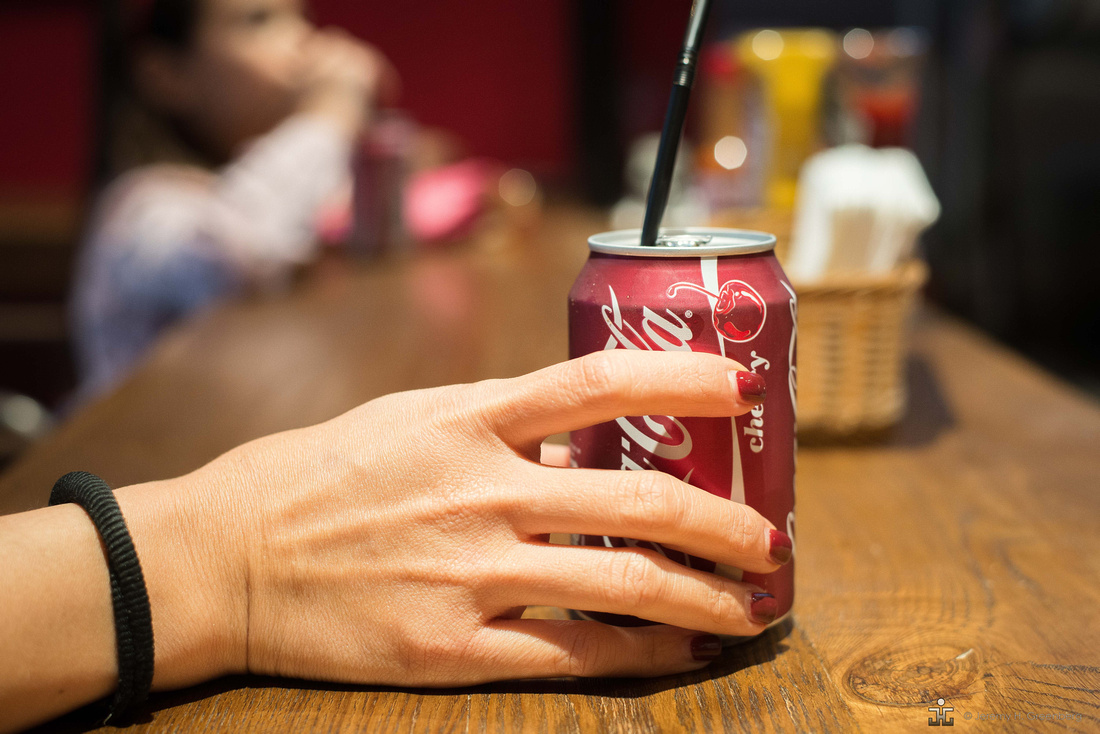

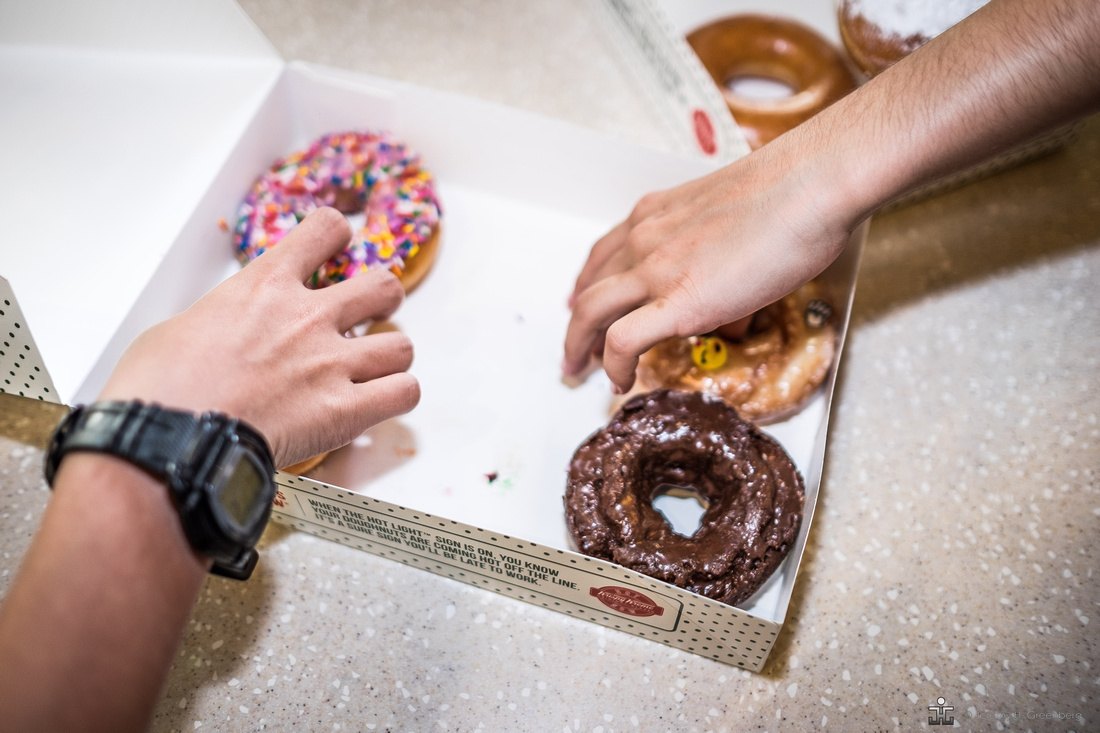



Try this approach to add a fresh perspective to your work. One caveat. Be patient. Sometimes you need to let these types of images come to you and reveal themselves. Just hands hands are notoriously one of the most difficult things to draw or paint, these are difficult images to fish for as well, but are well worth the effort in the long run. The point here is to be open to all perspectives, angles, and possibilities. Incorporate hands into your project, or the story that are are working on.
Happy hunting.
Remember, the light is always right.
jhg





Blog #52 Marc Levoy’s 18 Lectures on Digital Photography
Photography is fun! Learning about how to make pictures and the underlying principles about how it all works can be equally fun. Whether you are an amateur, hobbyist, or aspiring professional, the field is vast and the breath of knowledge is deep. Past blogs have discussed and encouraged formal instruction in photography as a form of self-improvement (see also Part 2). Becoming better at making pictures and putting in a little effort and practice can yield lifetime of enjoyment in the medium for you and others.


Marc Levoy has offered 18 lectures on the topic of Digital Photography online through You Tube. Click here to begin watching Video & Lecture 1. Dr. Levoy is a very knowledgable professor emeritus. His background is in architecture, and computer science. His lectures are all available online and for free. Click here.
Topics include: a history of photography, color theory and related information, cameras, lenses, lighting techniques, and other related subjects within photography. Caveat! There is a heavy emphasis on the math and science behind the principles and techniques. Discussions about sensor architecture are somewhat interesting but you might not find them so. He uses algebra, geometry, and calculus along with some advances operations and visual graphic displays to illustrate the points. All this gets a bit tiresome for the non-electrical engineers in the audience [such as myself]. Students in his lecture are typically engineers from Pixar, Google, and other silicone valley agencies. However, just as you’re about to fall asleep he changes topics into areas that are more interesting albeit relevant to the typical photographer.
The lectures wavered between irrelevant and review for me, personally. However, they were entertaining and interesting on some level.
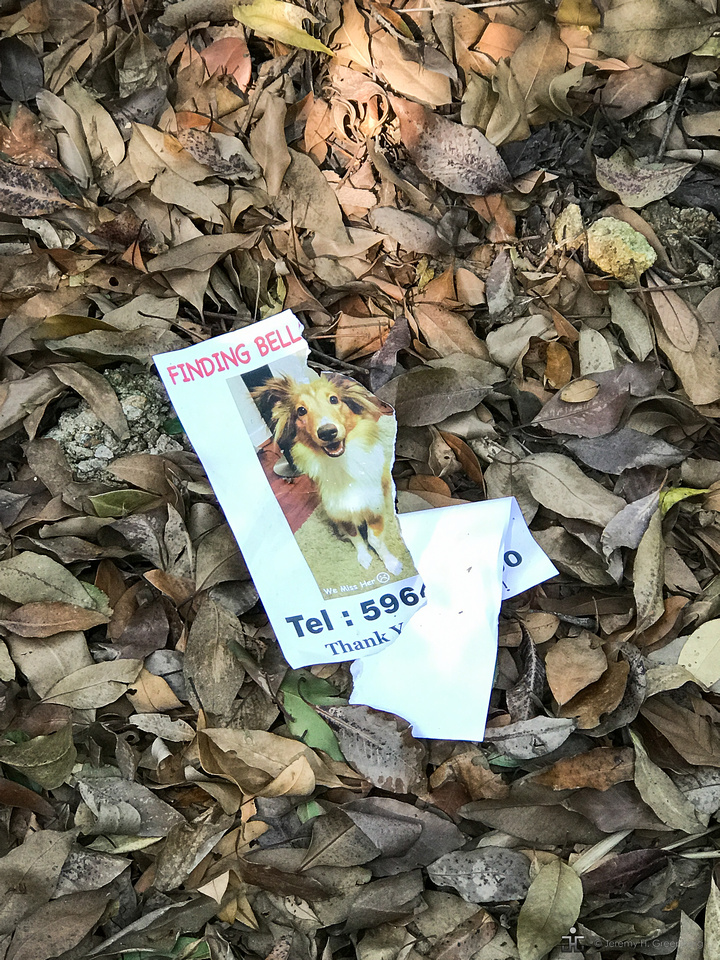

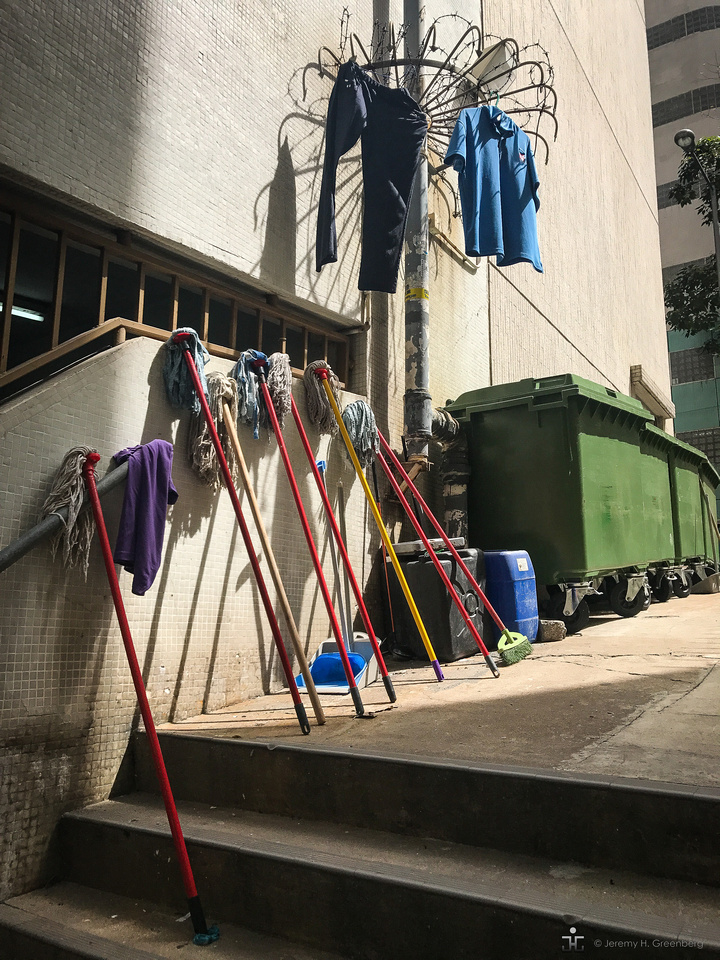

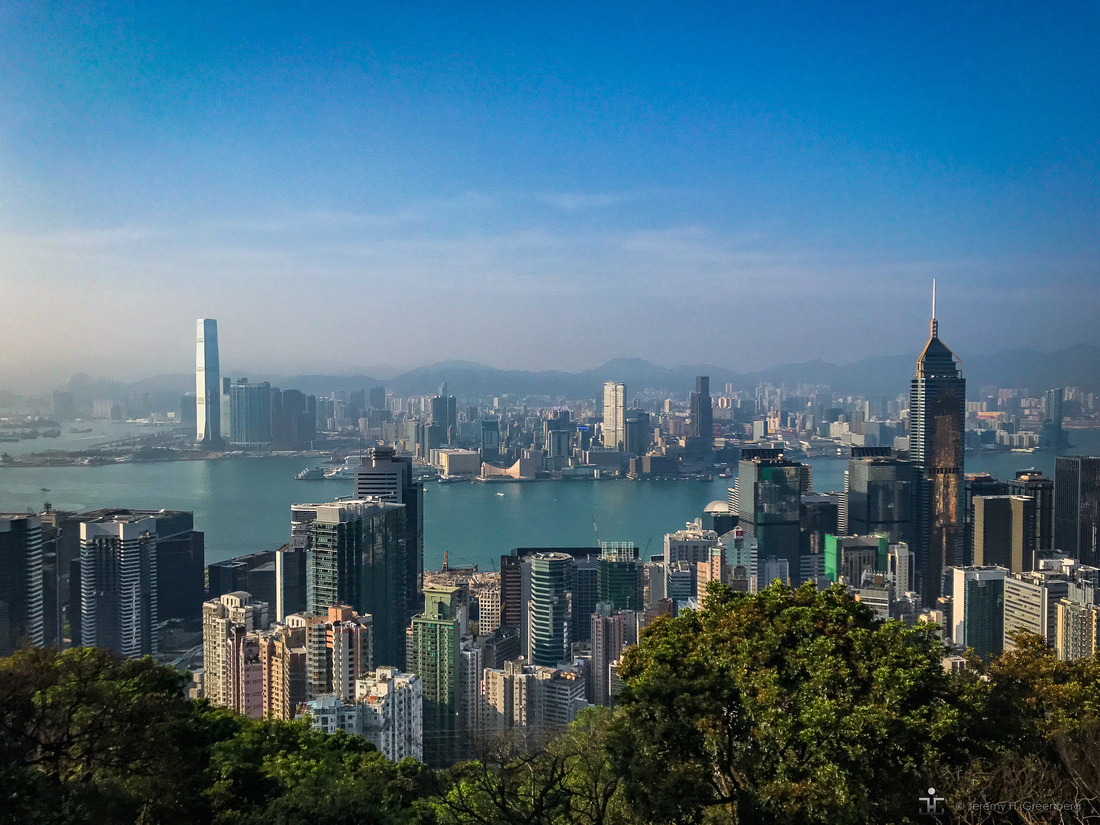

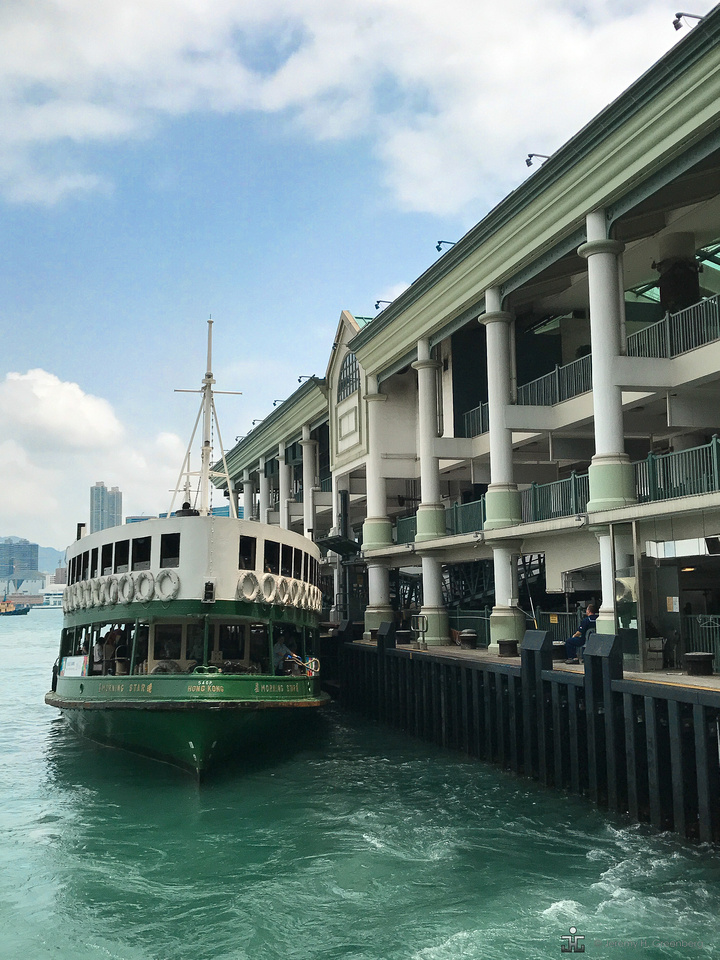
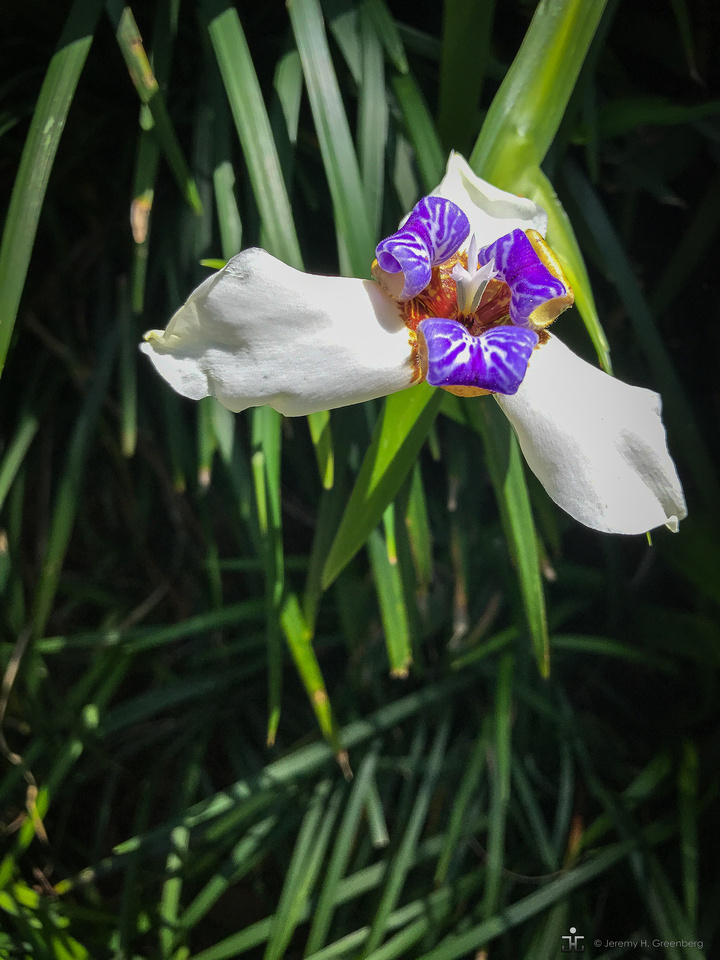
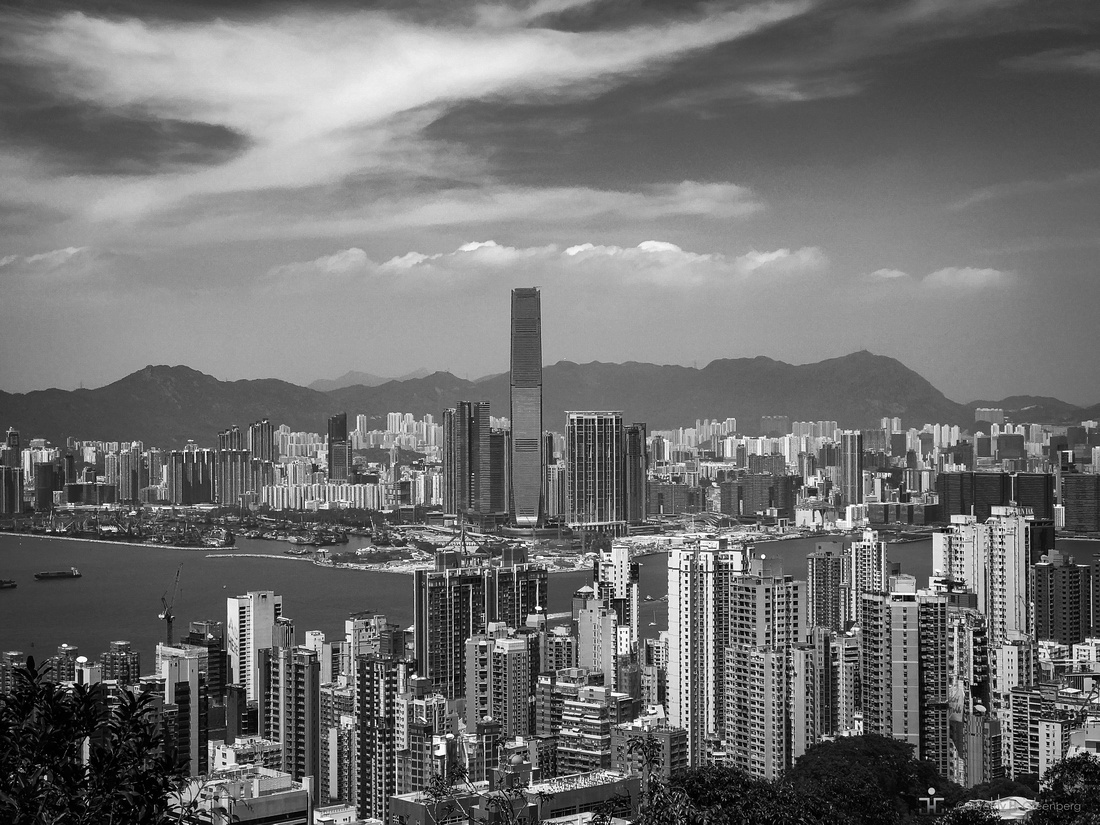
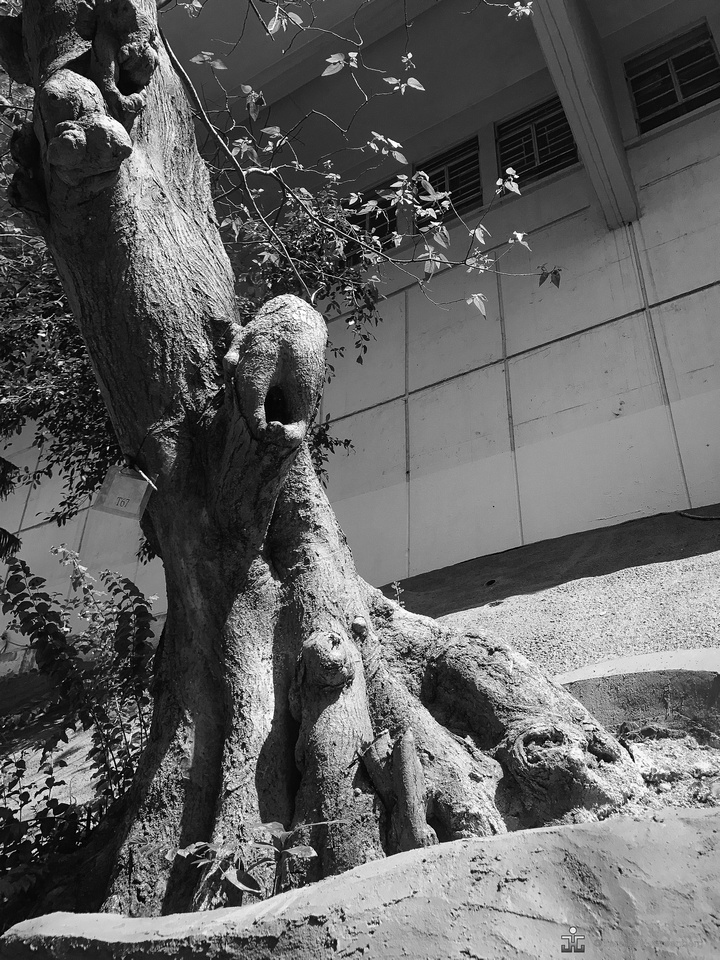
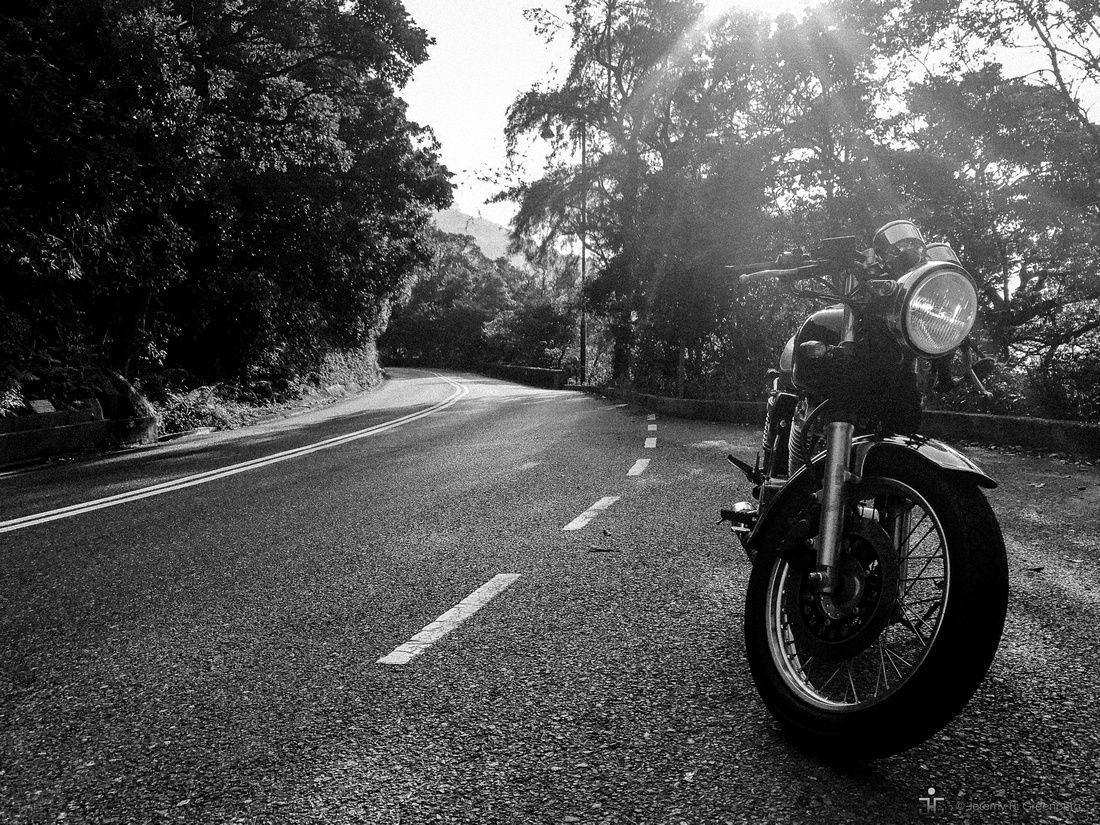
On another topic, in my recent Blog #48 titled Five Reasons Why it’s Better to Shoot with a Real Camera Over a Smartphone I wrote about shooting with a camera versus a smartphone. There are obvious advantages to using a real cameras such as having a larger sensor, higher resolution images that is required for printing larger than A4 size, and who doesn’t love interchangeable lenses? That’s all fine and good, however, the purpose of that article was not to hate on smartphones. I shoot with my iPhone 7+ although I prefer my other cameras. To illustrate this point I have included a few recent images made on the iPhone within this blog post just to shake things up a bit. Am I a hypocrite? I don’t think so I just have my preferences and through sharing my viewpoints, I find that it helps me to shape my own attitudes and approach to my photography.
The light is always right.
jhg



Blog #51 Shooting People, Especially Children
Blog #51 Shooting People, Especially Children.
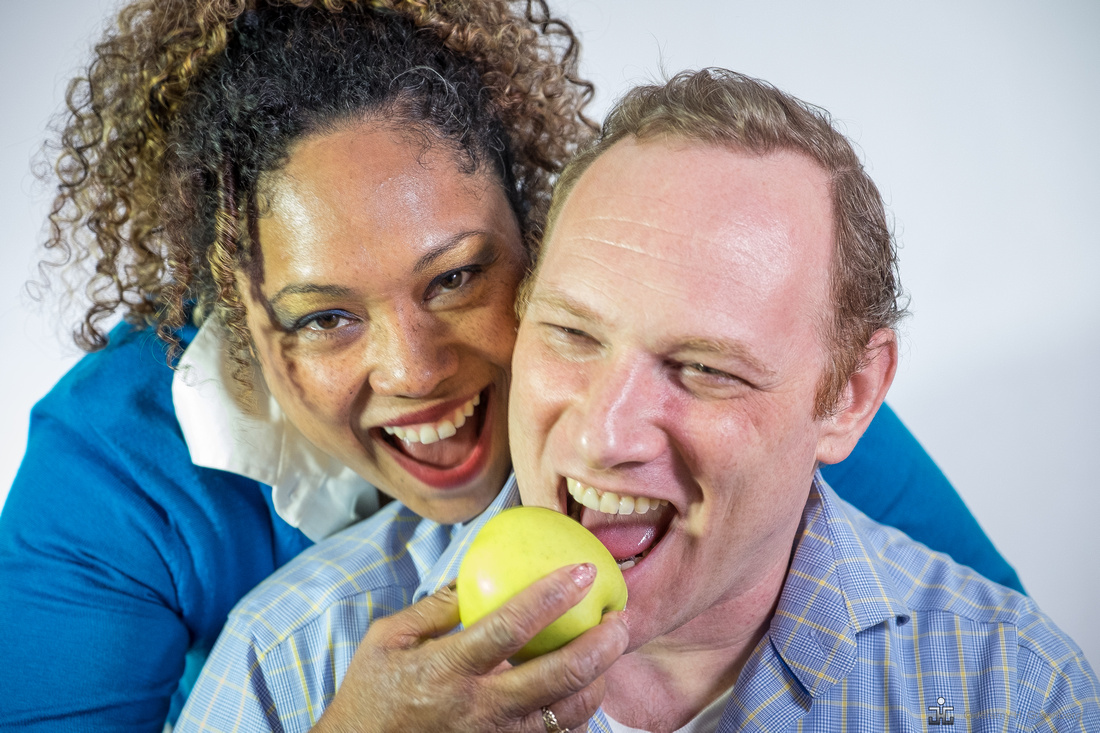
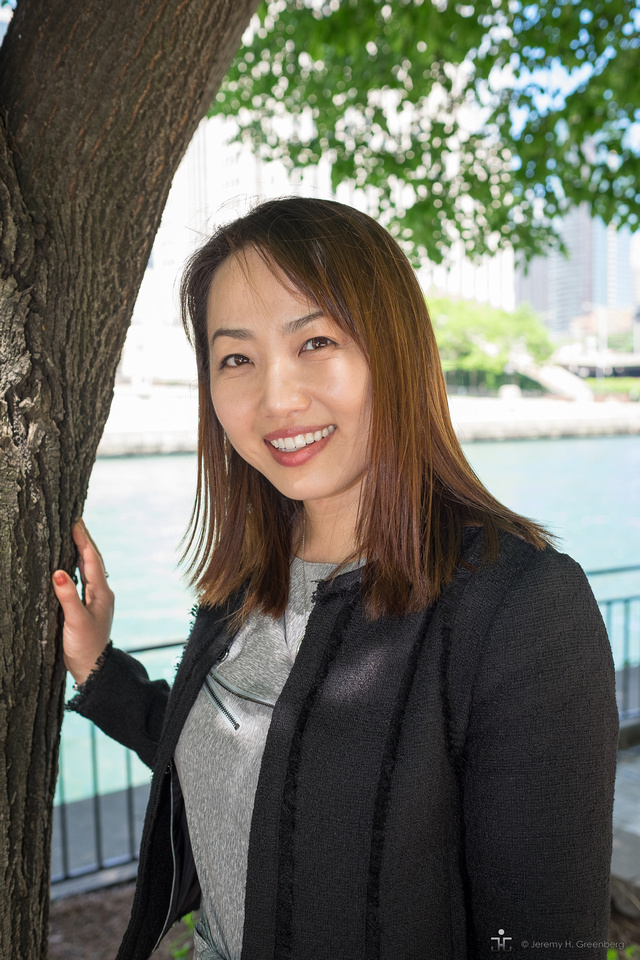
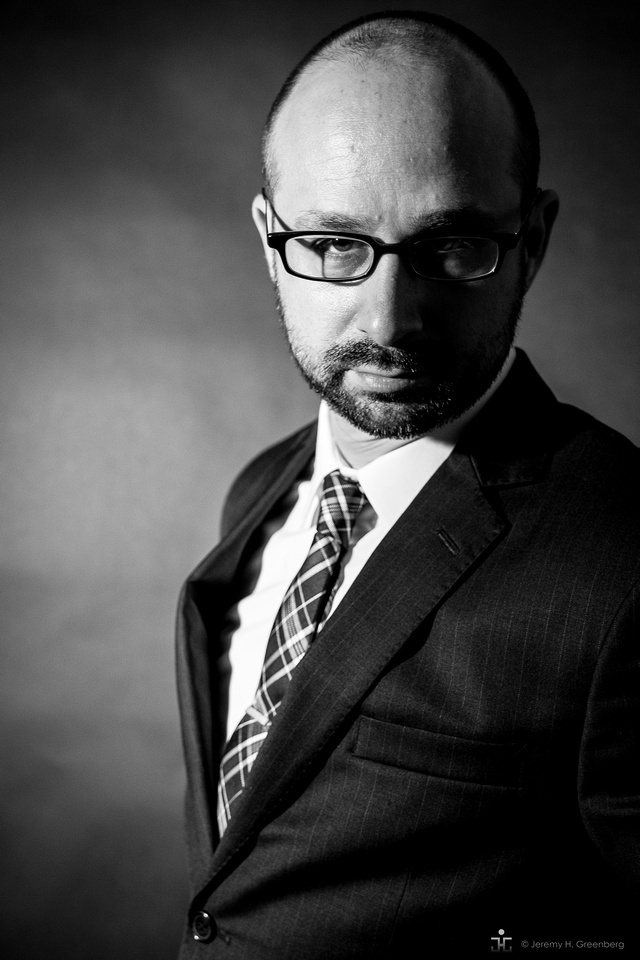
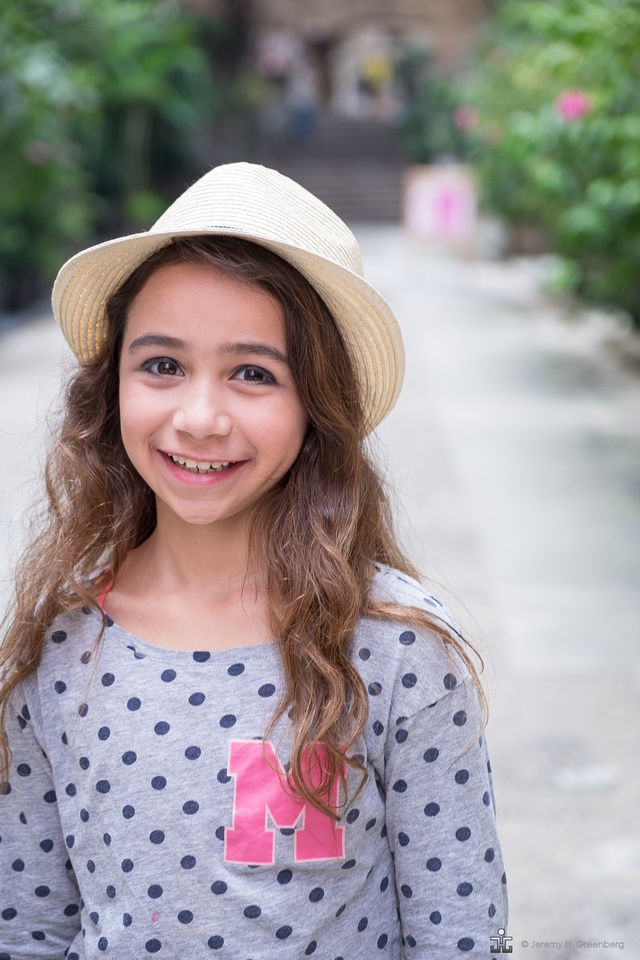
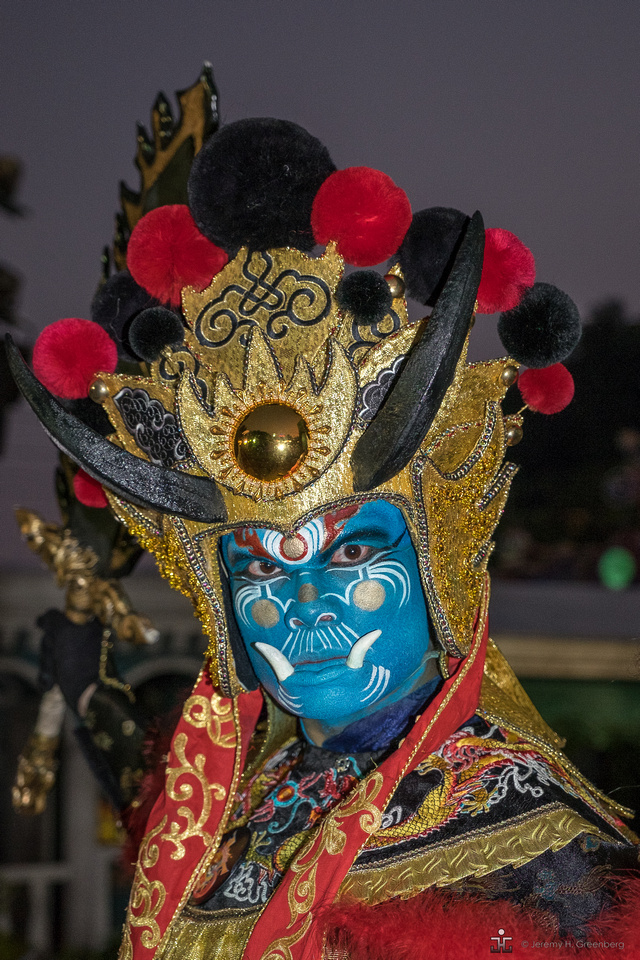
In this week’s post, I will describe the practice of shooting people, especially children. The title is supposed to be a catchy to get your attention. Did it work? At any rate, basically there are three types of settings that I will describe here: candid, environmental portraits, and or the studio portrait. I will also share some of my experiences in shooting children. I have four of my own children, two boys and two girls so I get a lot of practice making images of my own ankle biters. Also, as I have mentioned in previous blog posts, I work in an international school. I shoot children quite often in many different activities throughout their school experiences. Photographing children has unique challenges.
People are everywhere unless you live at the South Pole, in which case I suppose one is shooting a lot of, penguins? One of the most (if not the most) common subject of the printed image is people. We have all seen thousands of images of people although some work better than others for various reasons. This is quite a broad topic indeed. However, I will focus on just three types of images of people.
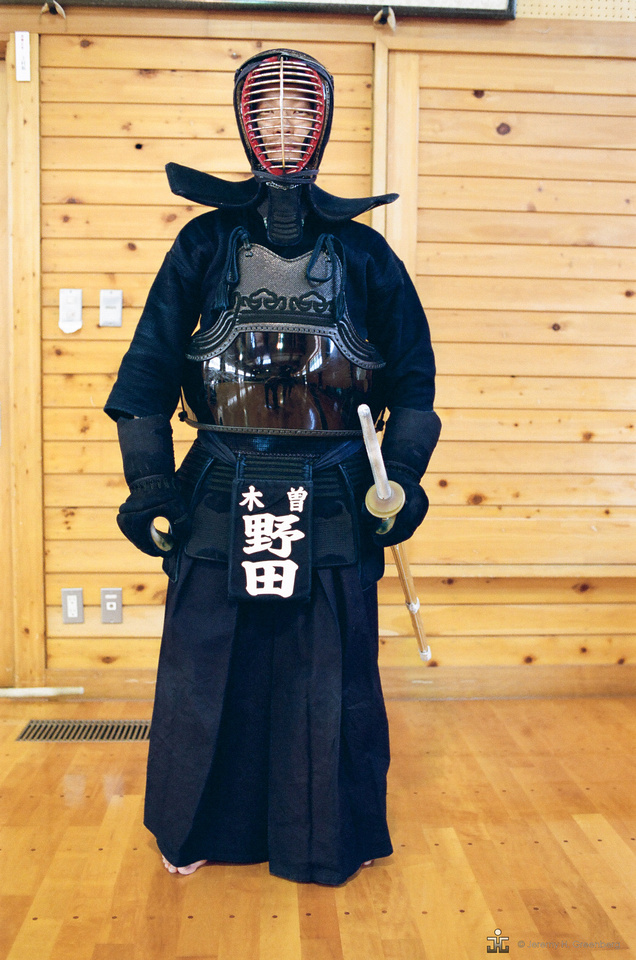

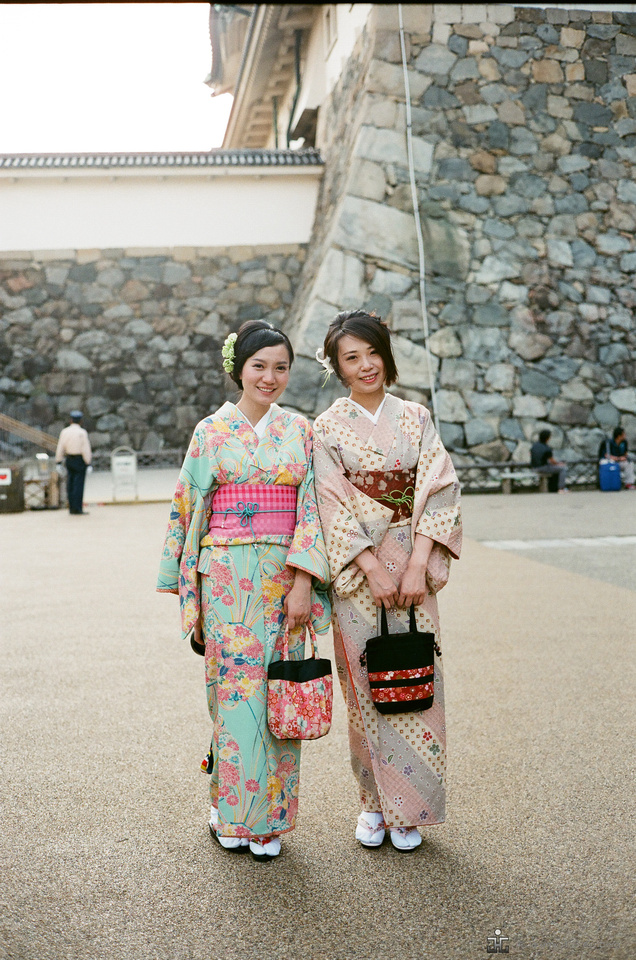

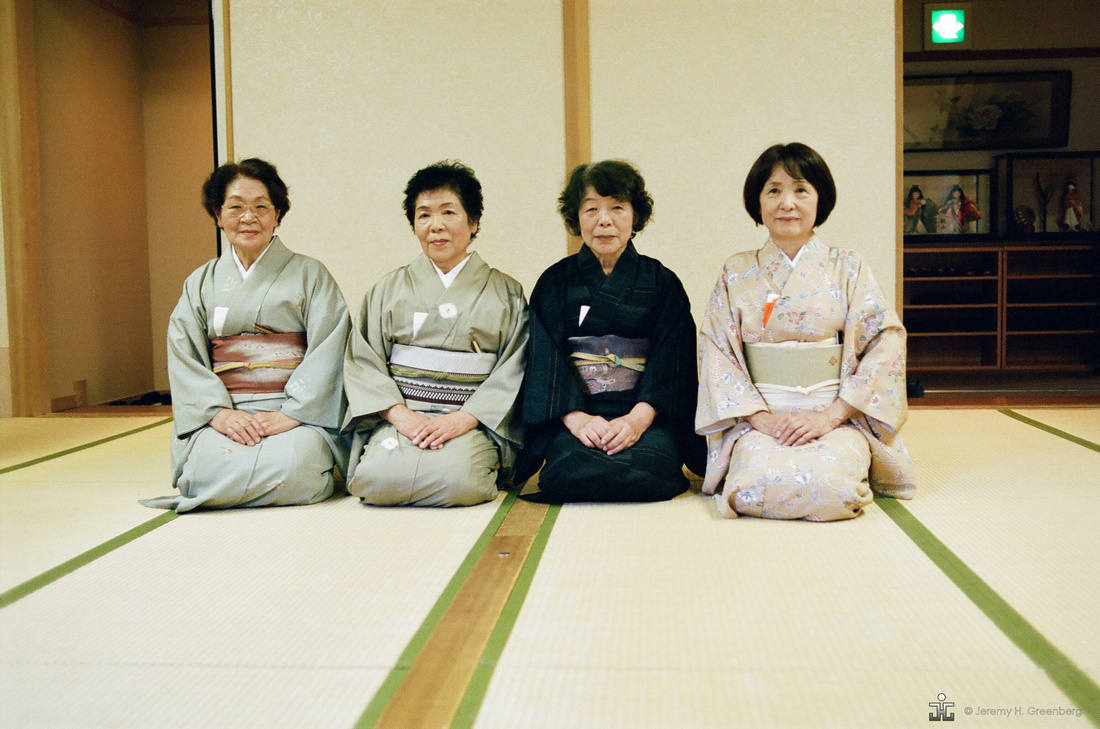

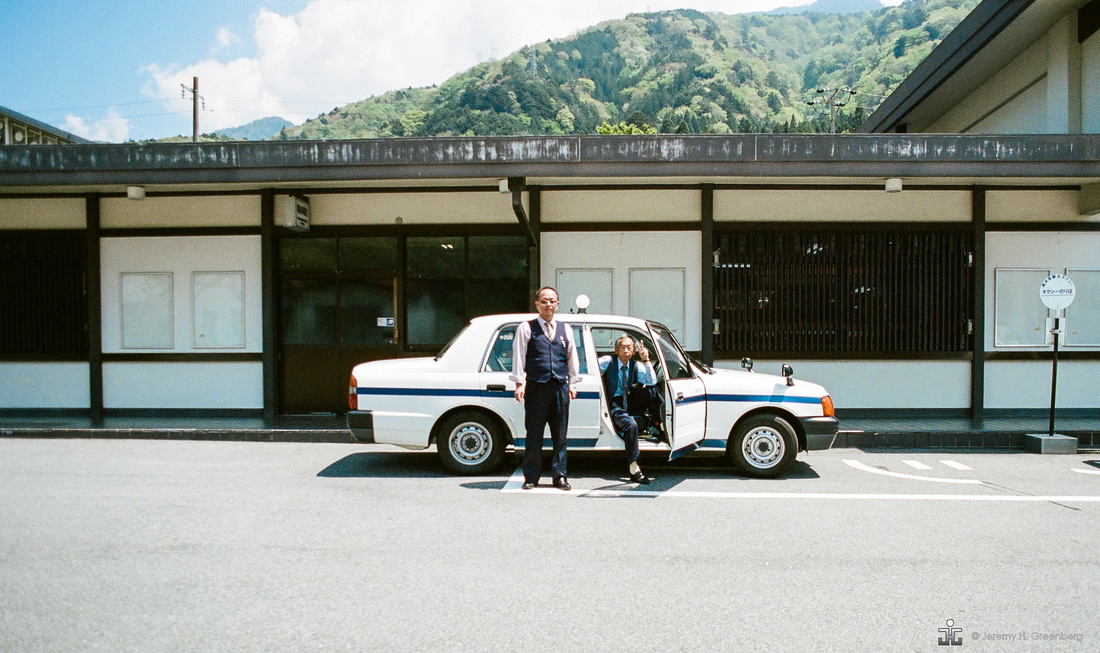
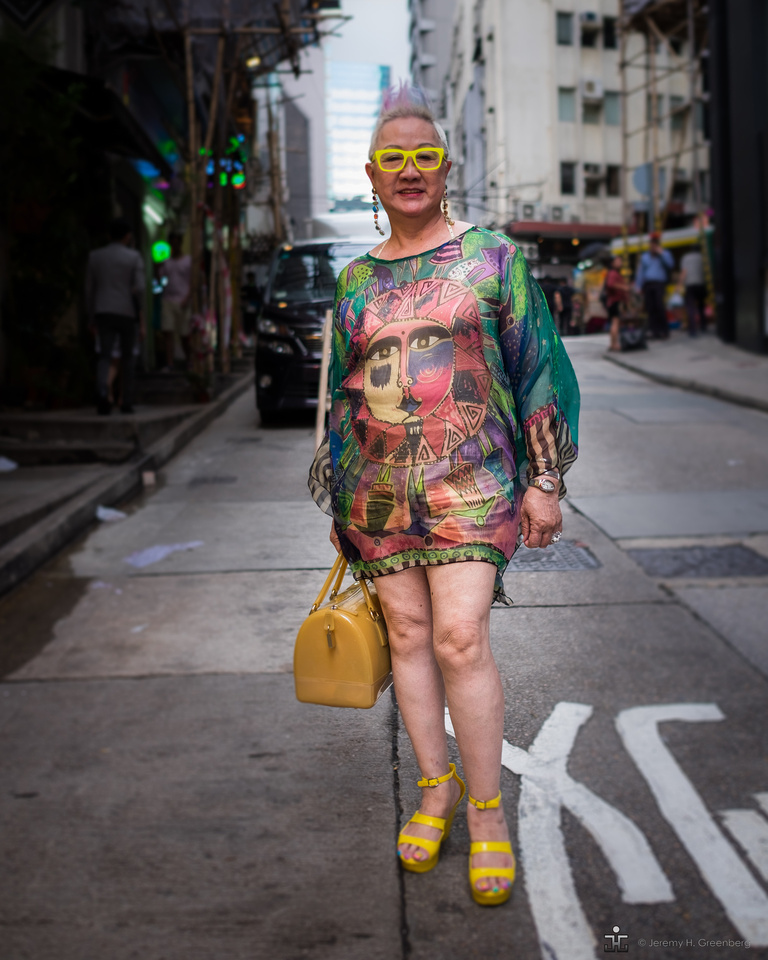
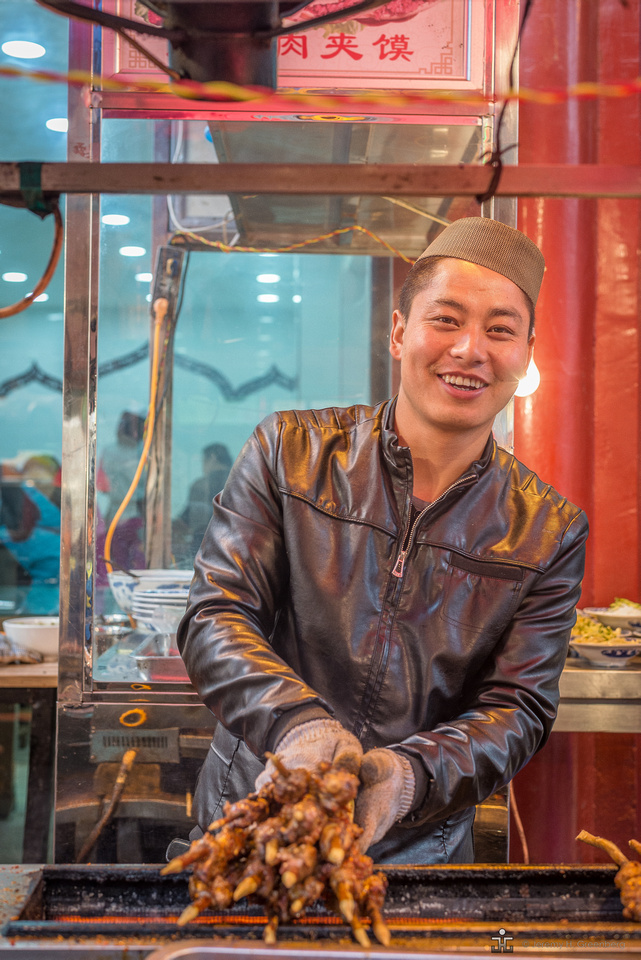
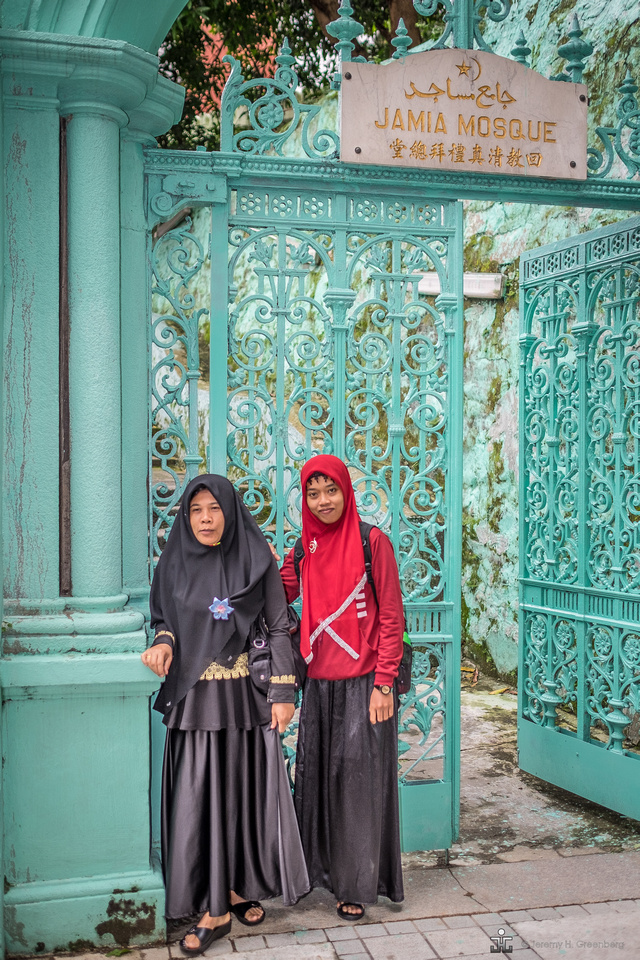
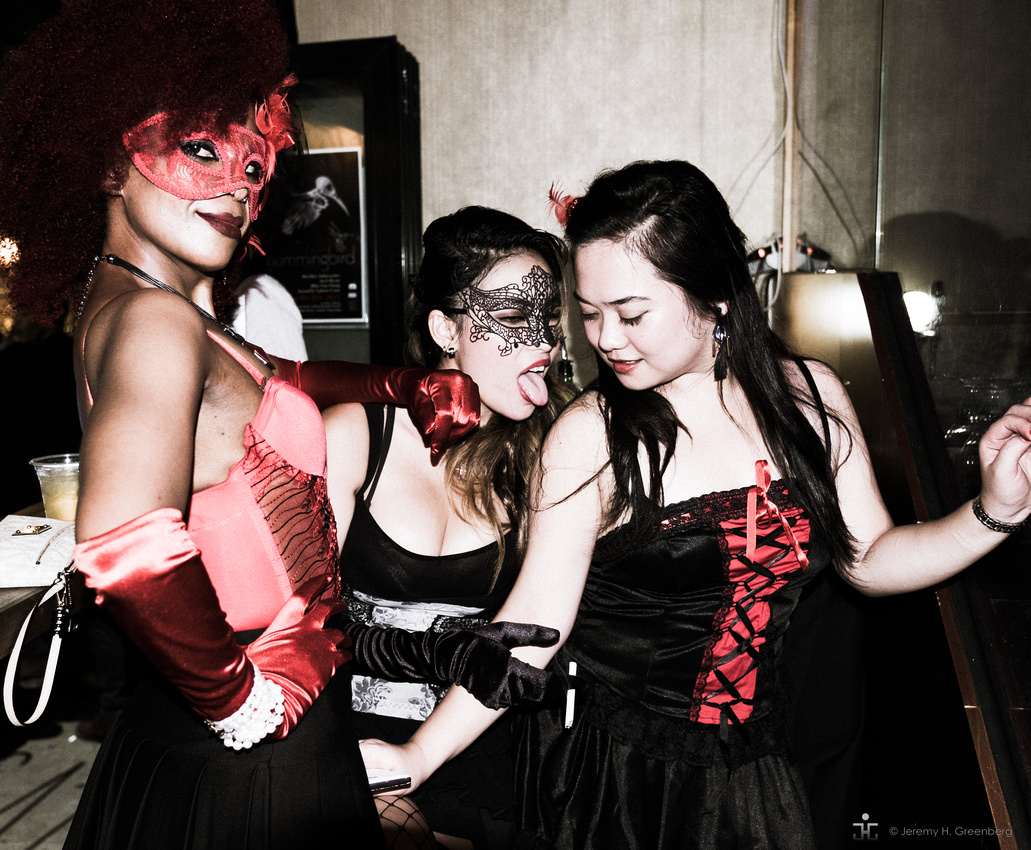
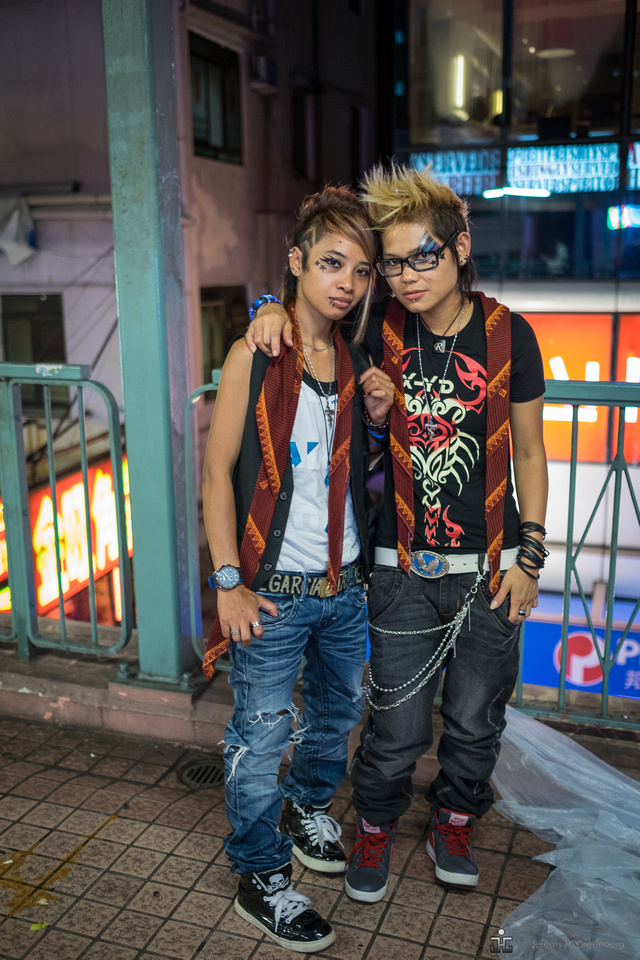
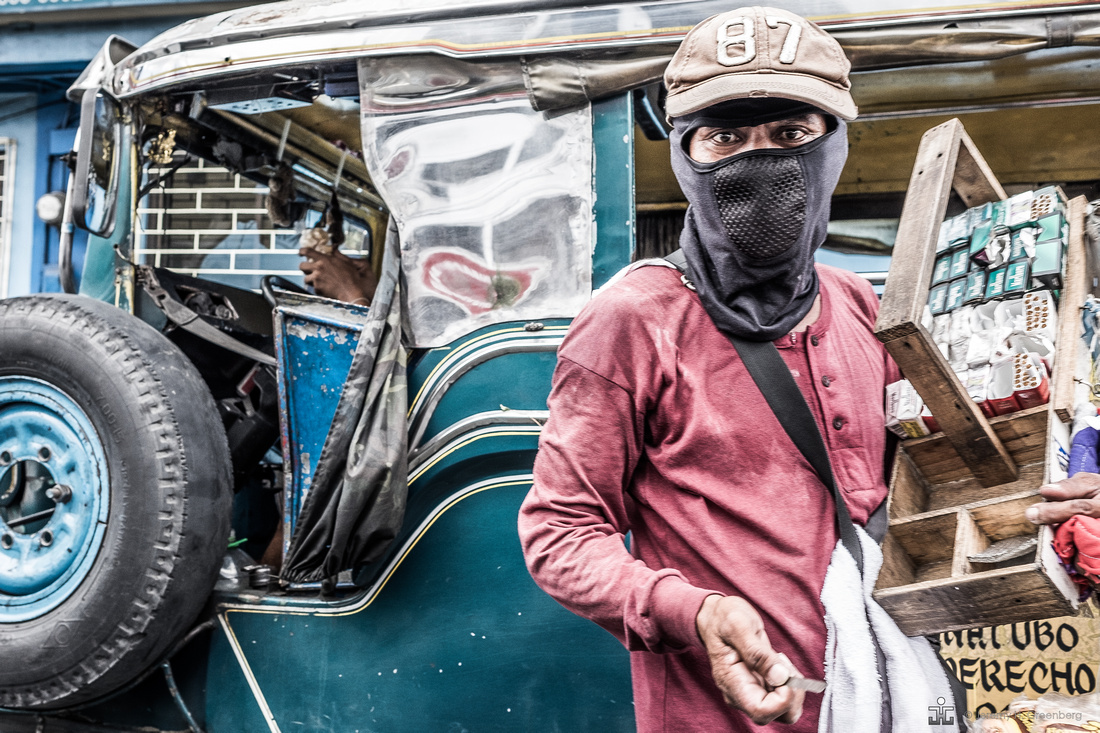
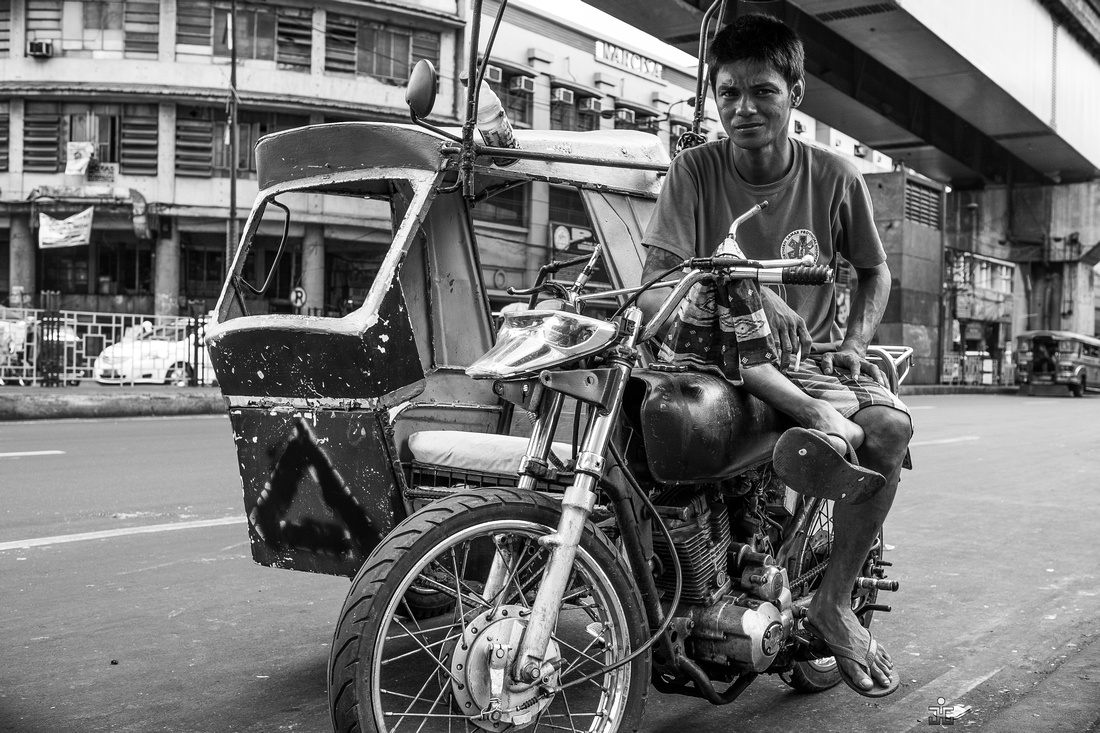
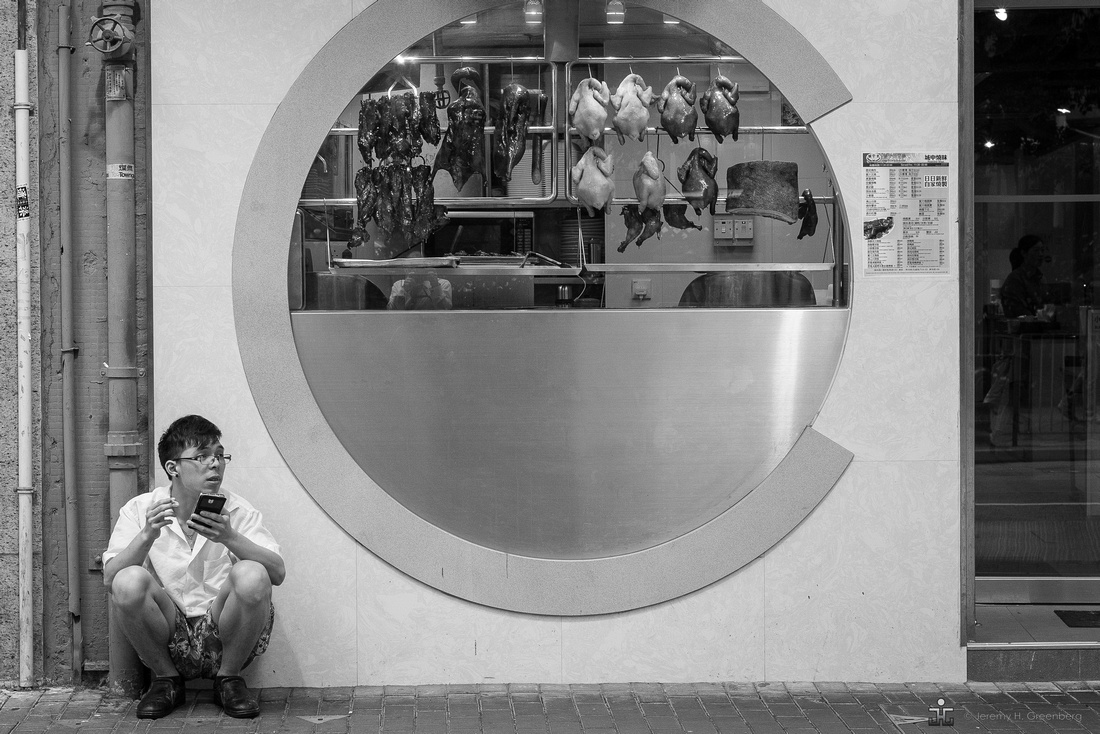
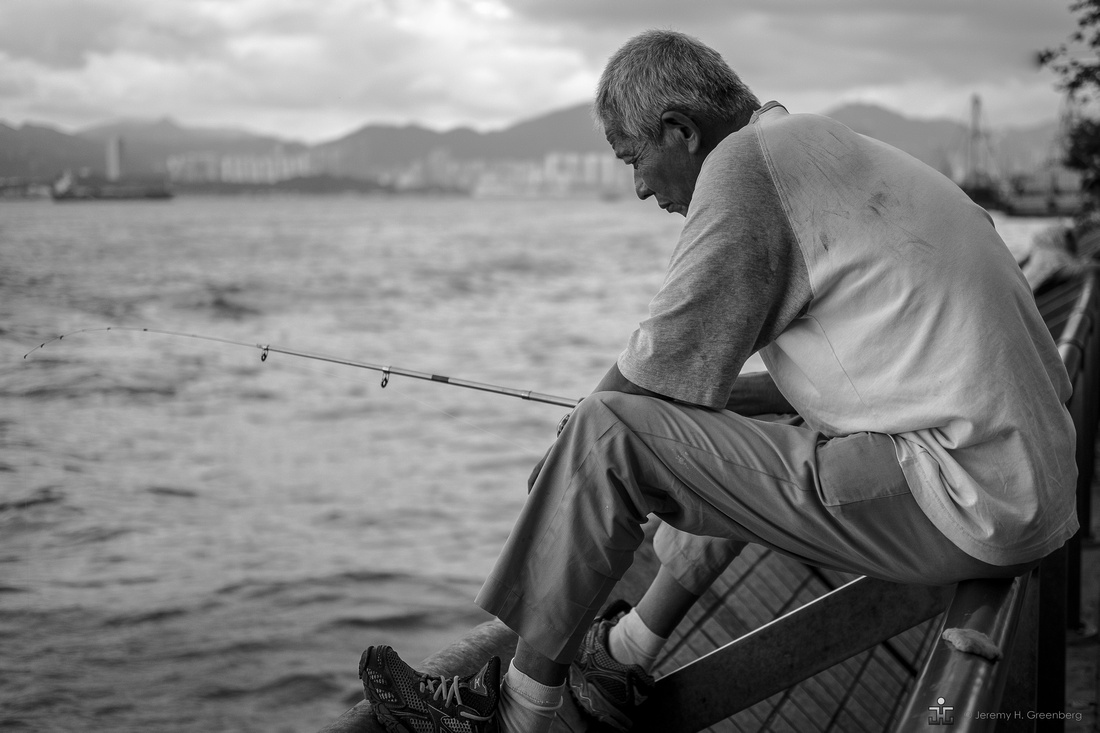
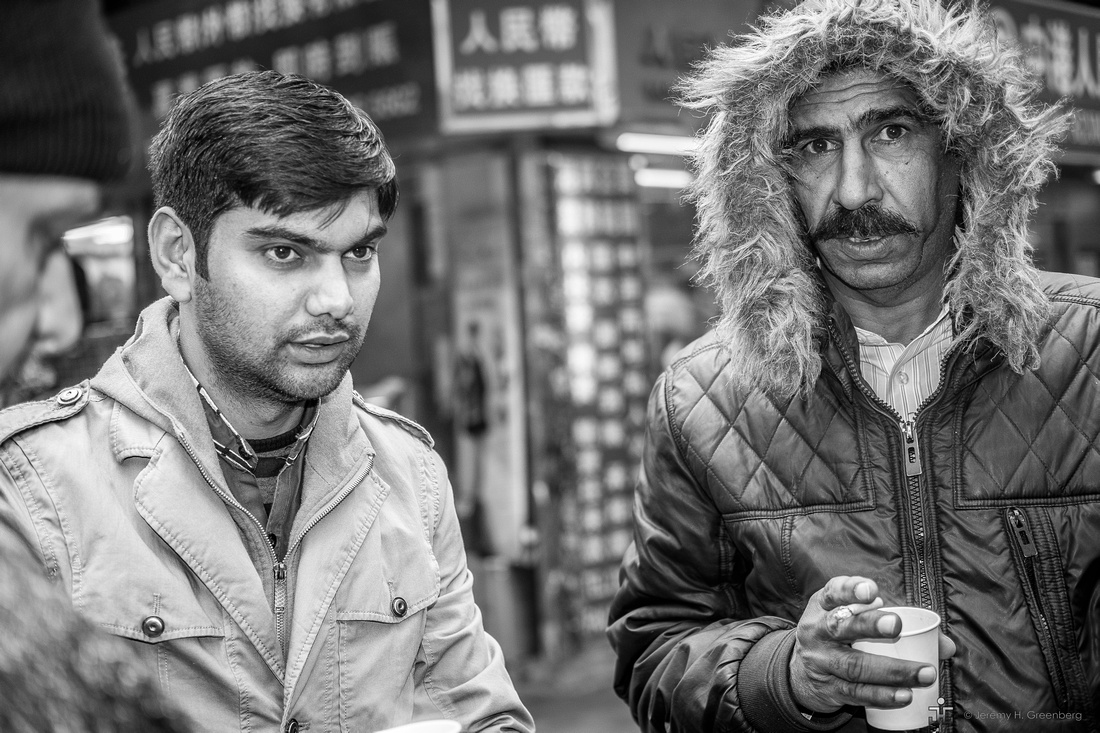
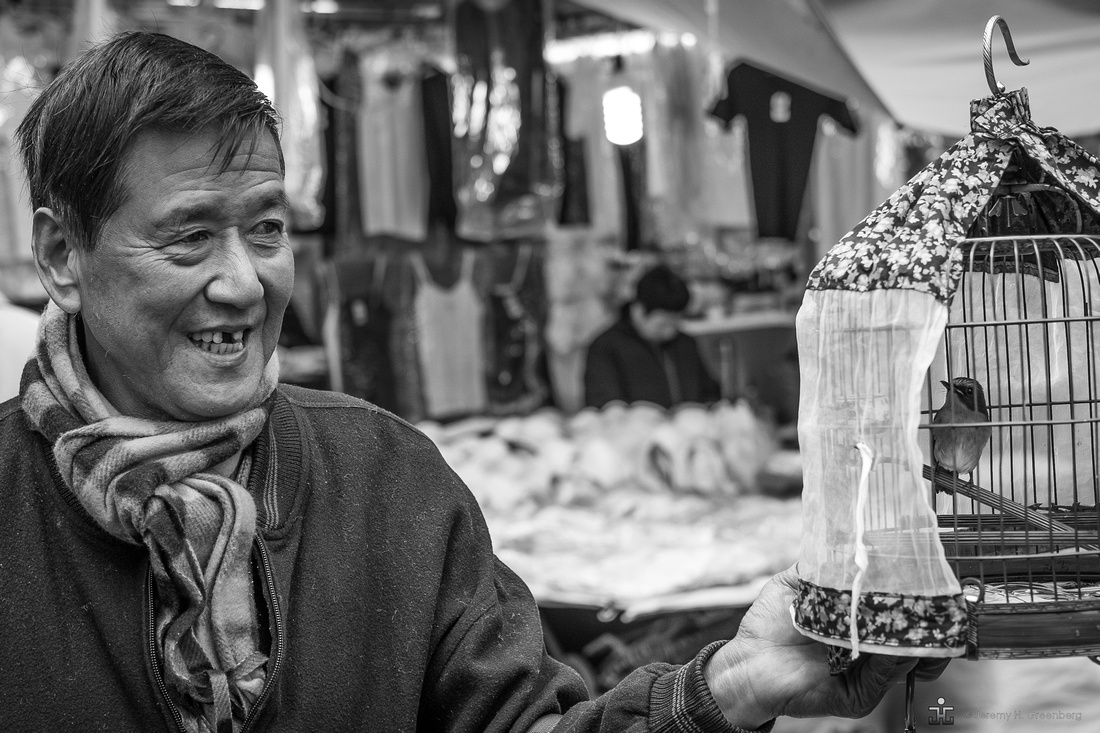
 The candid photograph can be anytime, anywhere and normally the subject is not aware or knowingly participating in the process. Candid photos do not need to be in the street, per se. Also, the candid photograph may or may not have the subject making eye contact with the viewer (camera). Candid photos can be planned or spontaneous and tend to reveal some natural quality unique to the individual in the photograph. Look for gesture, pose, and include other elements that are generally important such as background and composition that should be considered in pretty much all images that contain candid or street portraits.
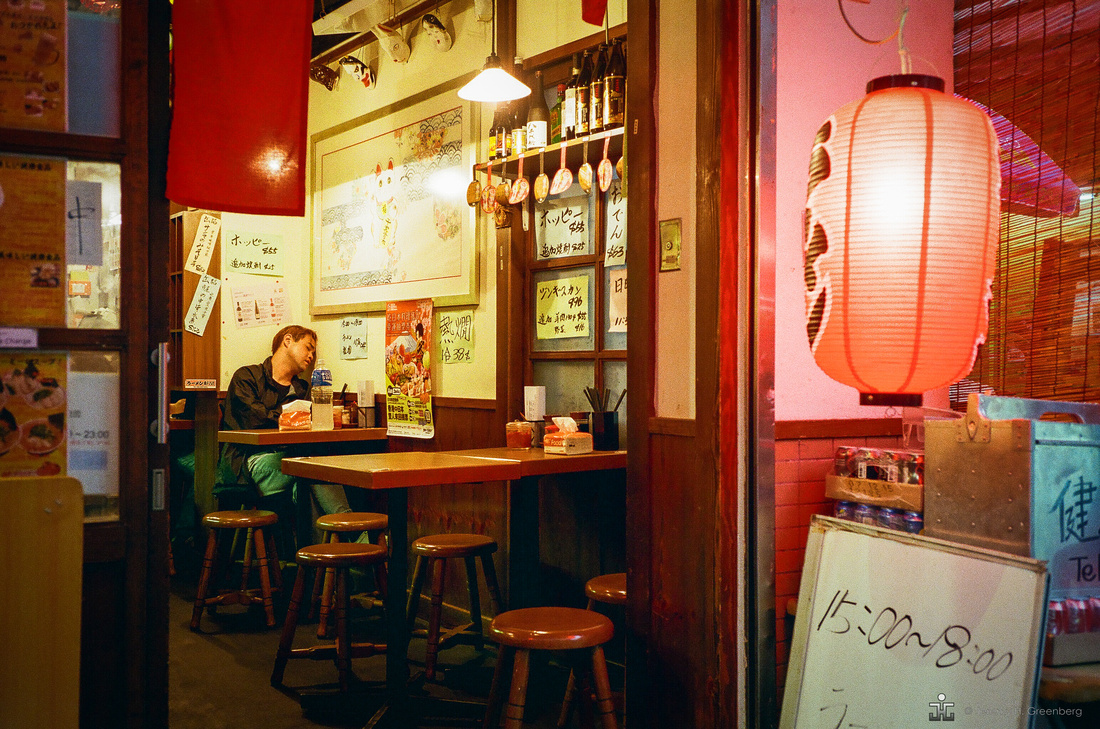

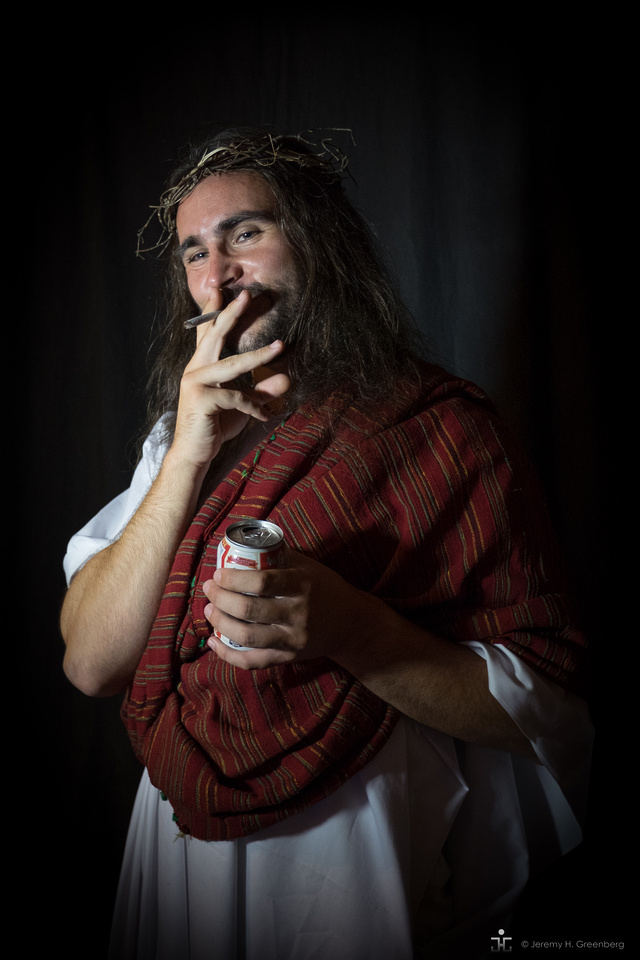

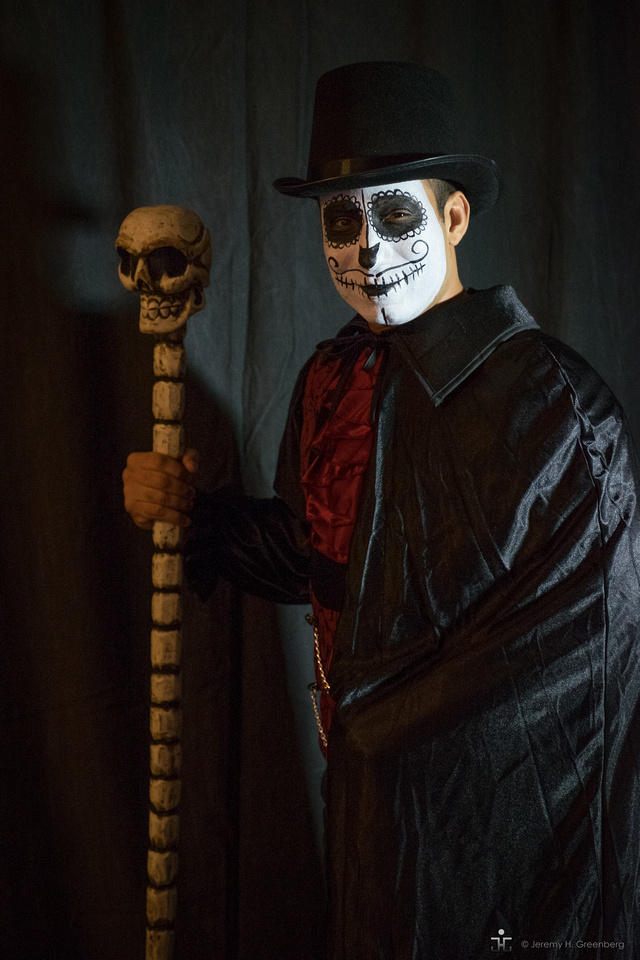

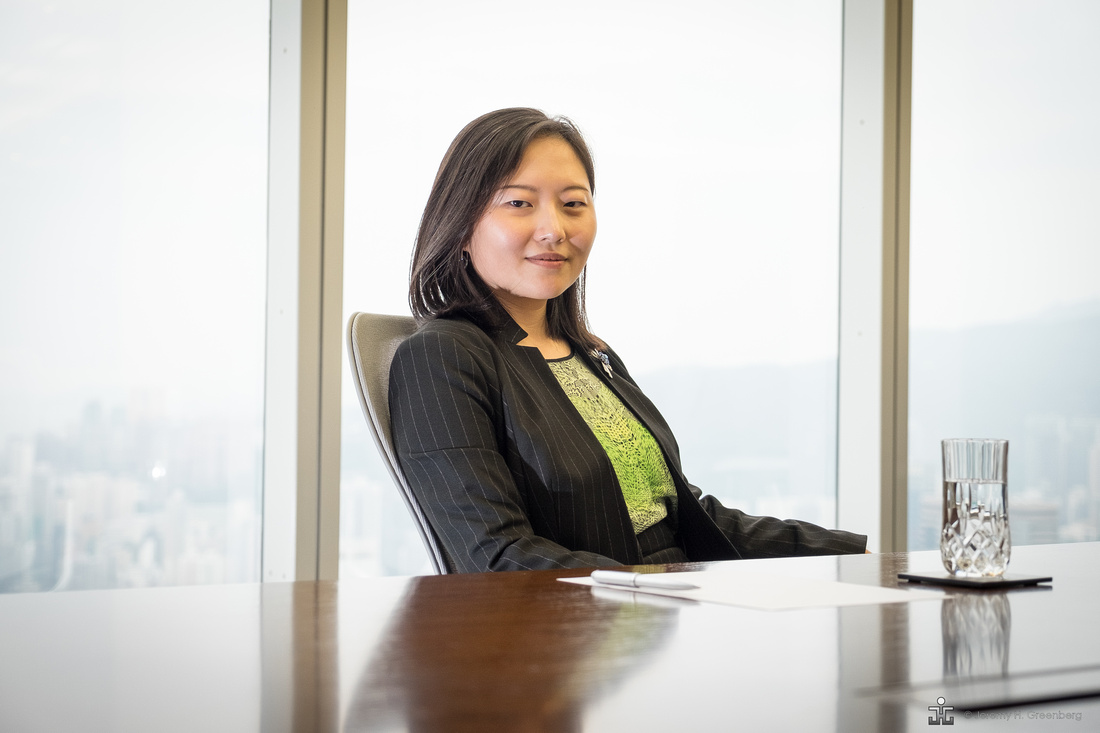
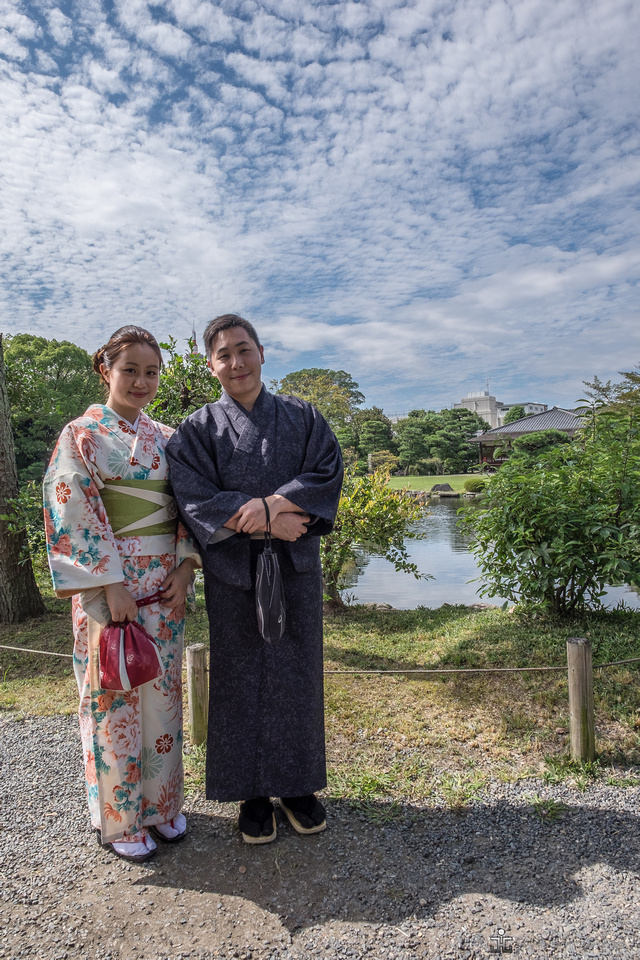
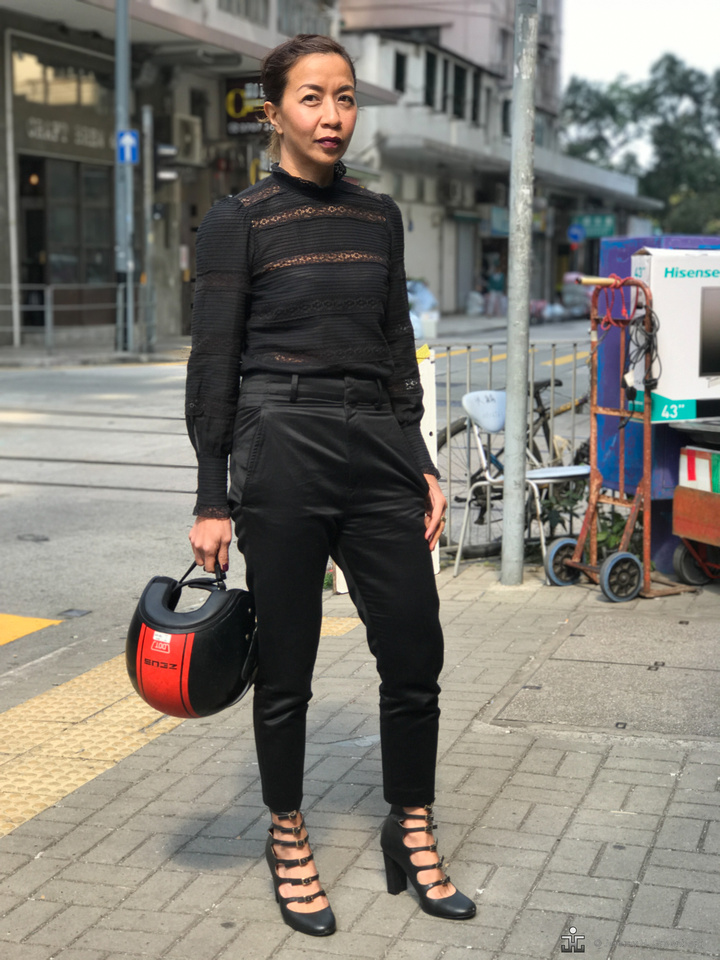
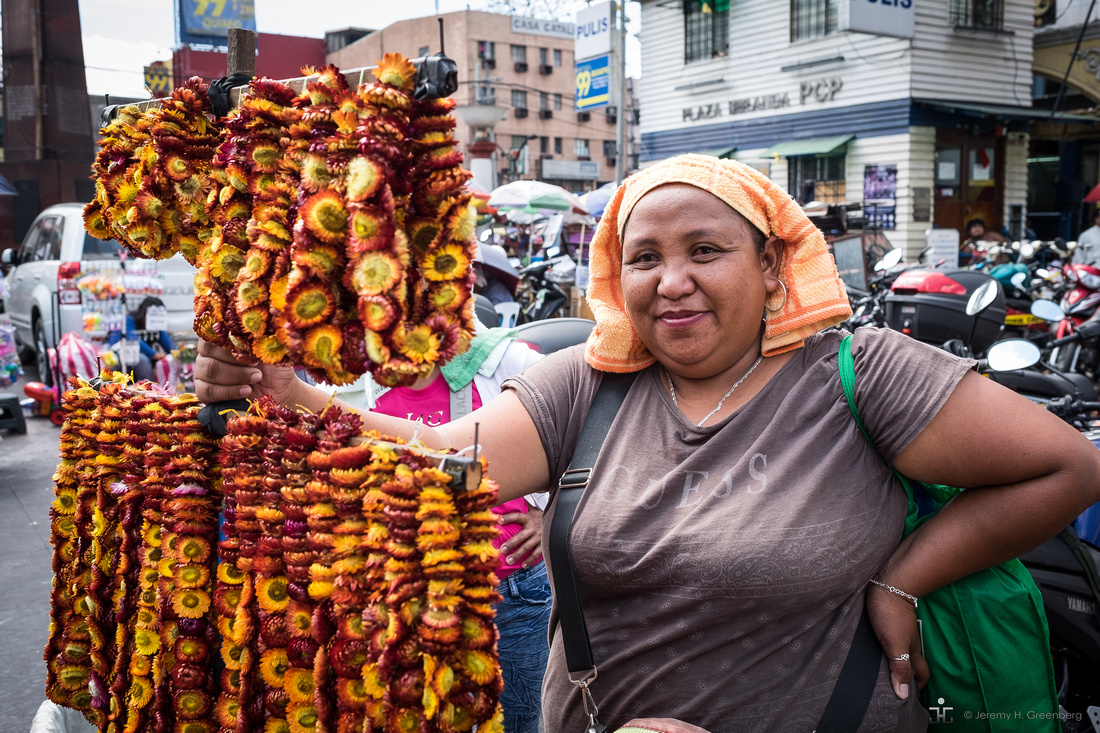
Environmental portraits are generally images of a person in their element. For example, environmental portraits include: a football player on a field, a student in a classroom, a chef in the kitchen. The background is part of the story and is related to what the person does or who the person is.
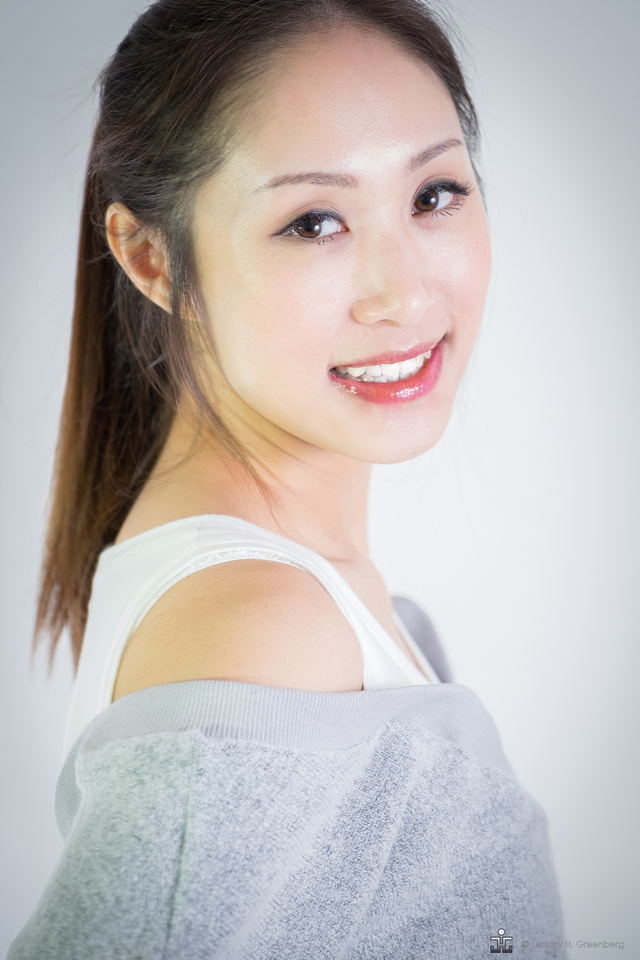
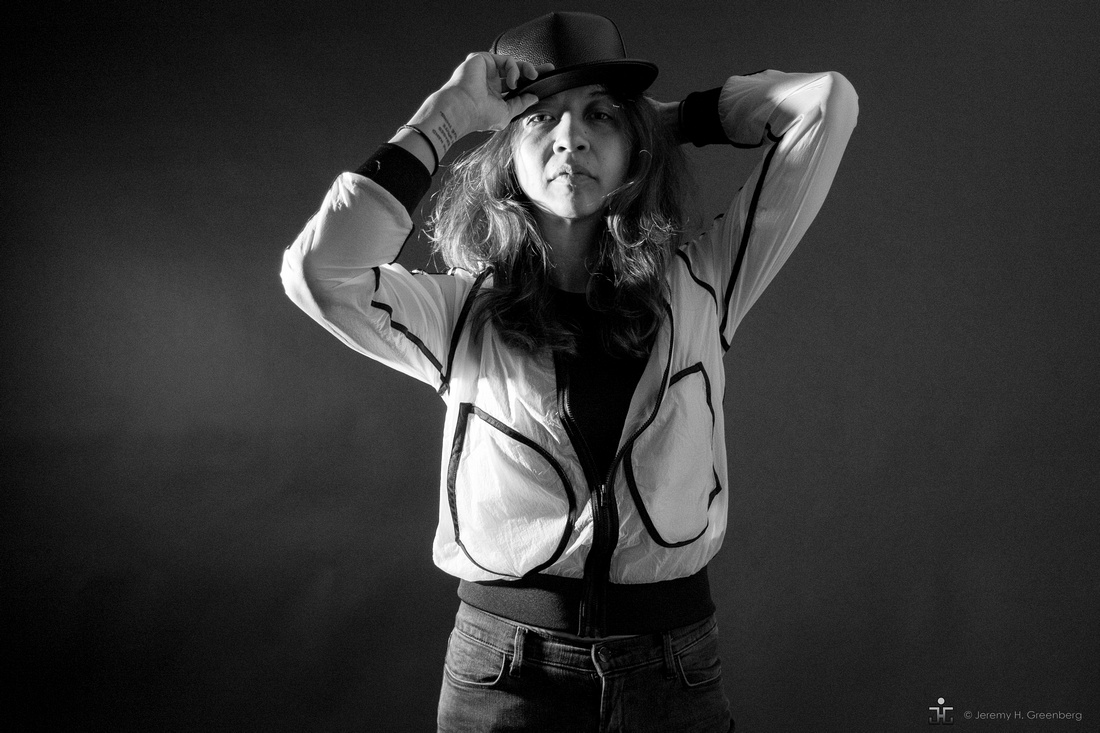
Studio portraits are unique due to the unnatural nature of the studio environment. The person is generally isolated and not only the subject of the image, but the entirety of the image. Lighting is crucial. There are many lighting options. One light, two light, three light, or more are typical. The number (and position) of lights is an important element that functions to communicate the mood of the photo. Everyone needs to be lit differently. There are a plethora of techniques that can be employed to highlight or hide features. One effective technique that can be accomplished in the studio is to light the person based on their mood and or the personality or attitude that they radiate. A dark mysterious teenager can be lit in low light using one light from a 45 or even 90 degree angle, while a playful child can be brightly lit to portray their bright spirit. It is to the advantage of every photographer to have experience lighting different people and practicing this as an important skill even for the amateur or hobbyist.



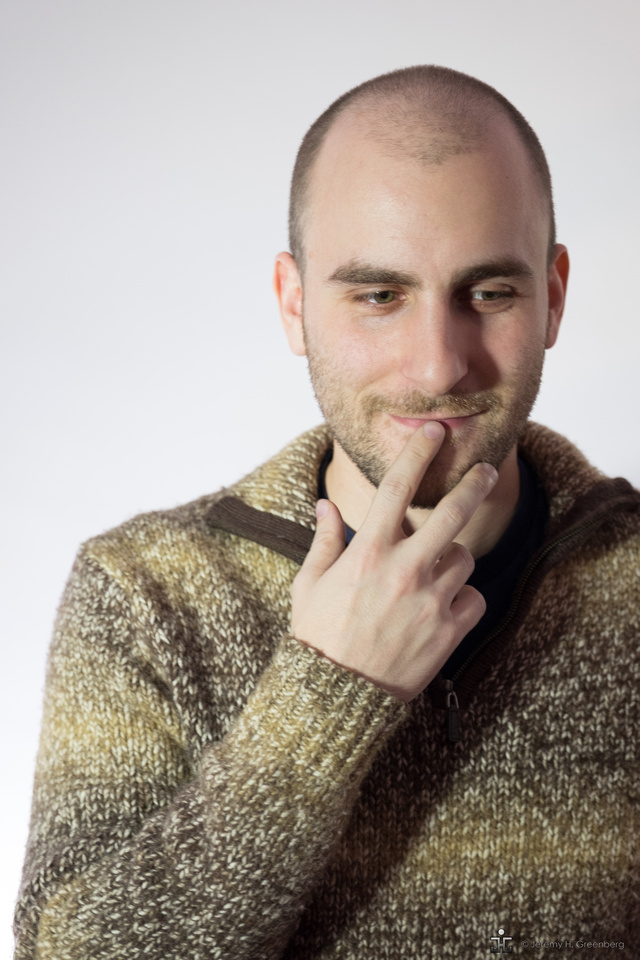

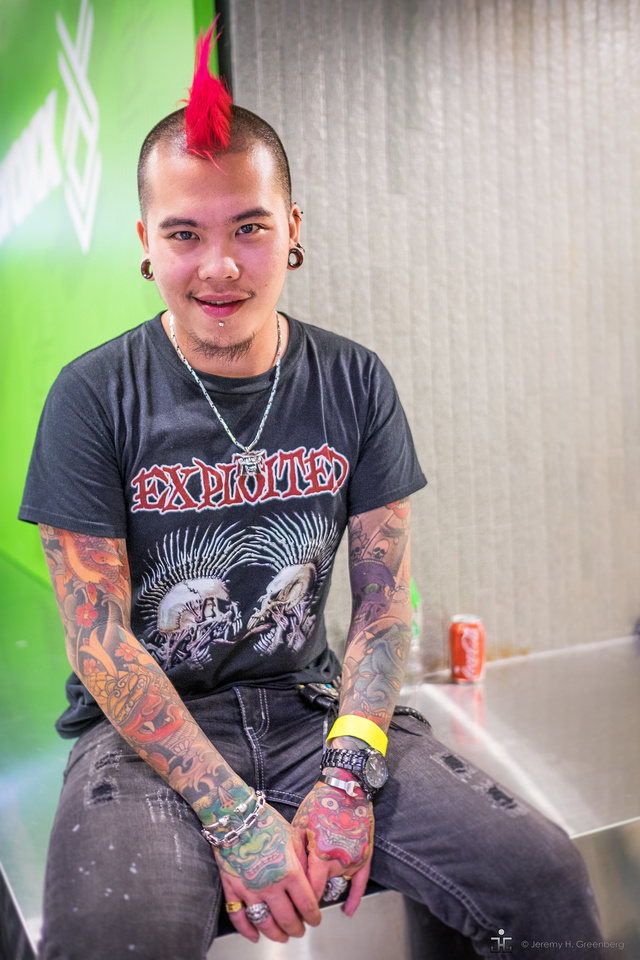

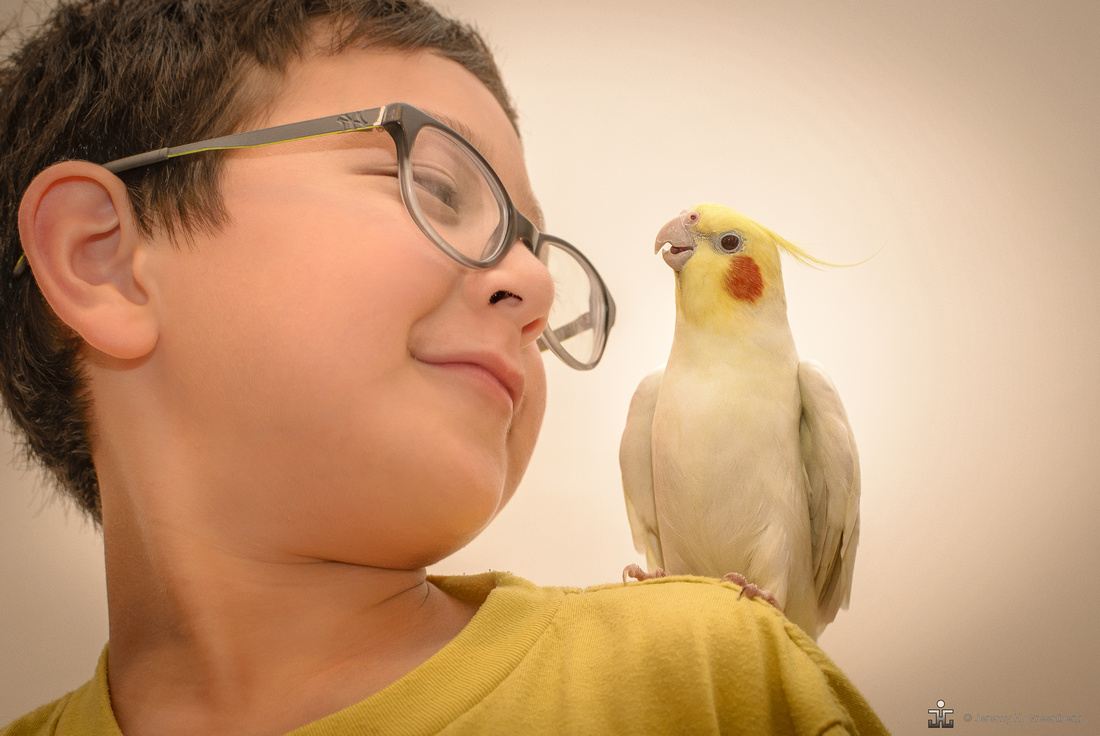
Regarding shooting children, often the best images will occur under conditions when the child, regardless of age, is calm and relaxed and familiar with the photographer. This can be accomplished in many ways, however, flexibility and patience are essential to a successful photo shoot with a child. Be prepared to make a lot of pictures of a child to get a few keepers due to the unpredictable nature of most children, especially young children under 10 years old. Toys, prompts, and a playful approach will all go a long way under these conditions.
On the topic of shooting people in general, a word on lens selection, namely focal length. Although shooting portraits with wider than 35mm lens is certainly possible, the distortion will make the person’s nose look bigger than it really is unless you have an expensive lens that corrects for this effect that is characteristic of wide angle lenses. This is generally not flattering. Use a nifty fifty or better yet, an 85mm lens to compress and flatten the subject’s face, slightly. An 80mm-200mm lens can work well but you may need a lot of space to shoot with longer focal lengths or else you will fill the entire frame with the subjects face. This might be the look that you are going for but I suggest starting with 50 and going up in 25mm increments to achieve the look that you want.
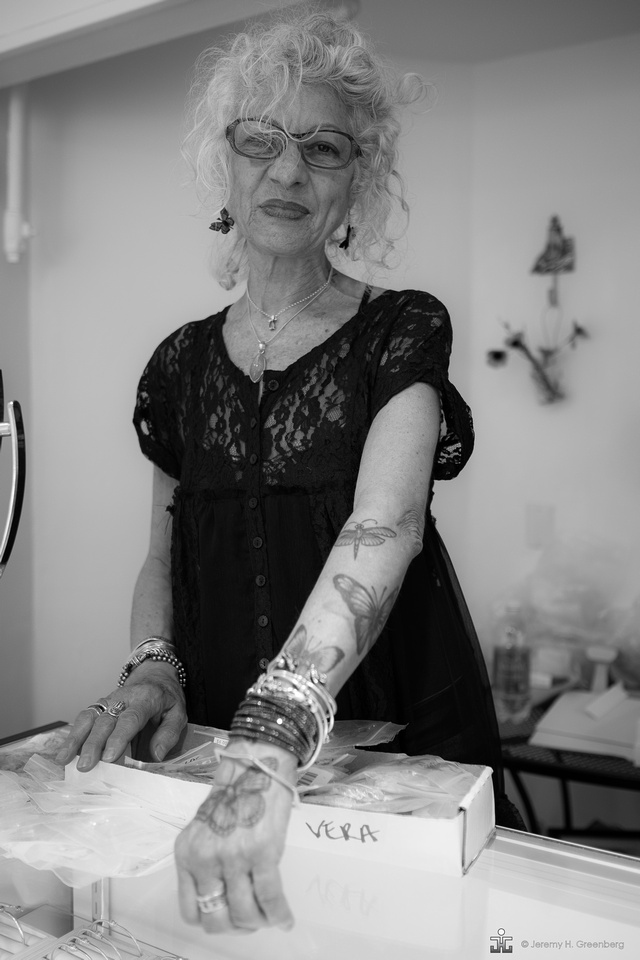
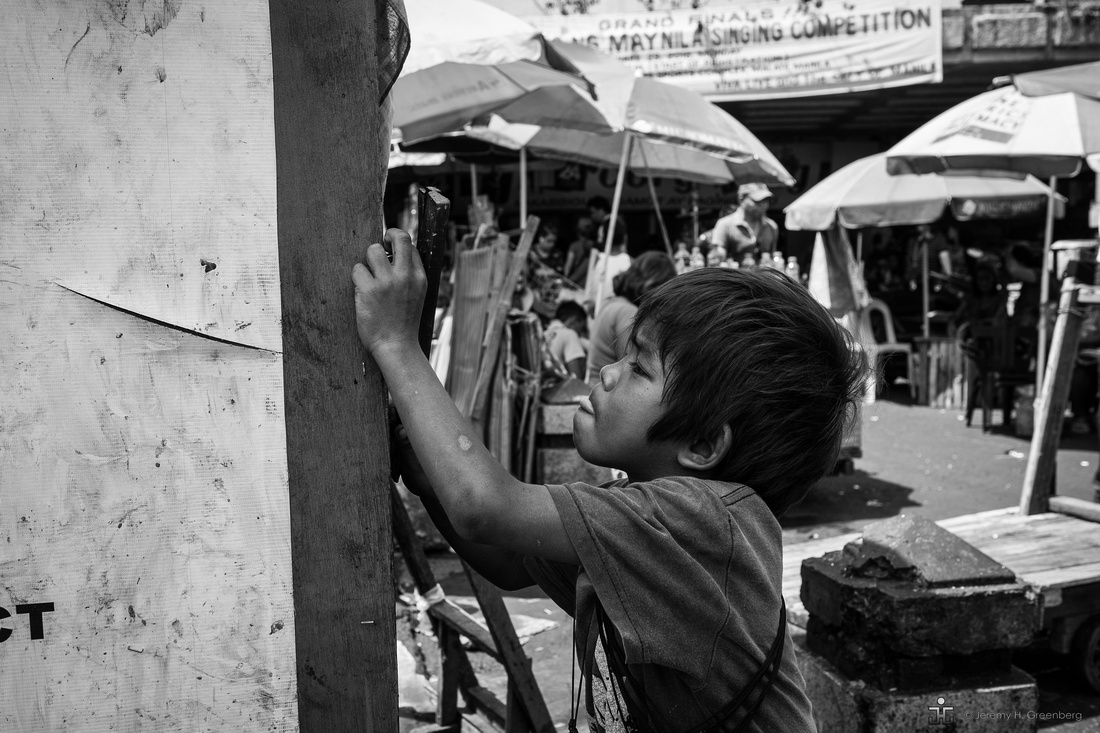
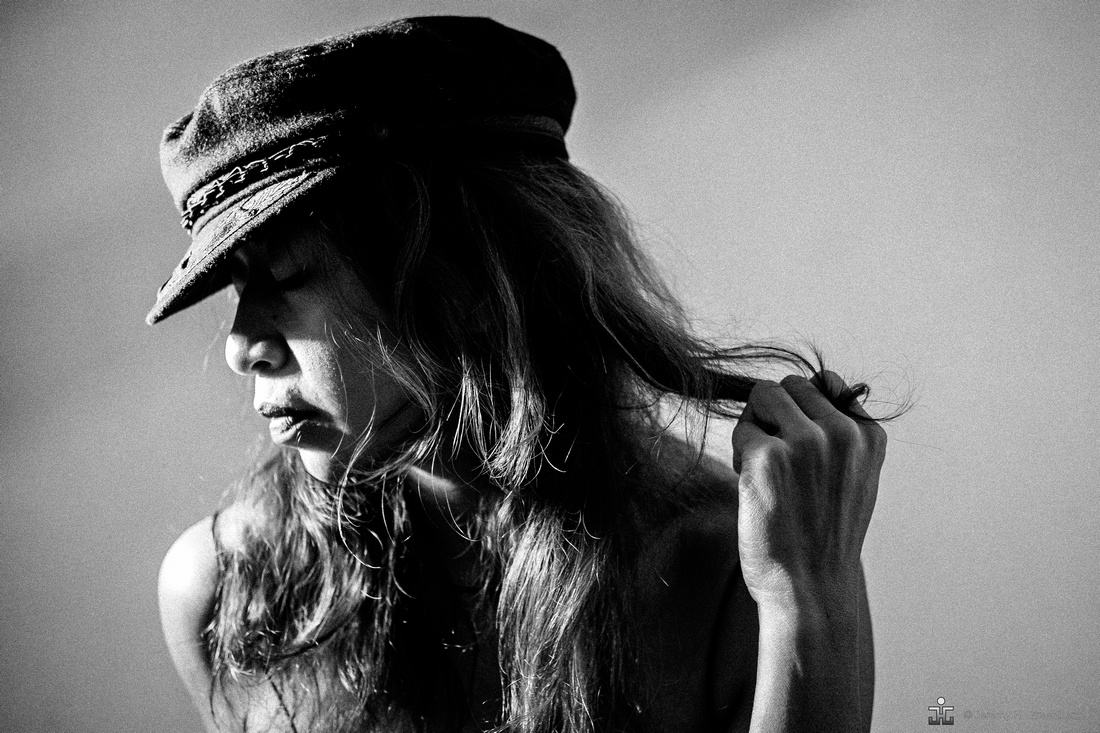
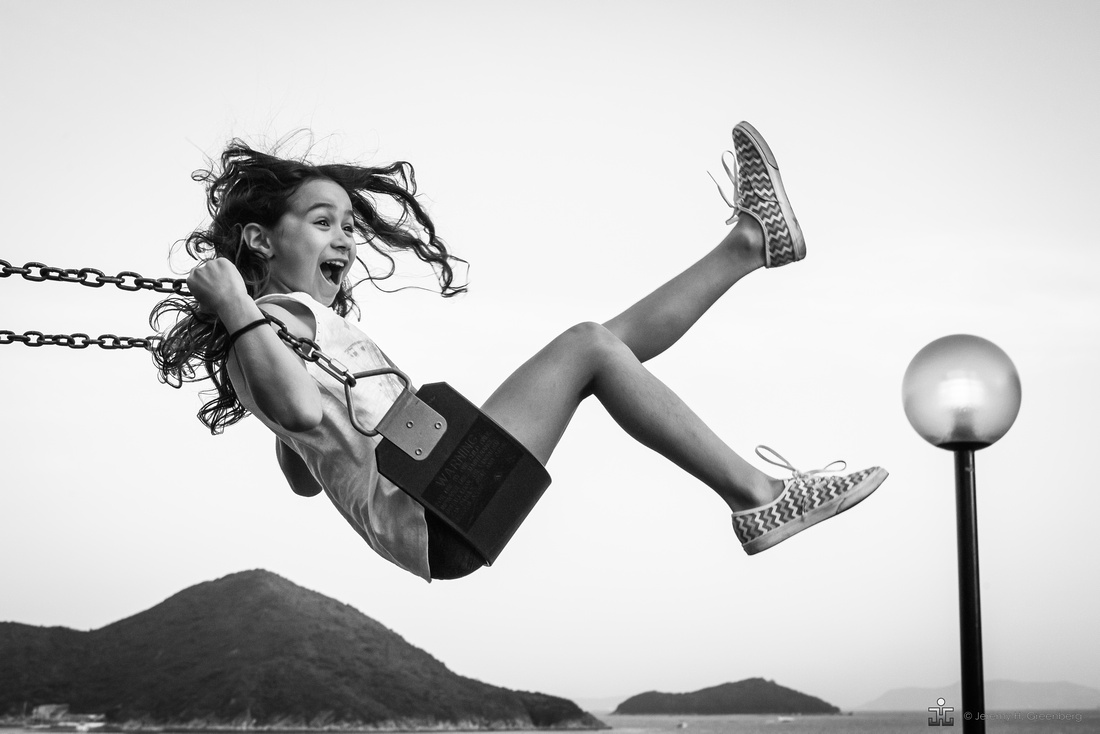
Lastly by all means, avoid poles sticking out of people’s heads and keep the composition clean and tidy. Look at the images in this post. It should be fairly obvious which of the three types of portraits each image falls into. Most of all, practice, and enjoy the process.
Remember, the light is always right.
jhg
























Blog #50 *Special Feature* Process Over Product
Blog #50 *Special Feature* Process Over Product
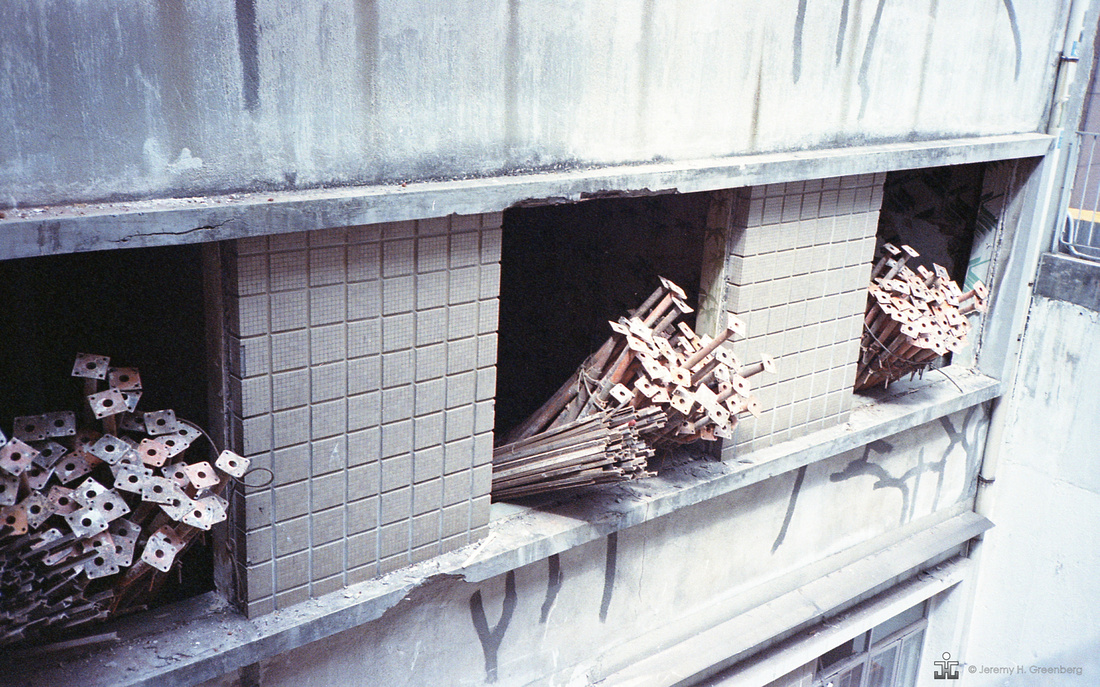
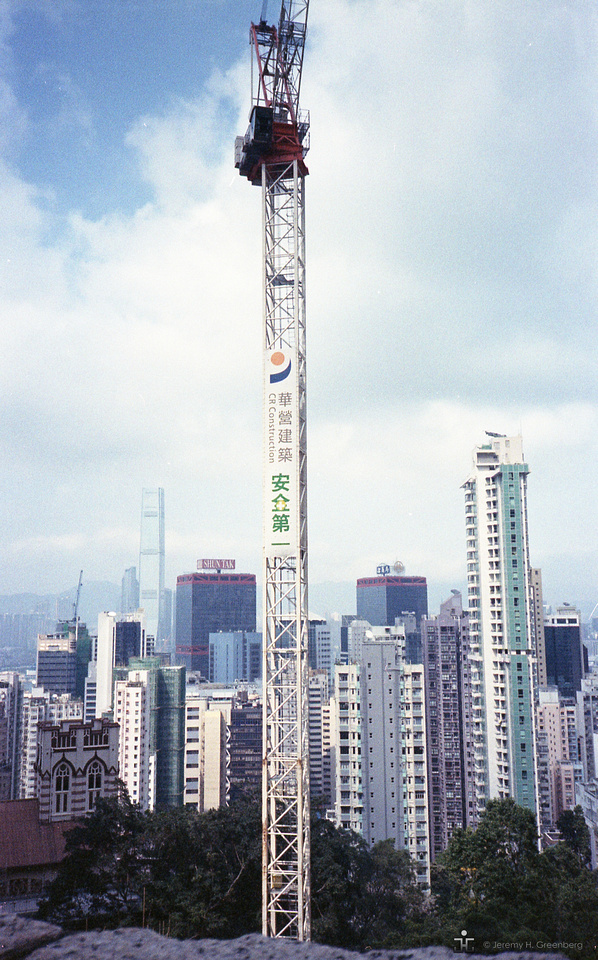
Wow! Fifty blog entries to date. Thank you to all of my readers for sticking with me through the thick and the thin. For this week’s milestone blog entry, I want to share my experience with color film developing at home. One of my 2017 photography goals that I set for myself was to learn to develop colour film at home. I’ve been developing black and white 35mm and medium format film at home for some time now like for a couple of years and I wanted to try to challenge myself further since color is supposedly more difficult. I really enjoy the process of developing film. The product is better in my opinion as I do love the look and feel of film as compared to digital, but it’s really the process that keeps me hooked on film.
There are basically three types of film processes: black and white, color negative [C-41], and slide film or color reversal process [E-6]. I wanted to knock another one off of my photography bucket list. So I drove over to Camera Film Photo’s shop and picked up a box of DIGIBASE C-41 Process. The box contains three aluminium packs that resemble juice boxes that we would drink as kids. Each is 500ml. There is a developer, bleach, and fix. The chemicals are re-useable and can be used to develop about 14 rolls of film. The kit costs $256 HK or about $18.29 HK per roll [$2.35 US].
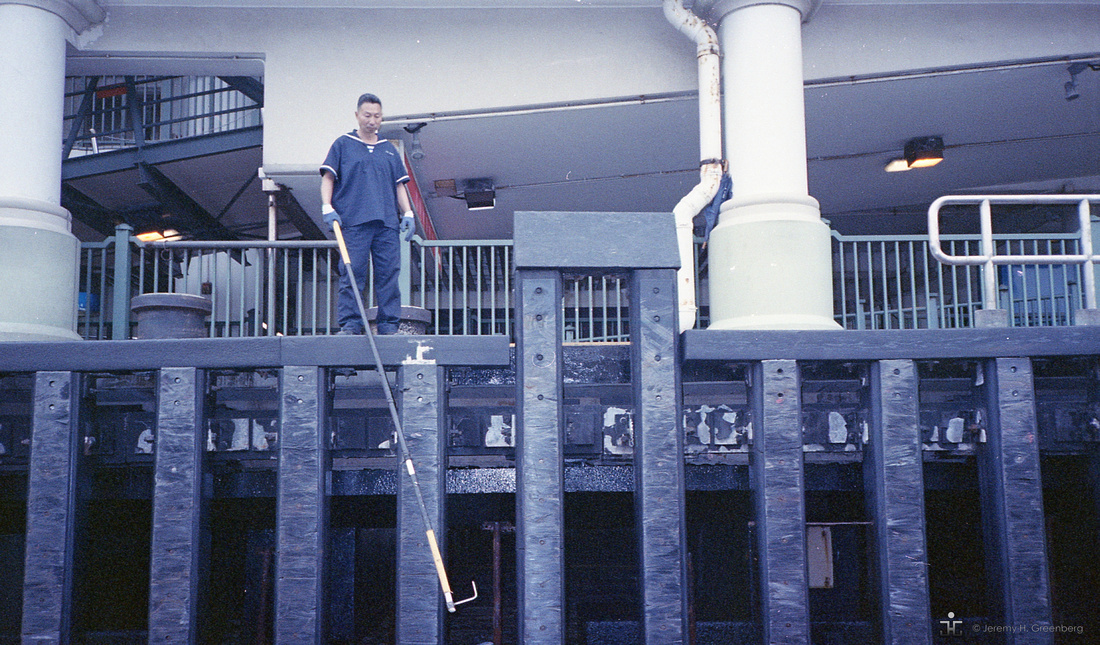

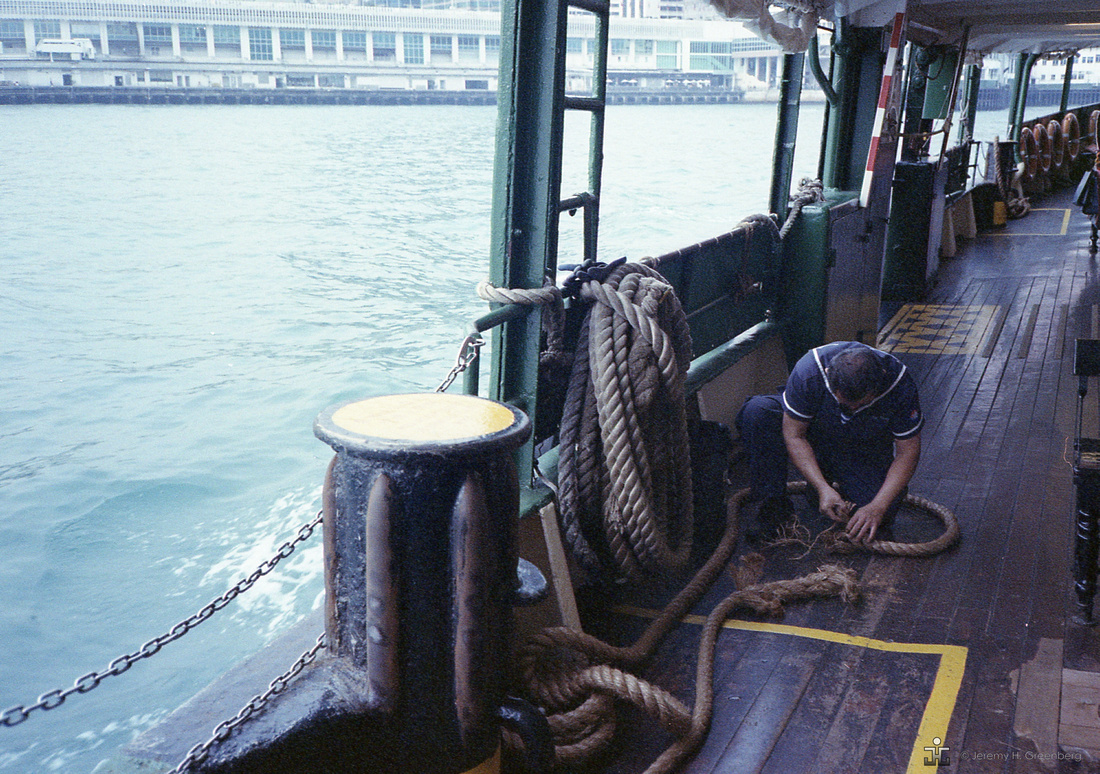
 The process is pretty straight forward and an easy adjustment [small step] for anyone already familiar with the black and white film developing process. For black and white, there is developer, stop bath, fix, and rinse. The for color negatives the process is develop, bleach, then fix. It is recommended that stabiliser follow the fix stage but I simply rinsed the film with water then hung it up to dry in my shower like I usually do with black and white film. The film responded well to this finishing and drying process.
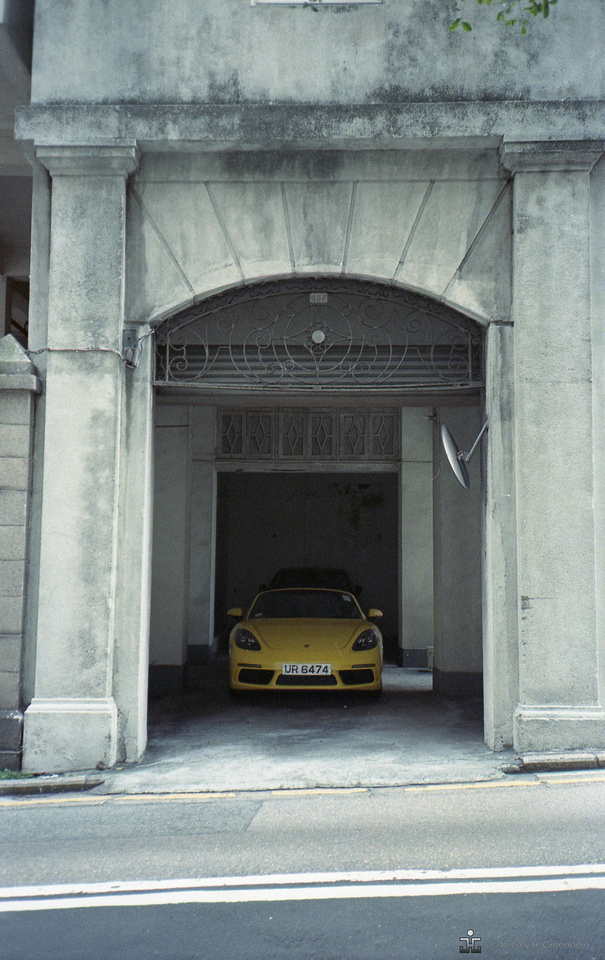

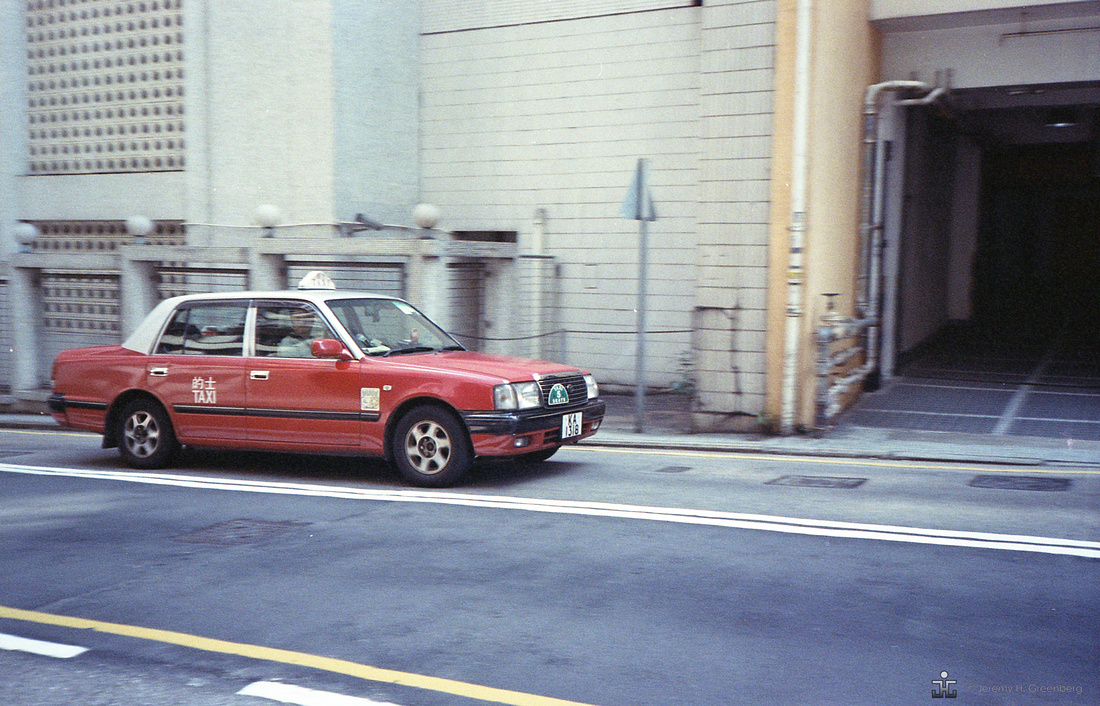

The difference between B&W and color film processing is the chemistry, as mentioned above, and the temperature. A more careful control of temperature needs to be adhered to. A large tray used to bring the bottles of chemistry up to temperature and a thermometer [or two] is a must. The good news here is that 20 or 25 degrees celsius are basically your options, both of which can be considered around room temperature.
The results are decent and I’m generally happy with my first attempt. I think that a more precise treatment of the temperature in the development stage would yield even better results. I used Kodak Portra 400 35mm film and a Nikon L35 AF point and shoot for this experiment. The reels and tank and changing bag can be used from your black and white kit, if you already have one.
If you would like to get into DIY photography and are interested in playing with film, I suggest starting with black and white which is more forgiving and easier to start with, arguably.
I’m looking forward to shooting more colour and to perfecting the color C-41 process in the coming months.
You can too!
The light is always right.
jhg




Blog #49 Experiment During Travel
Blog # 49 Experiment During Travel
Travel photography is practically it’s own genre with countless tomes of information written about the subject. The goals of this genre may be to capture the essence of a place and its people, or to reveal the undying feel of a place by photographing as a local would. It has been suggested that rather than making the same image of the Eiffel Tower that others have made, turn your camera around, or get in very close [or far] to capture a fresh perspective.
In this week’s blog entry, I offer an alternative perspective for the photographer when travelling. In one word, experiment! Try a new genre and get out of your comfort zone. The best place to do this is away from home and your normal routines. I suggest that there is value in the new place, new approach to making pictures concept. When we are at home, we fall into routines and photograph similar or even the same places [streets] week after week. While great images may result from this practice, shaking things up a bit can also result in some novel and wonderful results. For more on the subject of experimentation in photography click here and using film click here.
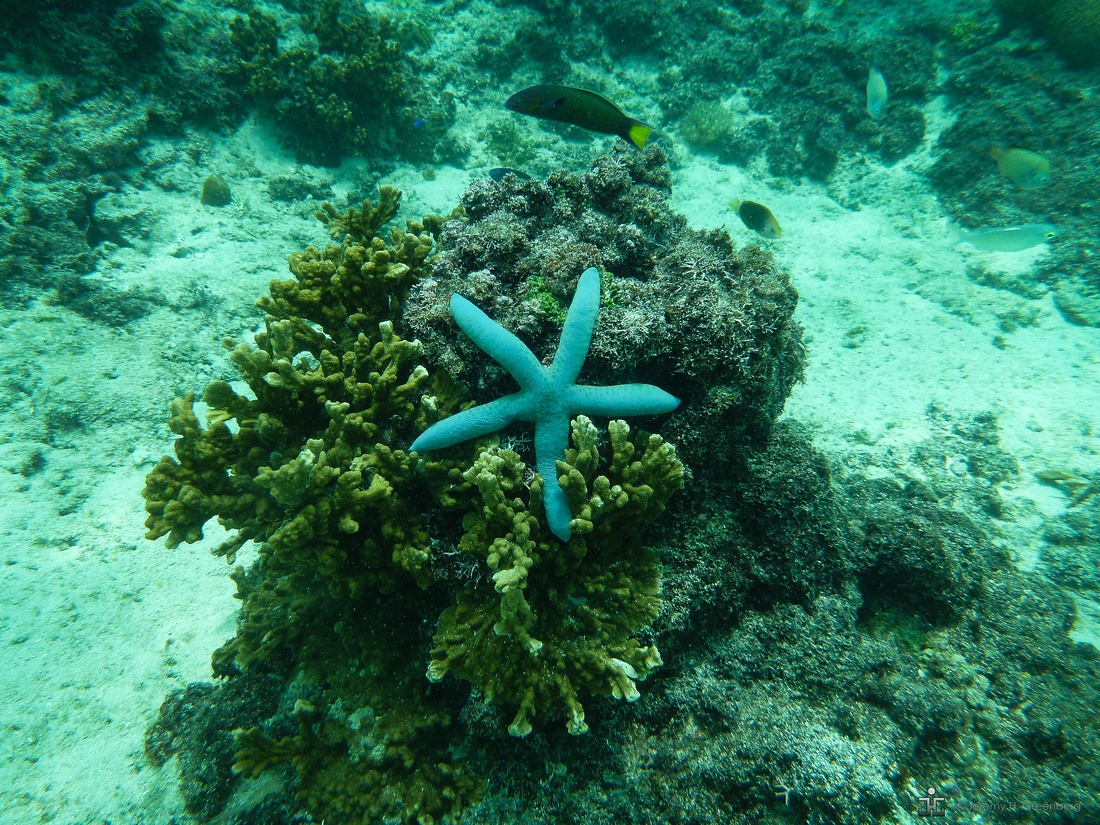

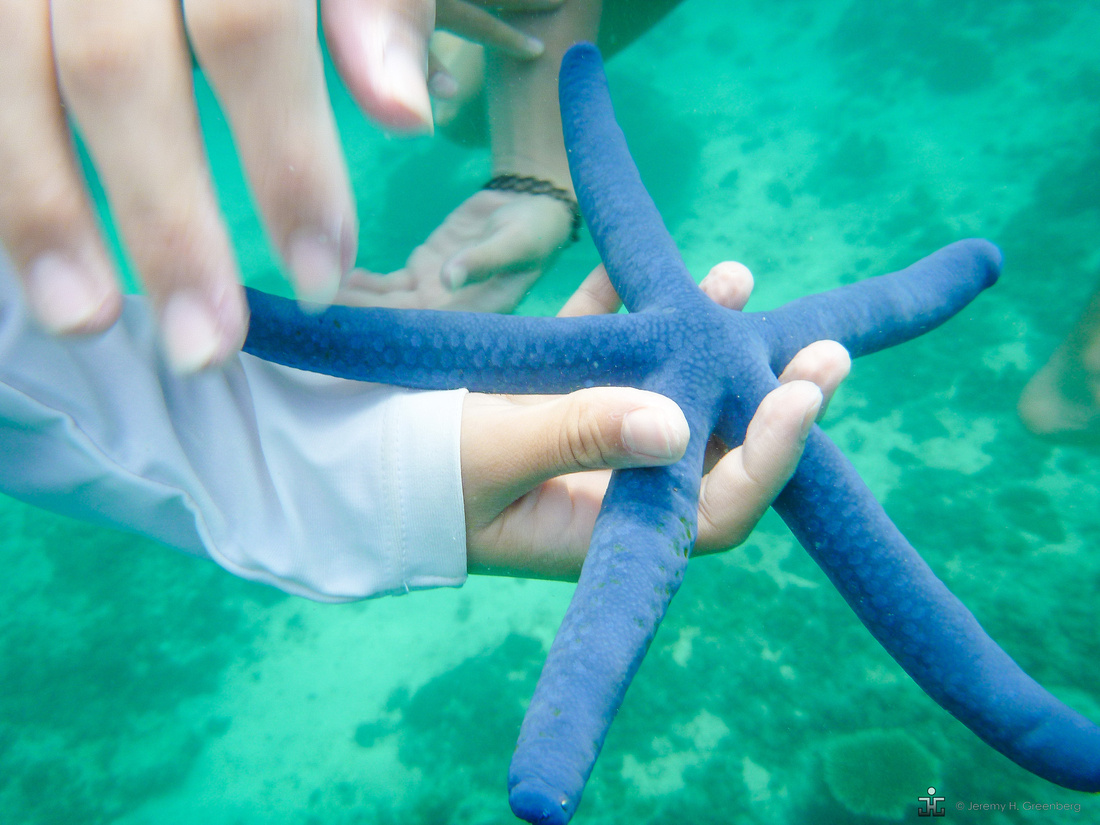

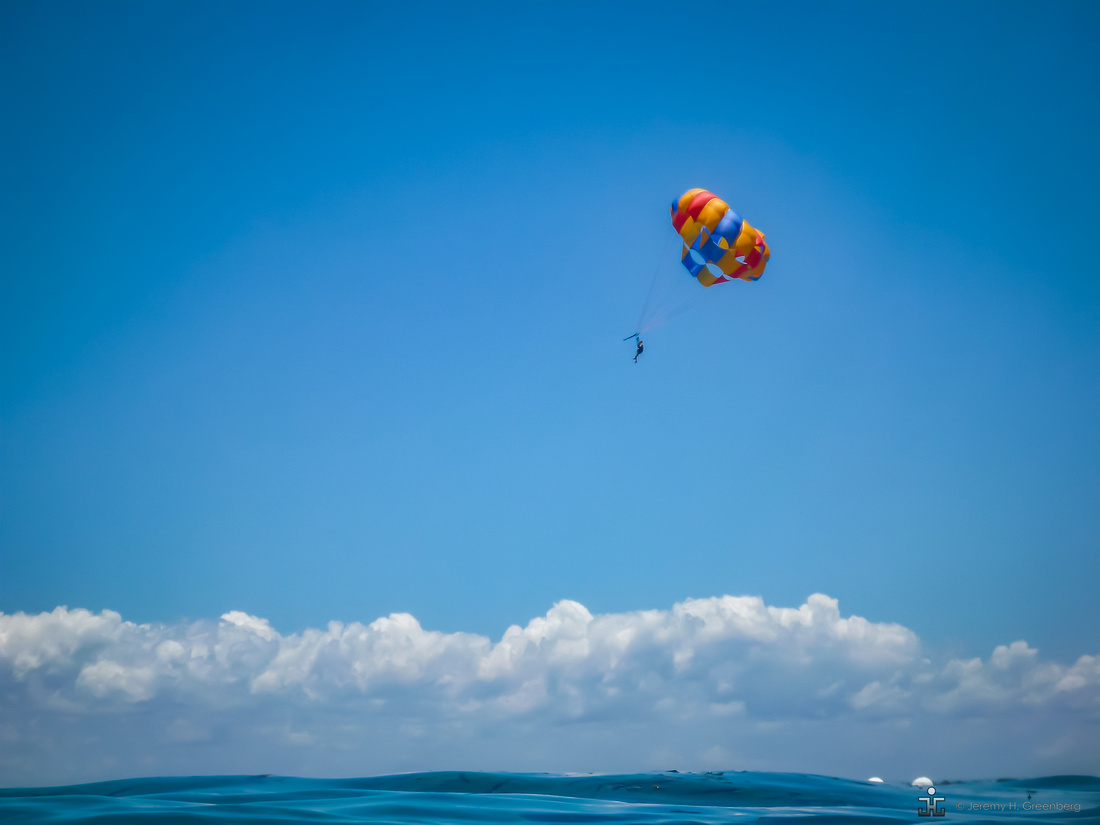
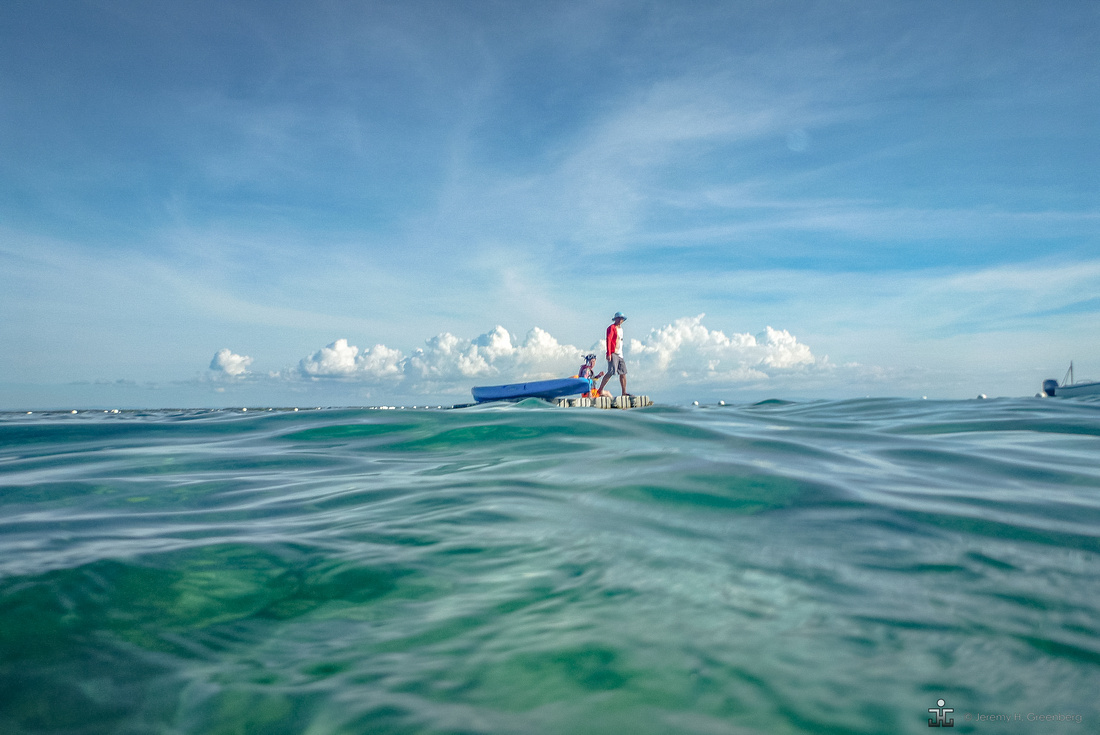
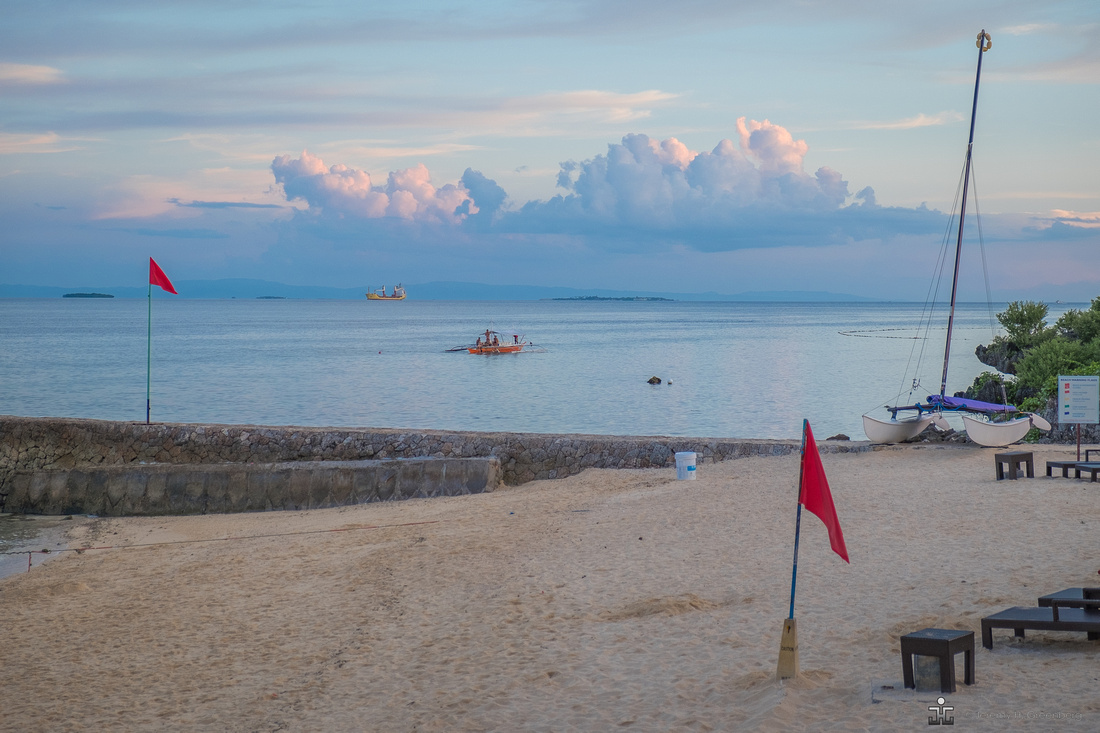
On a recent family holiday to Cebu in the Philippines, I made lots of images of my family, and our beautiful surroundings as one does on a family holiday. However, I also planned to take the opportunity to experiment with some underwater photography.
A few metres off of the beach from our resort, under the otherwise pristine aquamarine peaceful waters of the Philippines Sea , there was a whole universe of life to explore.
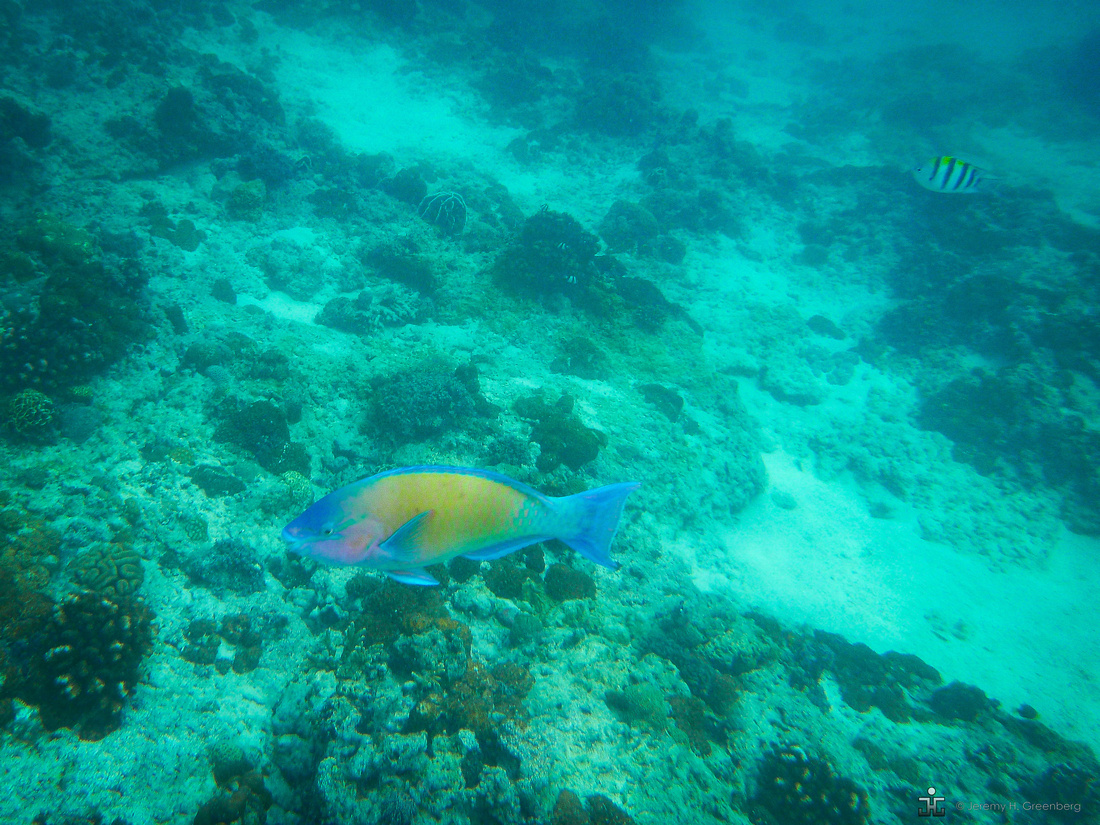

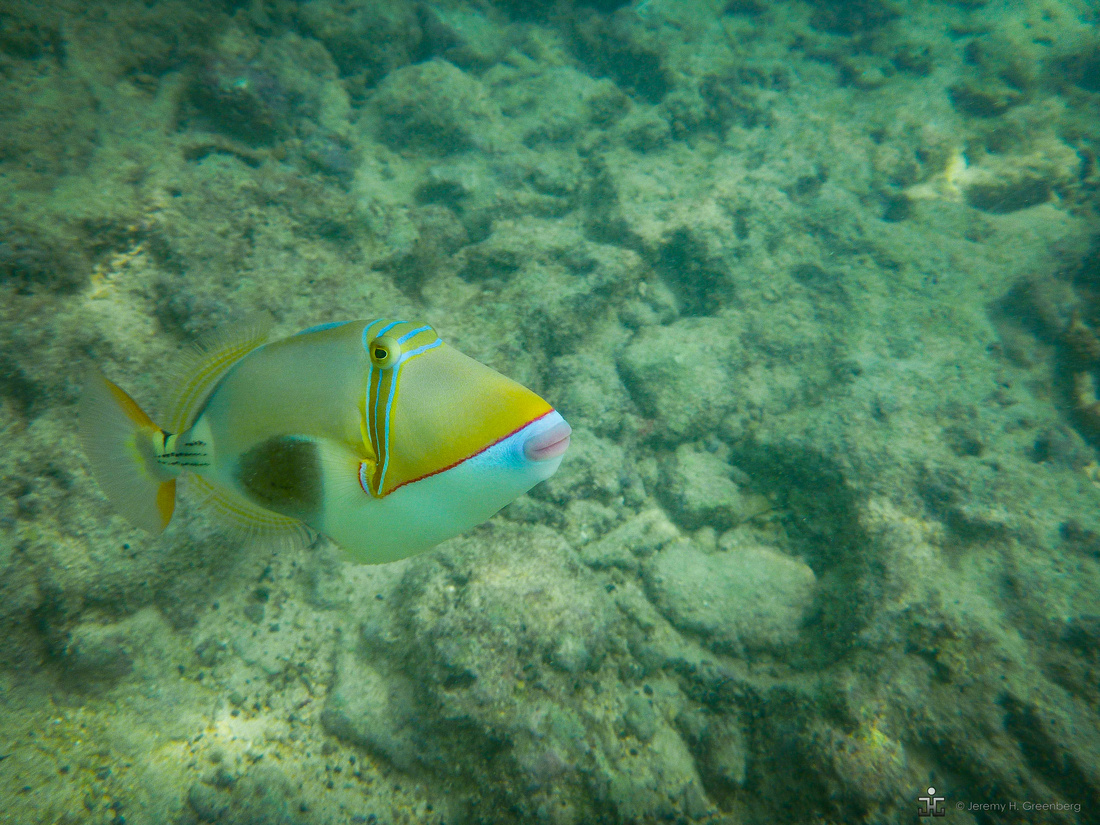

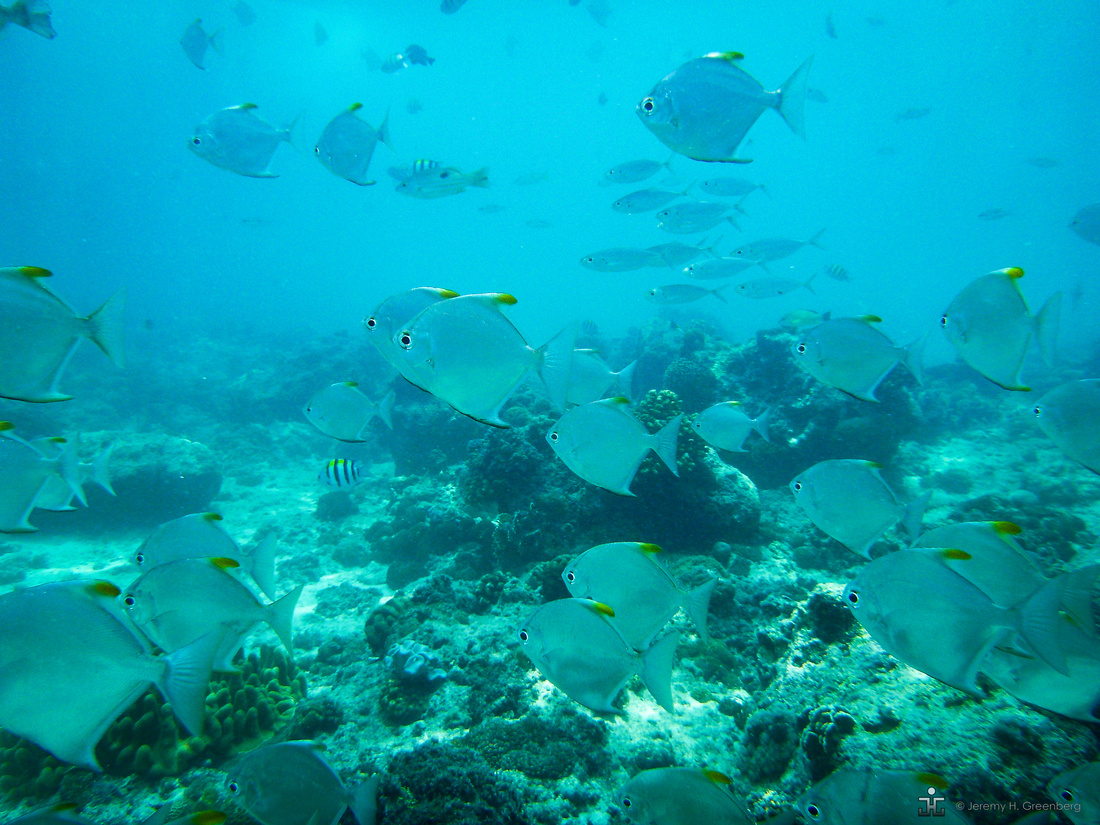

While planning for my dive into underwater photography [pun intended], I brought along a small point a shoot camera that has waterproof capabilities to about 12 metres or 40 feet. There are a few manufacturers that produce these models that can be had for under $400 USD. For more thoughts on gear for travelling click here. I covered myself in sun block, strapped on my mask and snorkel, and dove into the cool and refreshing waters.
Trying to remember the cornerstones of good photography, away I went, out into the big blue. Light, subject, colour, and compositional rules [guidelines] ran through my head as I floated along with my face in the water looking for subjects to shoot. The ocean revealed an underworld teaming with life, colour, and beauty. I snapped away. I took big deep breaths of air and dove down under the water until my the pressure made my ears ring and my head pound. I wanted to get closer to get up front and personal with my subjects as we try to do when shooting street photography.
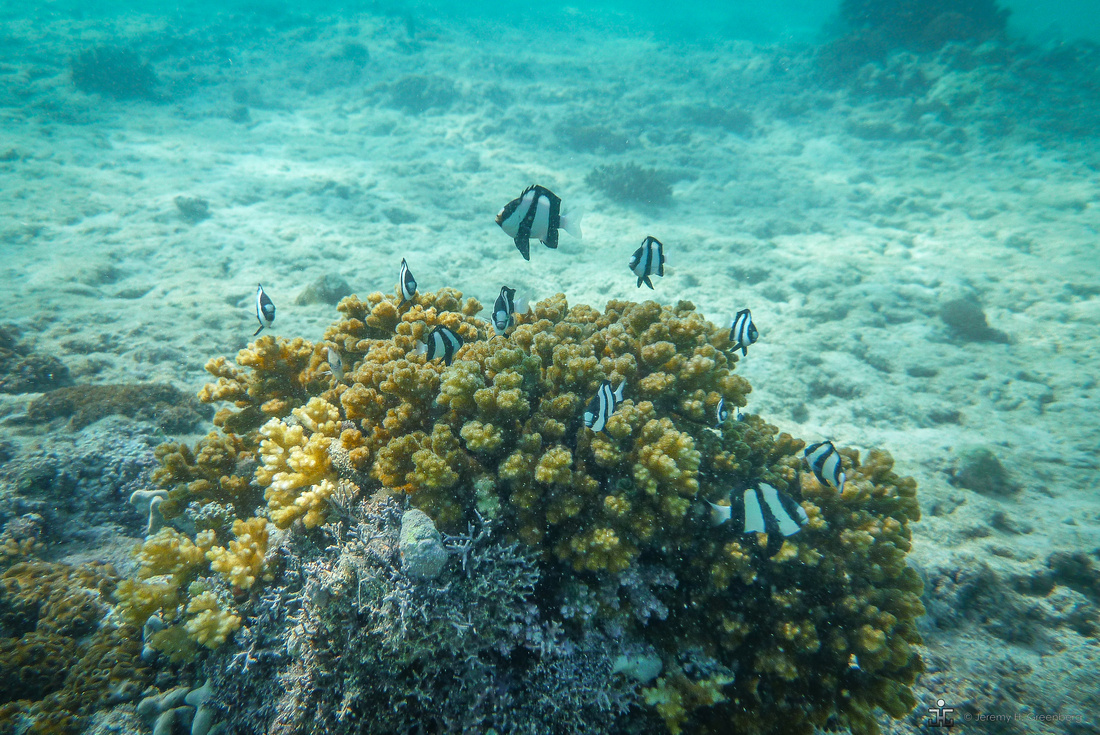

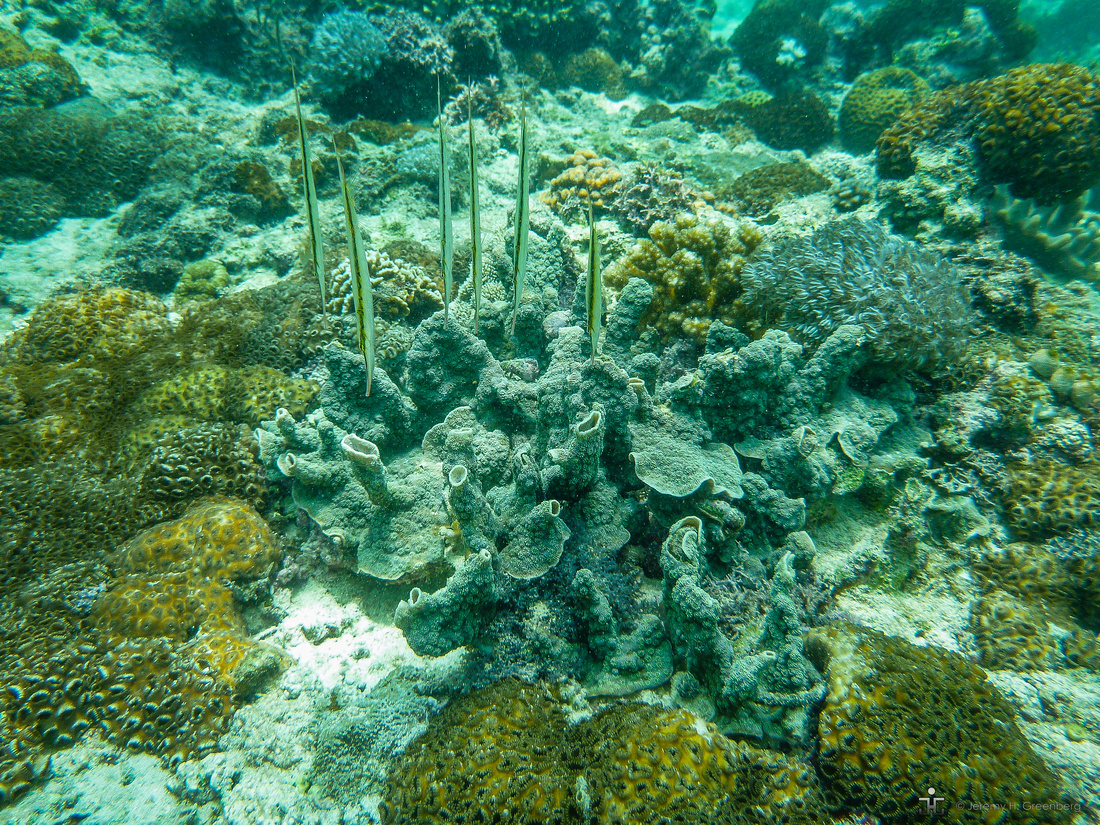

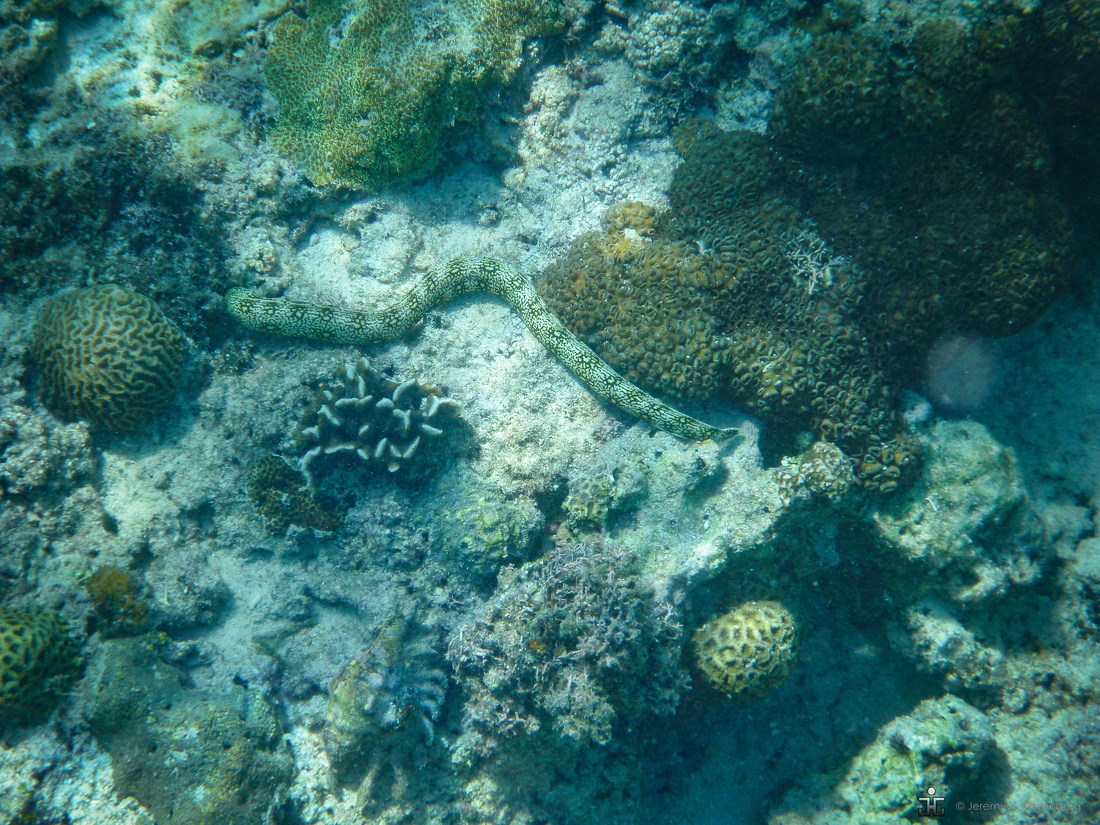

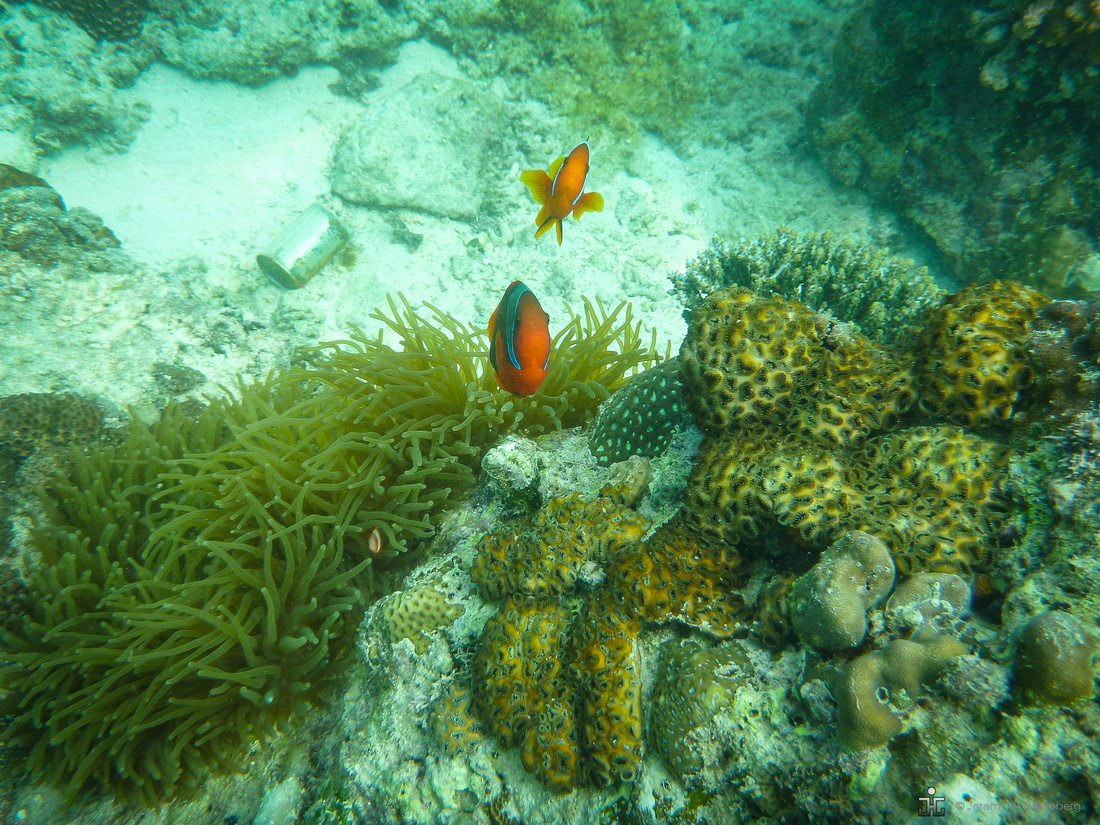

It was a learning process, and thankfully one that I had a few days to work on. There were many [mostly] mistakes and blurry shots. This is an absolutely brutal [albeit beautiful] environment to make images. Each day we would wake up, grab some breakfast, cover ourselves with sun screen which barely did any good since the sun seemed to go right through it; we were all pink and burned but happy as clams. I was back into the waters each day like it was my job to catch a few “keepers”.
I saw a sea urchin, some sort of scary looking eel, clown fish, and other amazing species such as these skinny fish that seemed to be up and down like pencils floating in the water. With a depth of just a few metres, and the bright sun beaming down and reflecting off of the ocean floor, there was enough light to keep my tiny point and shoot’s sensor happily functioning at about 100 ISO.
You can see some of my results from above and below water in colour [JPEG] and black and white [just because] in this blog entry.
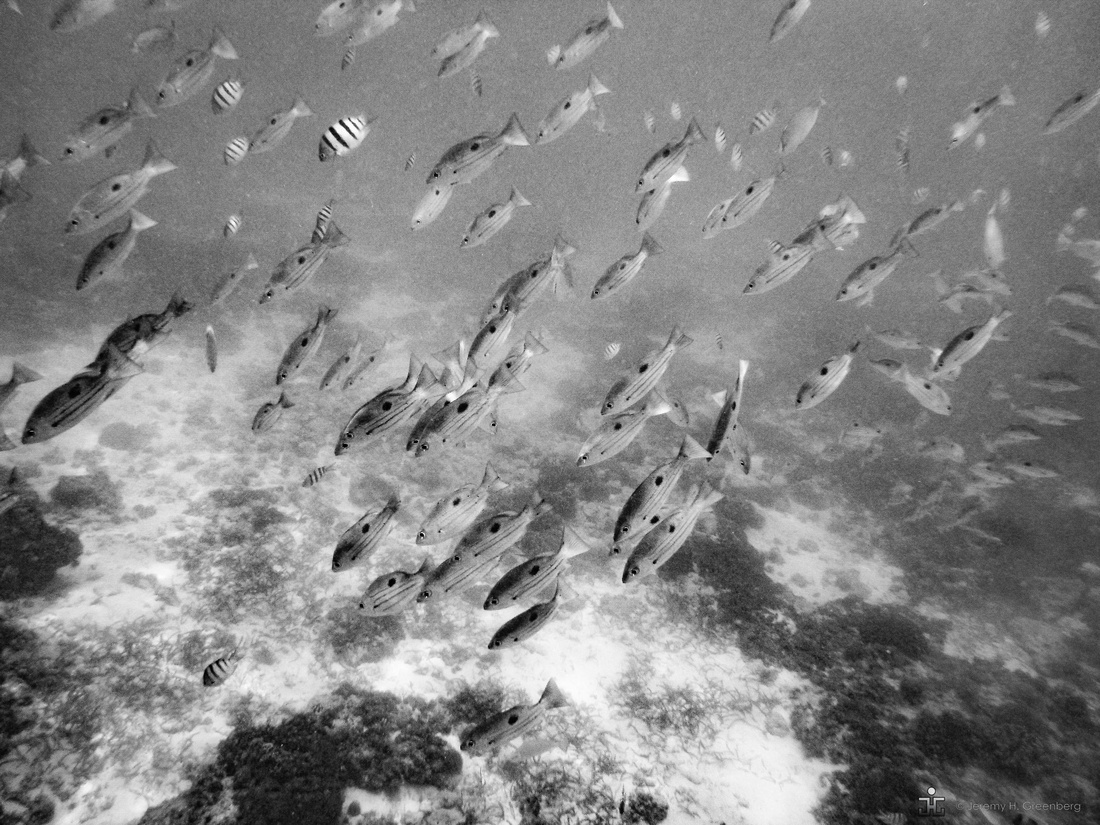

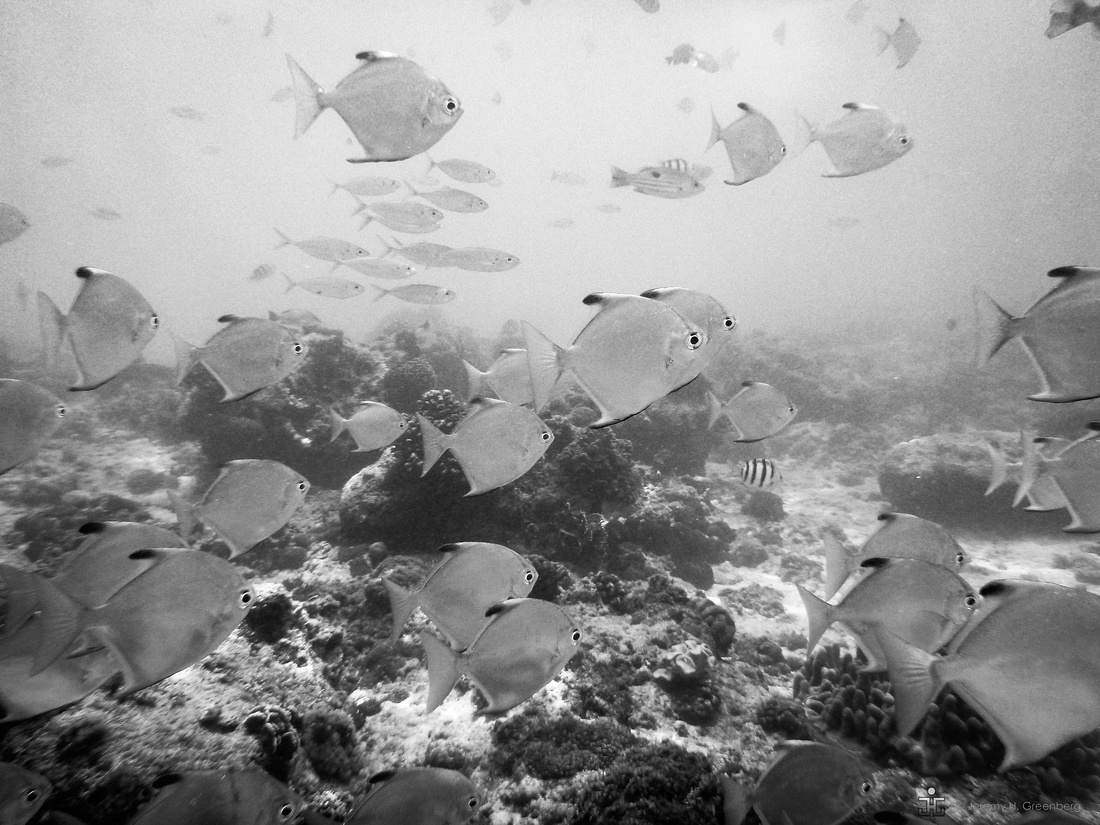

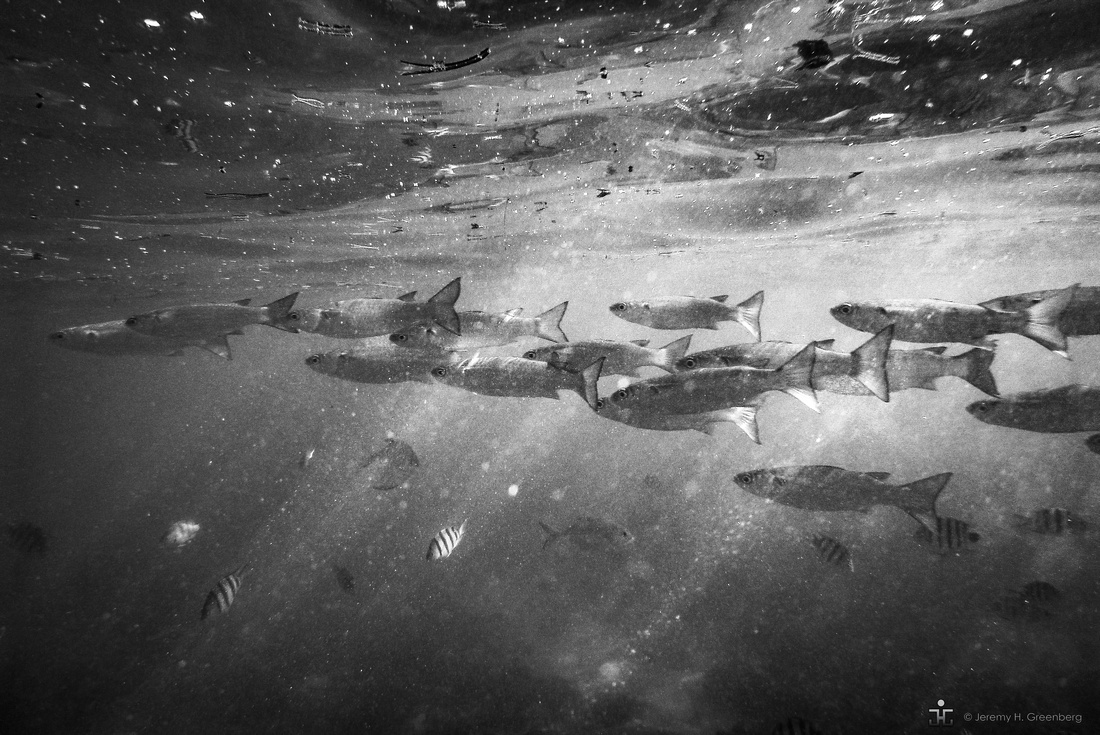

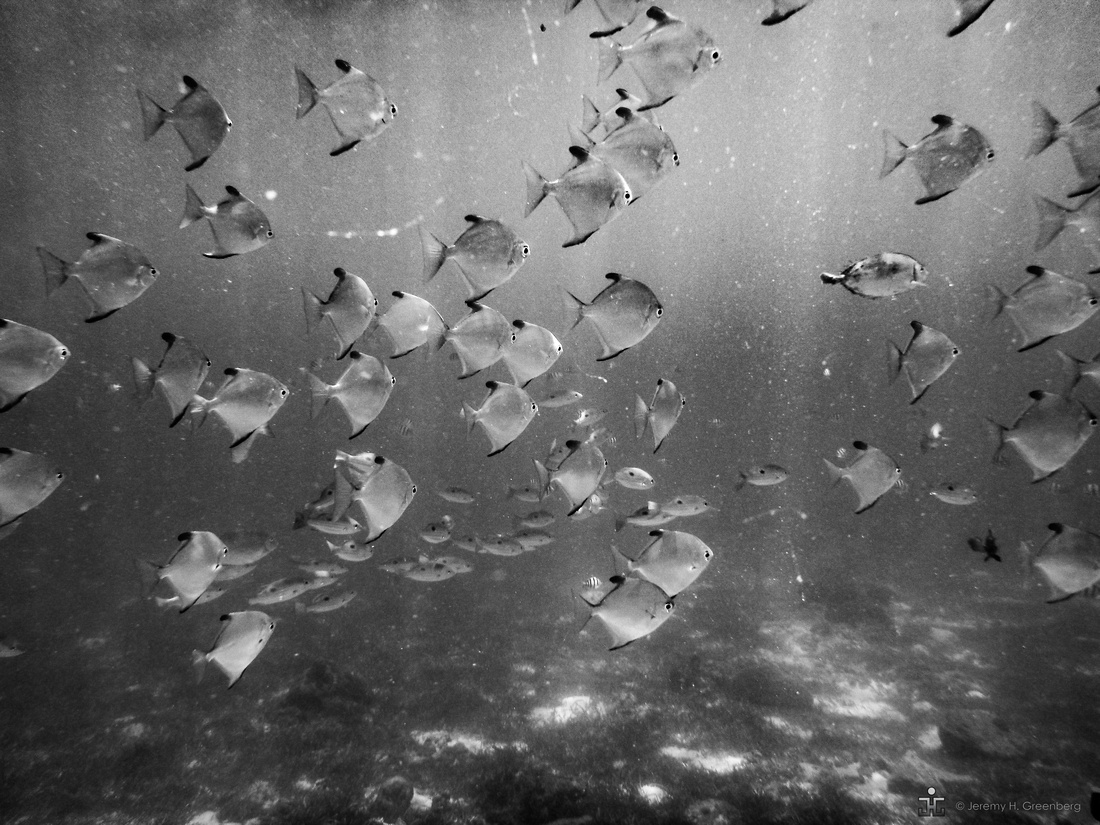

Next time you are away from home, do some photography an a genre that you don’t normally work in. You might be pleasantly surprised that you did and you will learn things about yourself and your photography that you might not expect.
The light is always right.
jhg
